To see or edit your Company Information, navigate to the “Account” icon in the upper right corner of your browser window.
Click on “Company Information” in the left column.
Click on the green “Edit” button.
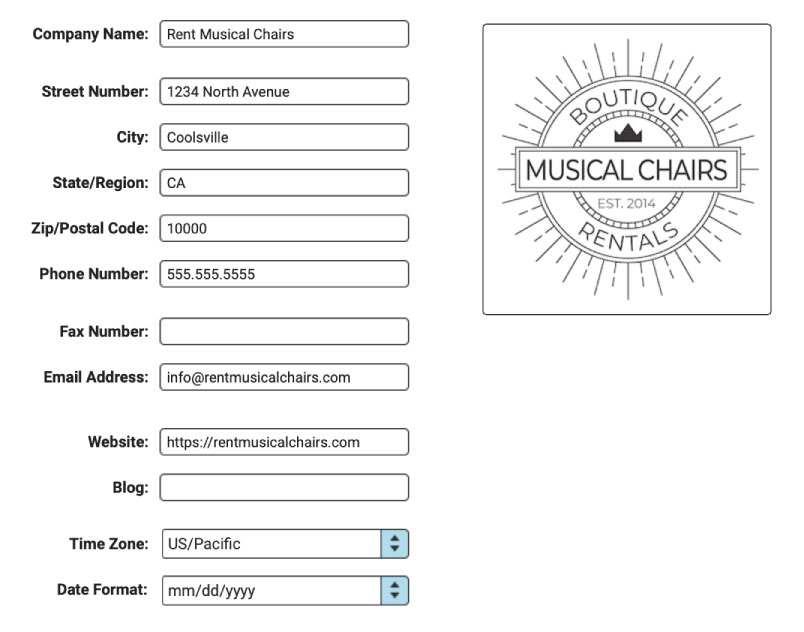
Type in the fields to add or change information.
The information you include here will appear on your Order PDFs, in your Online Item Gallery, and in your RW-generated emails.
You’ll also want to add a company logo here. To do so, simply drag and drop your logo file (a JPG or PNG with a white, not transparent background) onto the logo target in the upper right corner of the Company Info area. Keep in mind that you don’t need to include a large file size. Somewhere around 100K or smaller will be just fine. Anything larger will just be overkill and slow you down.
Here’s How to Change Your Company Logo if you’ve already uploaded one.
Be sure to choose your company’s timezone while you’re in the Company Information section.
By default, your Date Formatting will be set to mm/dd/yyyy, but feel free to change this to dd/mm/yyyy if you’re one of our international friends. Side note, RW Elephant uses dollars as the default currency. Check out Payment Settings if a different currency is more applicable in your region.
Once you’ve made all your changes, be sure to click the green “Save” button at the top of the browser window to save your changes.
You’ll also want to take a look at the other Settings in the Account section including
- Item Settings
- Order Settings
- Rental Settings
- Payment Settings
- Contact Settings
- Invoice Settings
- Online Gallery Settings
- Terms & Conditions
- Email Templates
- Calendar Settings
- Subscription Settings
- Data Export
You might also find these Tutorials helpful as you’re familiarizing yourself with all that RW Elephant has to offer.
- Account Set-up
- Item Settings
- Order Settings
- One-click Emails
- Updating Your Billing Information
- Upgrading, Downgrading or Canceling your RW Account
- Payment Due Dates and Amounts
Advanced Account Tutorials