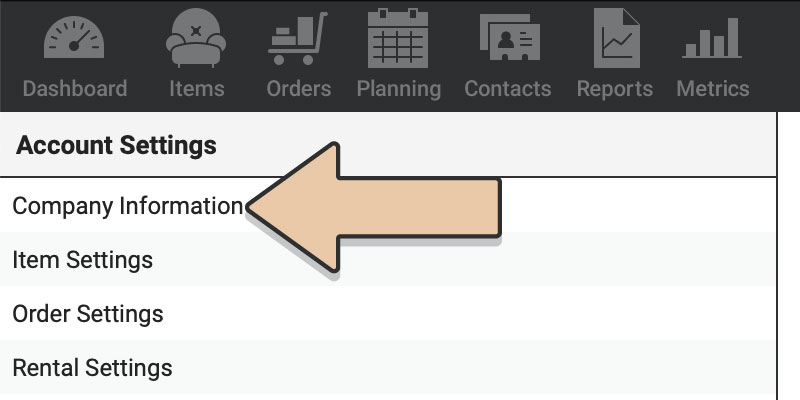
Navigate to the “Account” icon in the upper right corner of your browser window.
In the left column, click on “Company Information.”
Let’s start by uploading your logo.
Simply drag your logo file (a JPG or PNG with a white, not transparent, background ) from your computer onto this logo target right here.
Ta-da! Way to go! You’ve got a logo.
If you’re having trouble, keep in mind that the best size logo to use is around 100KB. Anything larger than that is overkill within RW Elephant.
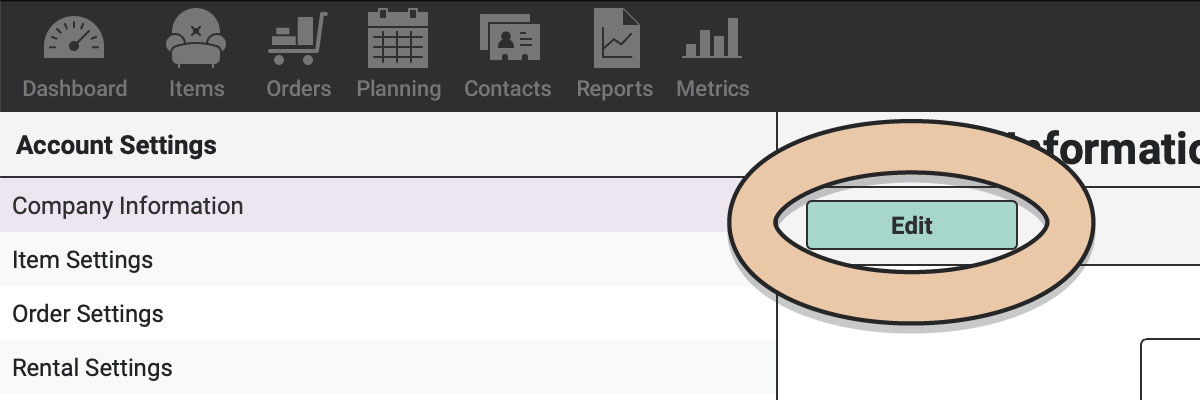
Now, you can click on the “Edit” button to make changes to your Company Information.
The info you include here will show up on your company’s invoices so include whatever you want your clients to see. Be sure to set your Timezone as well and if you have a preference for Date Formatting.

While we’re here, I’d like to say Bienvenidos, Willkommen, and Youkoso to our international friends.
If you use the DD.MM.YYYY date formatting in your cultural context, you can select that here from the “Date Format” drop-down. We’ll also get into currency settings later in Payment Settings.
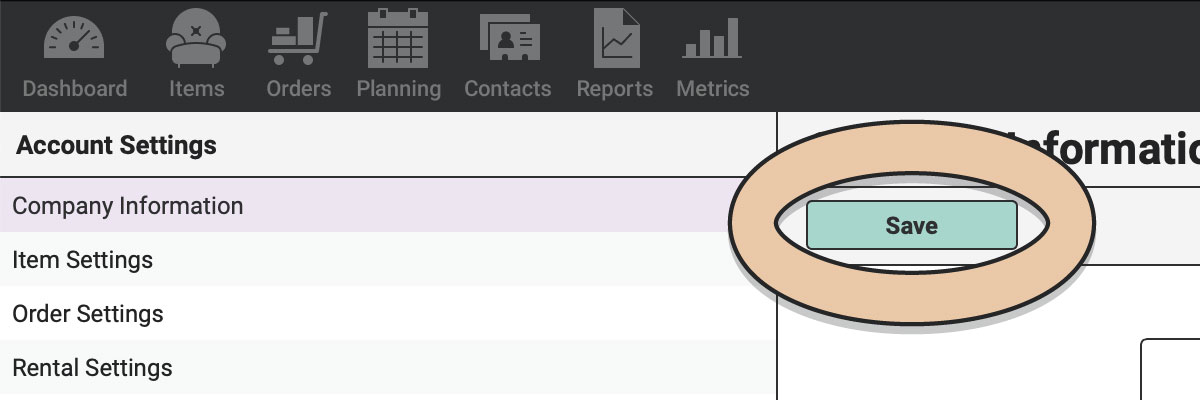
Click the “Save” button.
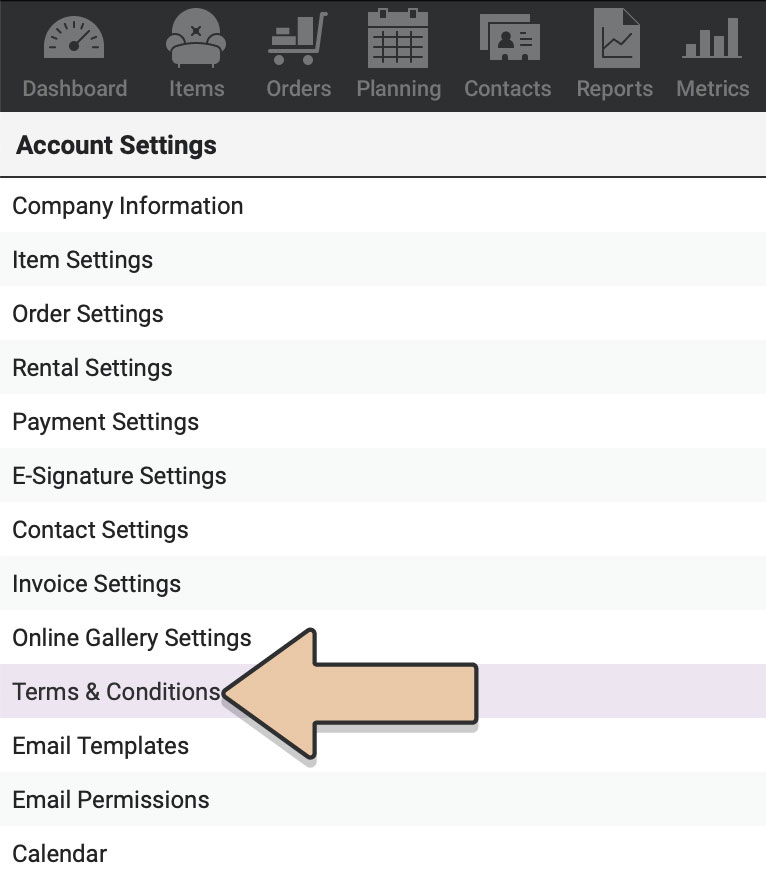
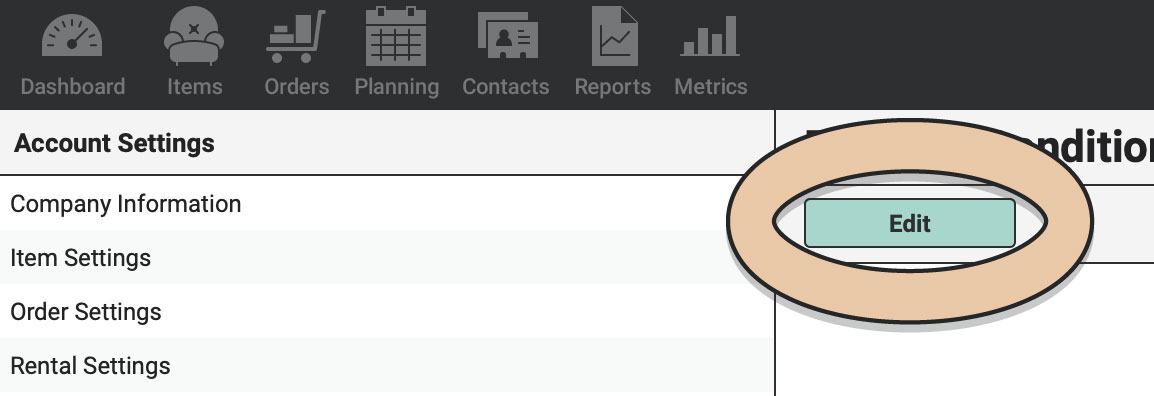
Then move on to “Terms & Conditions” in the left column. We’ll address the other Account Options later on in the Super Simple Step-by-Step Set-up System.
Under Terms & Conditions, click the “Edit” button.
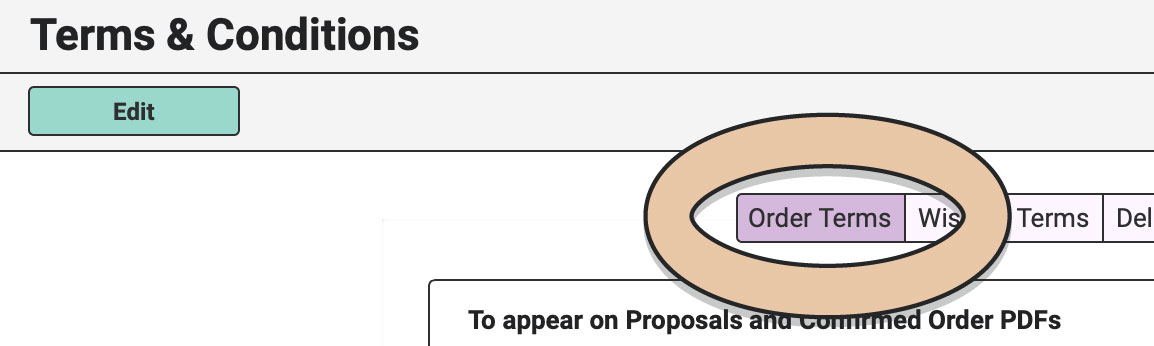
Choose the “Order Terms” tab.
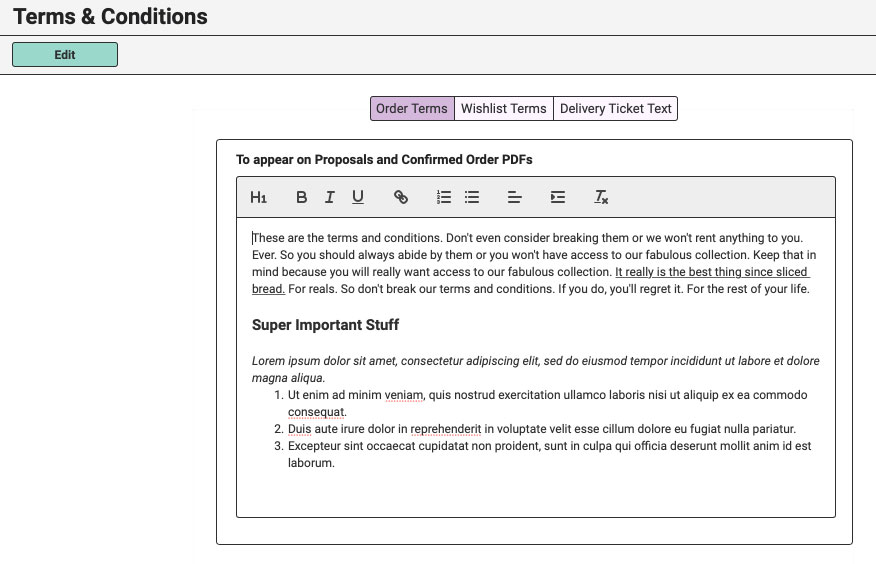
Type or paste your company’s Terms & Conditions here and then click “Save.”

That’s all that’s required for your basic Account Set-up. We’ll talk more about Settings for Items, Orders, Rentals, Payments, Contacts, Online Gallery, Email Templates, Calendar, Subscription, and Data Export in later tutorials but feel free to skip ahead if you’re dying of curiosity.
This video features “Life of Riley” by Kevin MacLeod. Licensed under Creative Commons: By Attribution 3.0