Once you have enabled RW Pay, you will be able to process credit cards with ease through RW Elephant. There are two ways you can process those credit card payments: manually within RW Elephant or through Online Payment Pages.
Manually Process a Credit Card
Manually processing a credit card through RW Pay can be done within your RW Elephant Account.
To manually process a credit card charge, navigate to the “Orders” icon in the upper left corner of your browser window.
From the left column, select the Order you’d like.
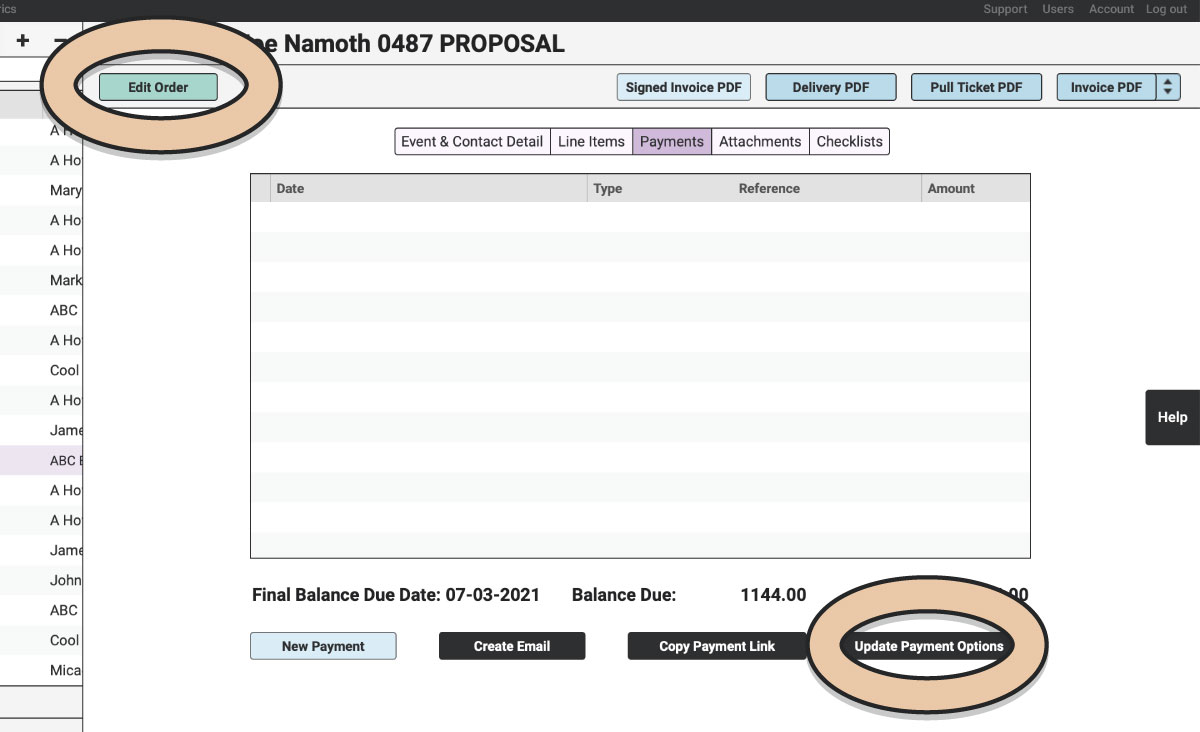
Click on the green “Edit Order” button.
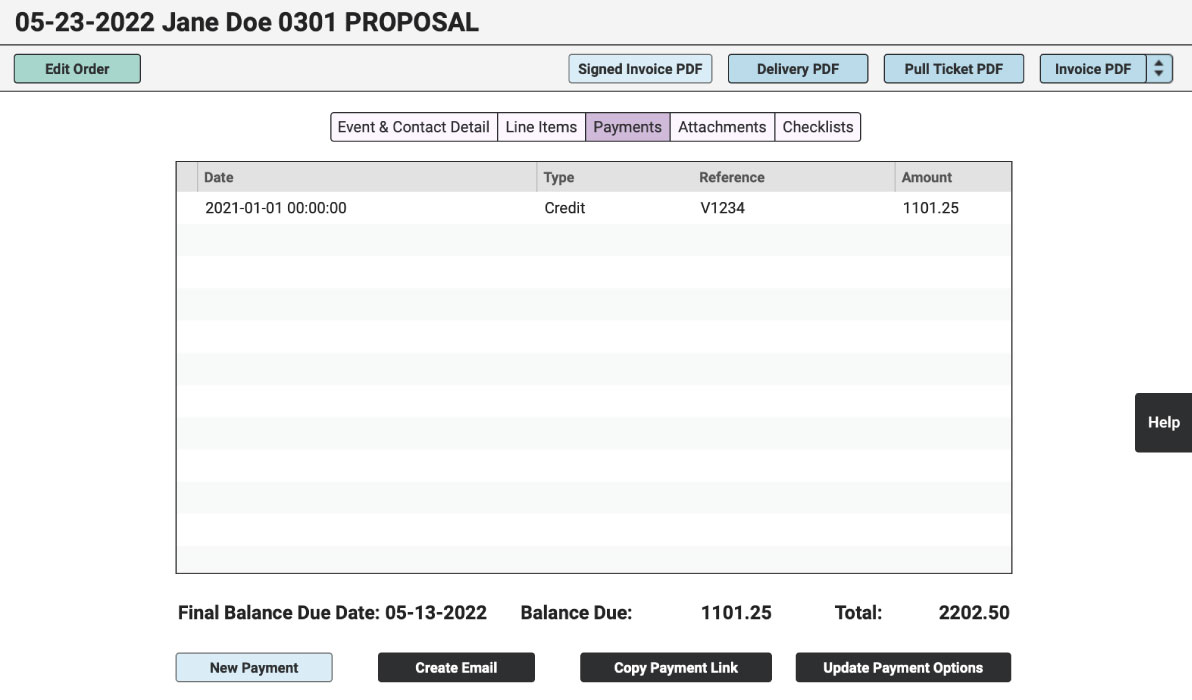
Select the “Payments” tab.
Click on the “New Payment” button.
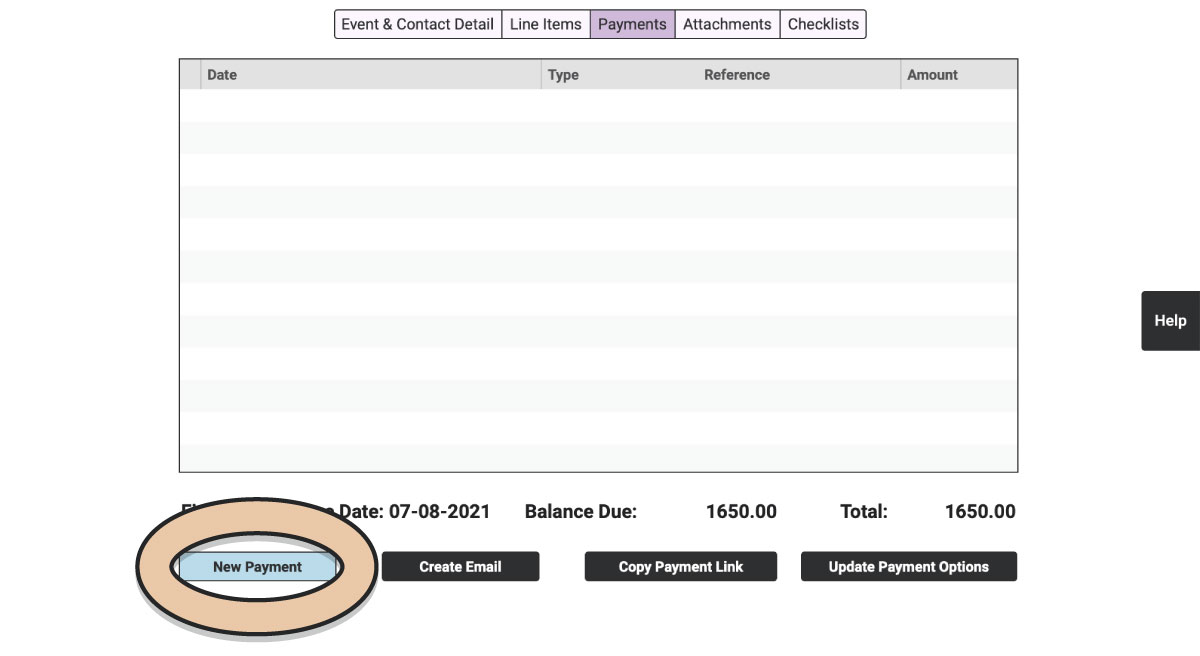
In the “New Payment” pop-up, today’s date will be entered.
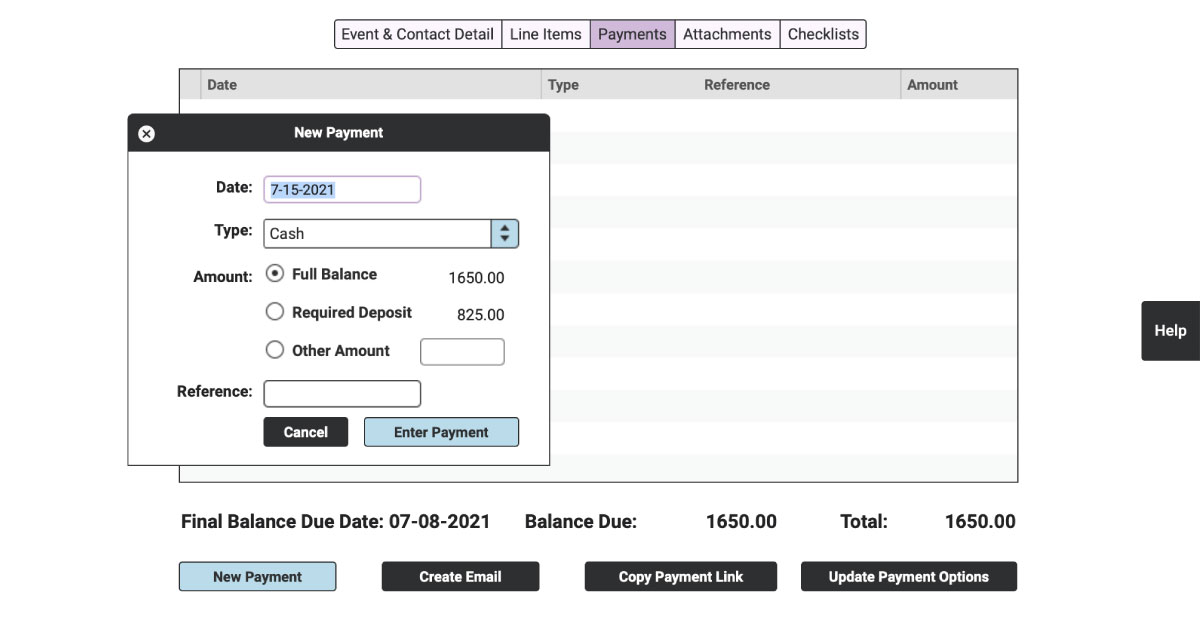
From the “Type” menu, select “Credit.”
Select Full Balance, Required Deposit, or Other Amount. If you select Other Amount, enter the Amount to be charged. Please note that you cannot process a charge of less than $0.50 but you can manually charge any amount (even if it is less than the required deposit).
Once the credit card is processed through RW Pay, the Reference field will automatically be filled in with the card details so you can skip over that field now.
If you haven’t charged a card to this Order yet, “Enter New Card” will be the only option in the “Credit Card” menu. If you have charged a card before, you’ll be able to select that card from the drop-down menu for future transactions. For instance, any previous transactions will list the card details and the amount that was previously charged (i.e. V1234 500.00).
For new cards, in the CC Number field type the credit card number.
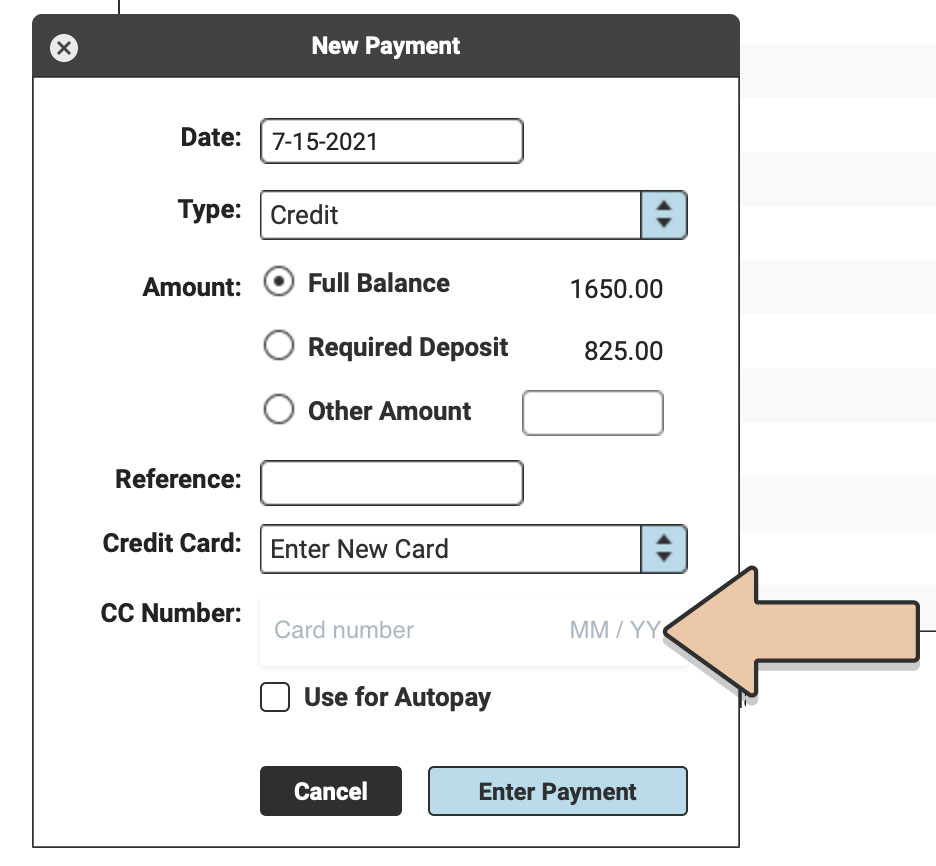
In the Expiration field, type the expiration date in MMYY format.
In the CVC field, type the security code for the card (either 3 digits on the signature line for most cards or 4 digits on the front for American Express).
If your customer has authorized you to use this card for Autopay of their final balance, tick the “Use for Autopay” box.
Click the “Enter Payment” button.

The Payment will now appear in the Payments table.

Unlike other Payment records, you can not edit integrated transactions once they are in the Payment table. See Refunding a Credit Card Payment if you need to modify the transaction.
Online Payment Pages
You can send your Customers a Payment Link using our One-Click Email Generator that lives within each Order. Also, take a look at our Email Templates to customize the email your Customers will see.
That Payment Link will take them to the Online Payment Pages.
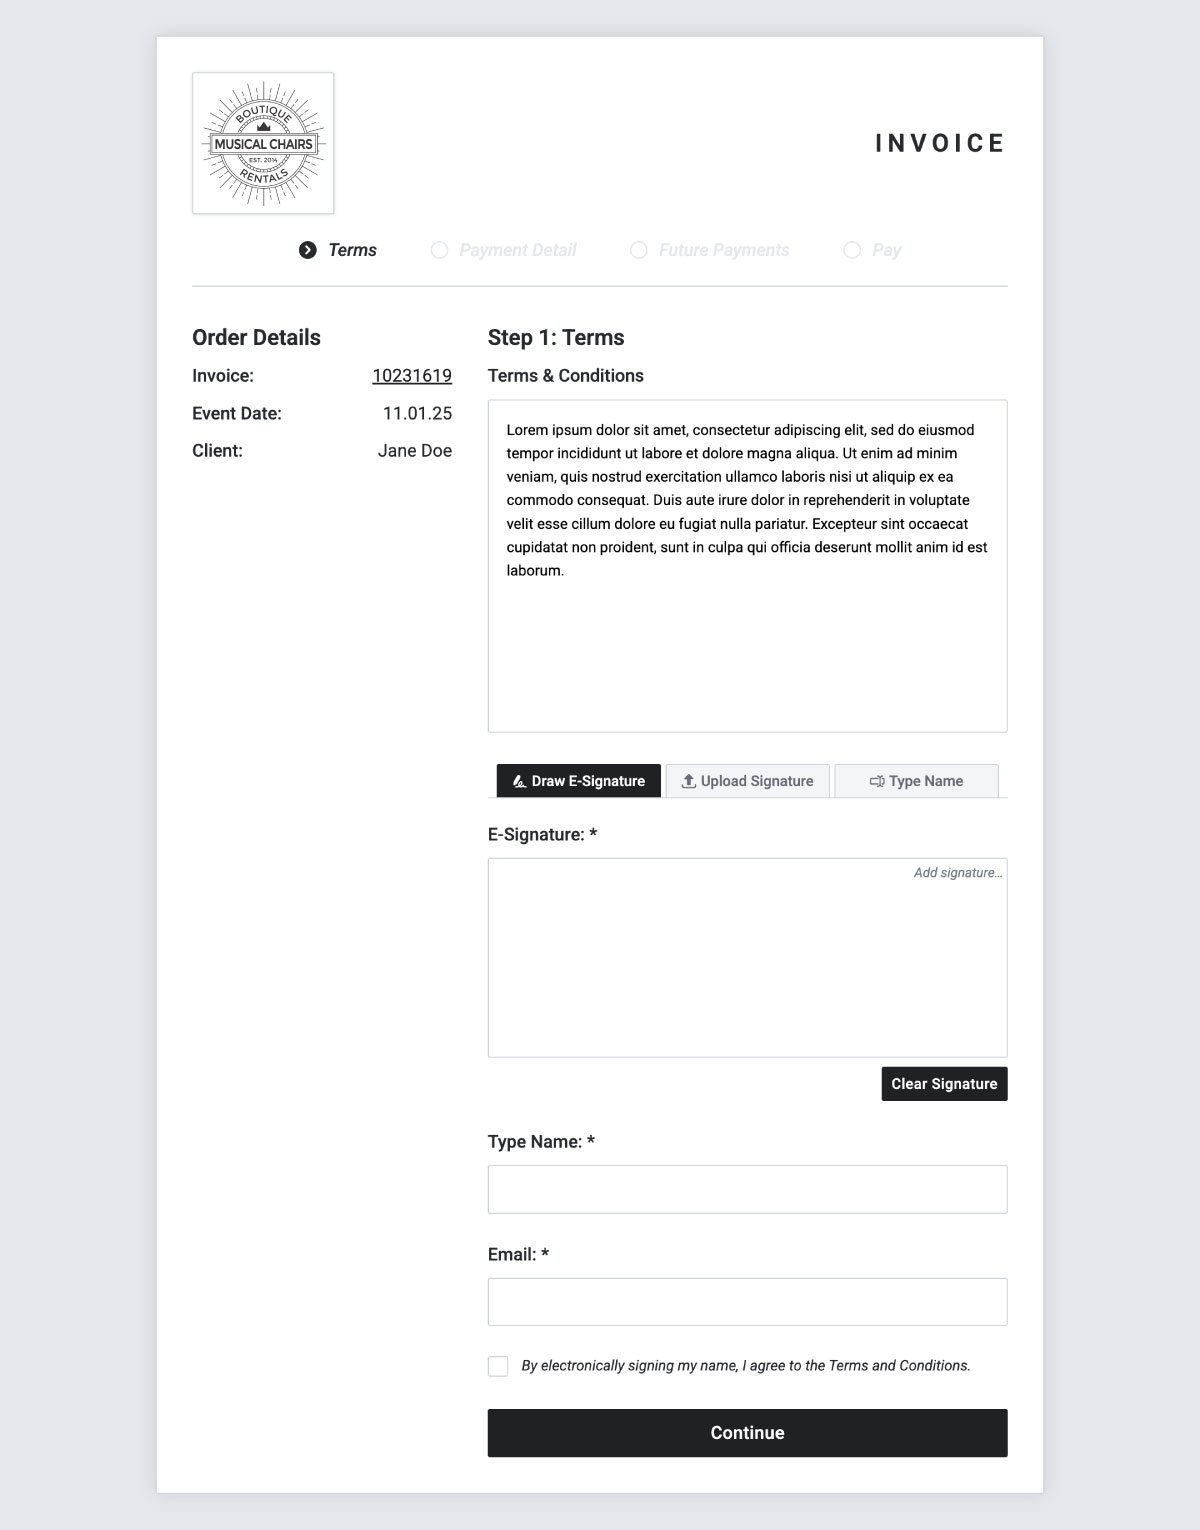
Check out your company logo at the top and view your Order Details on the left, including a link to the Invoice PDF.
Your Customers can read through Terms & Conditions in Step 1 before signing. Be sure to enable E-Signatures for a more streamlined process!
Once they’ve signed, they’ll be led to Step 2: Payment Detail.
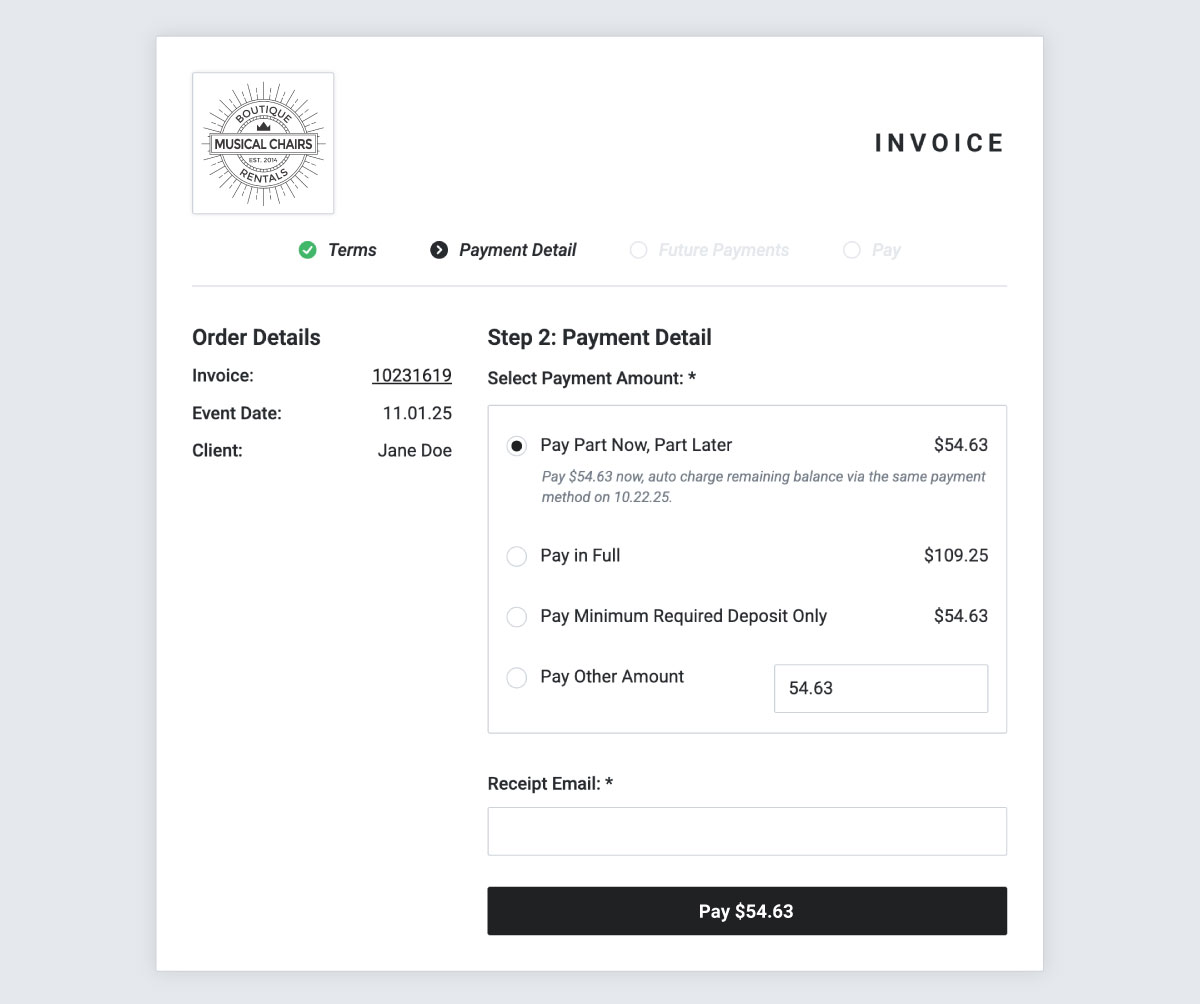
By default, “Pay Part Now, Part Later” will be ticked. This will charge the Minimum Required Deposit now and opt the Customer in to Autopay the final balance on the Final Balance Due Date using the same payment method.
They can also choose to pay only the Required Deposit*, pay the full balance, or enter a specific amount in the “Other Amount” field (note: Other Amount must be greater than the Minimum Required Deposit).
*If you’d like to change the “Deposit” verbiage to better fit your brand voice, head to Template Labels and update the “Deposit Required” field. This will update your Payment Pages and Invoice PDFs.
Your Customer will enter the email address where they would like to receive the receipt of payment. This will send them the Payment Confirmation Email that can be modified within your Email Template Account Settings.
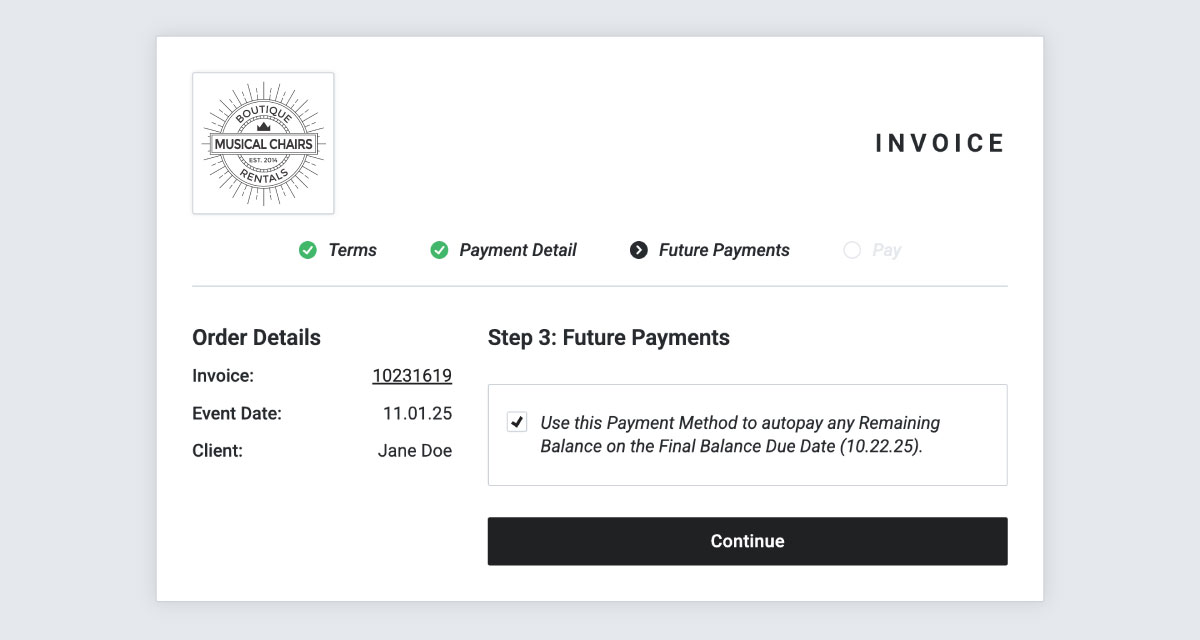
Step 3 will give your Customer another chance to opt in or out of Autopay.
Lastly, they will enter their credit card details.

Customers will love how easy it is to pay you and cross that task off their to-do list.
If you ever need to get to this Payment Link in a hurry, simply click the “Copy Payment Link” button.
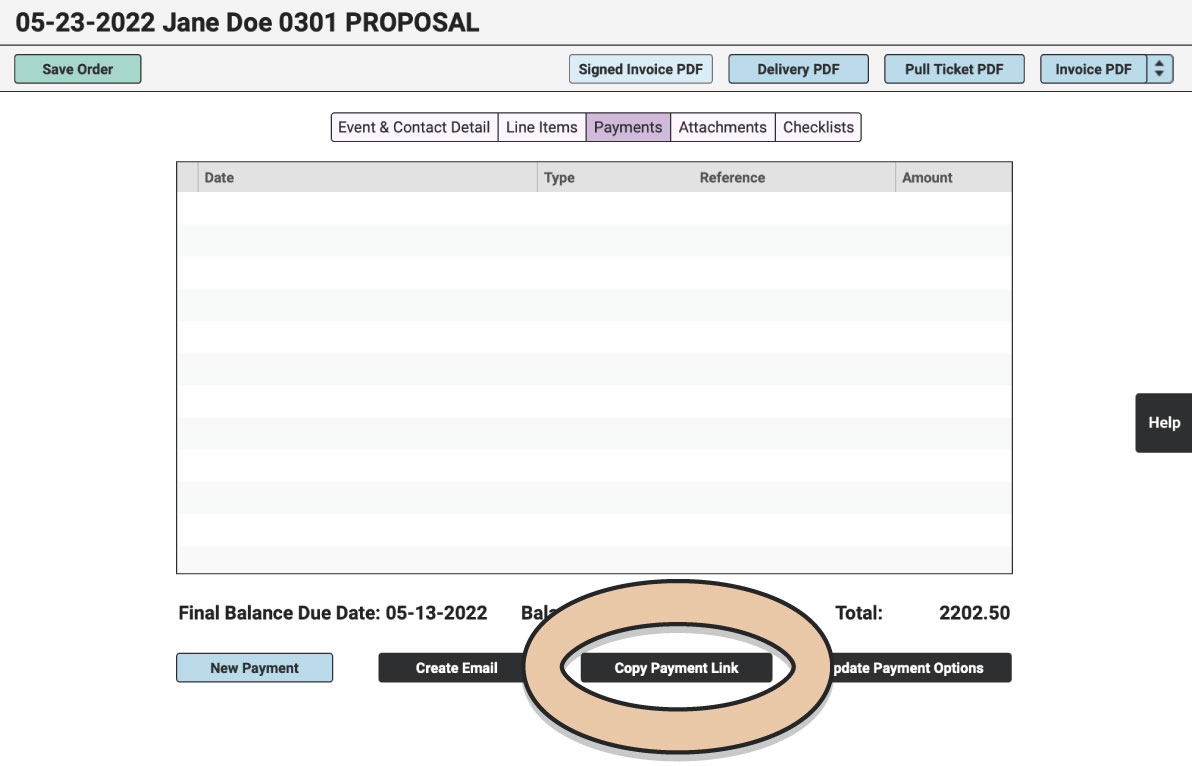
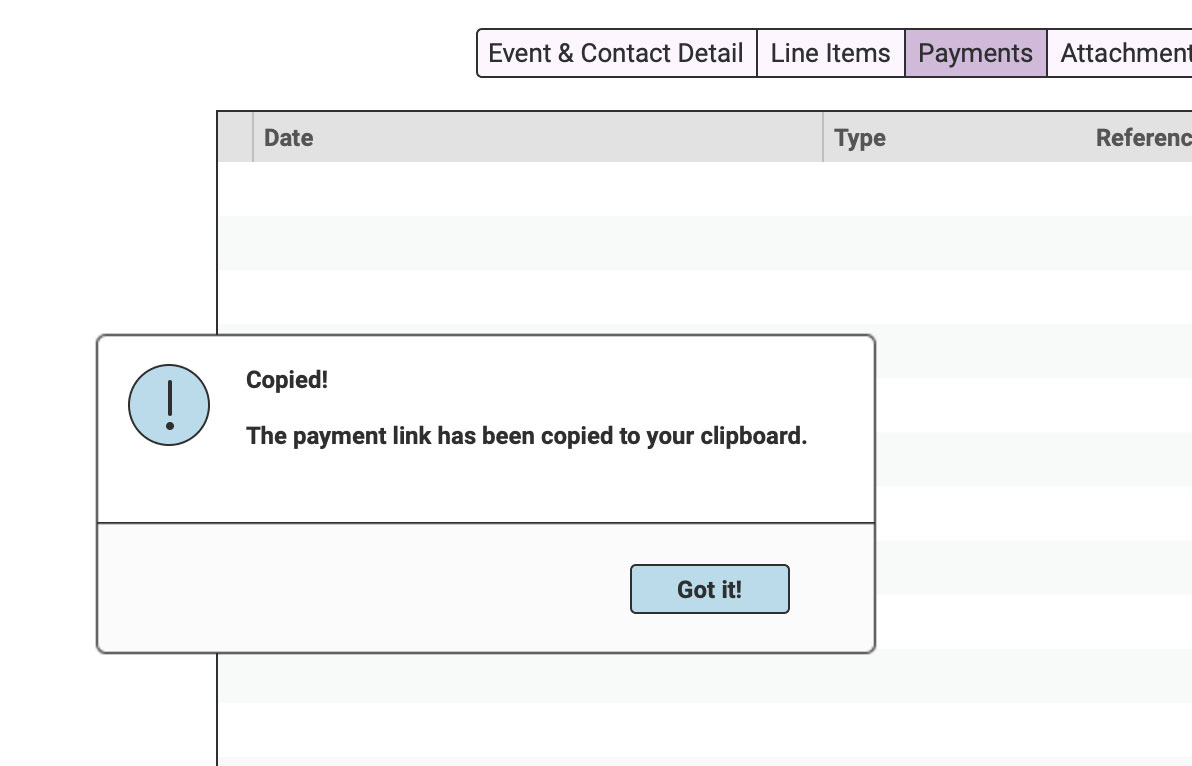
The link will be copied to your clipboard.
Paste it wherever you’d like.
Once your Customer has completed the Payment, it will appear within the “Payments” tab on the Order. Since they agreed to your Terms & Conditions at the time of the Payment, the Order will also automatically become Confirmed.
Any Online Payments you receive will be listed in the Daily Payment Summary Email that is sent to you from RW Elephant.
Additionally, once your customer receives the Payment Confirmation Email, you’ll see a record of it within your Order History tab.
E-Signatures
Enable E-Signatures within your Account to collect signatures electronically.
Once E-Signatures are enabled, the Payment Link will first take your customer to the E-Signature page for Proposals to be signed.
Once they’ve signed in agreement to your Terms & Conditions, they’ll be directed to the Online Payment Page.
Autopay
When making their initial deposit, your customers can agree to Autopay the same card for their Final Balance on the Final Balance Due Date.
With Autopay, you’ll get that Final Balance payment before it even crosses your mind—no chasing necessary.
If an Order was selected to Autopay, the tick box will be ticked within Update Payment Options under the Payments tab of the Order.
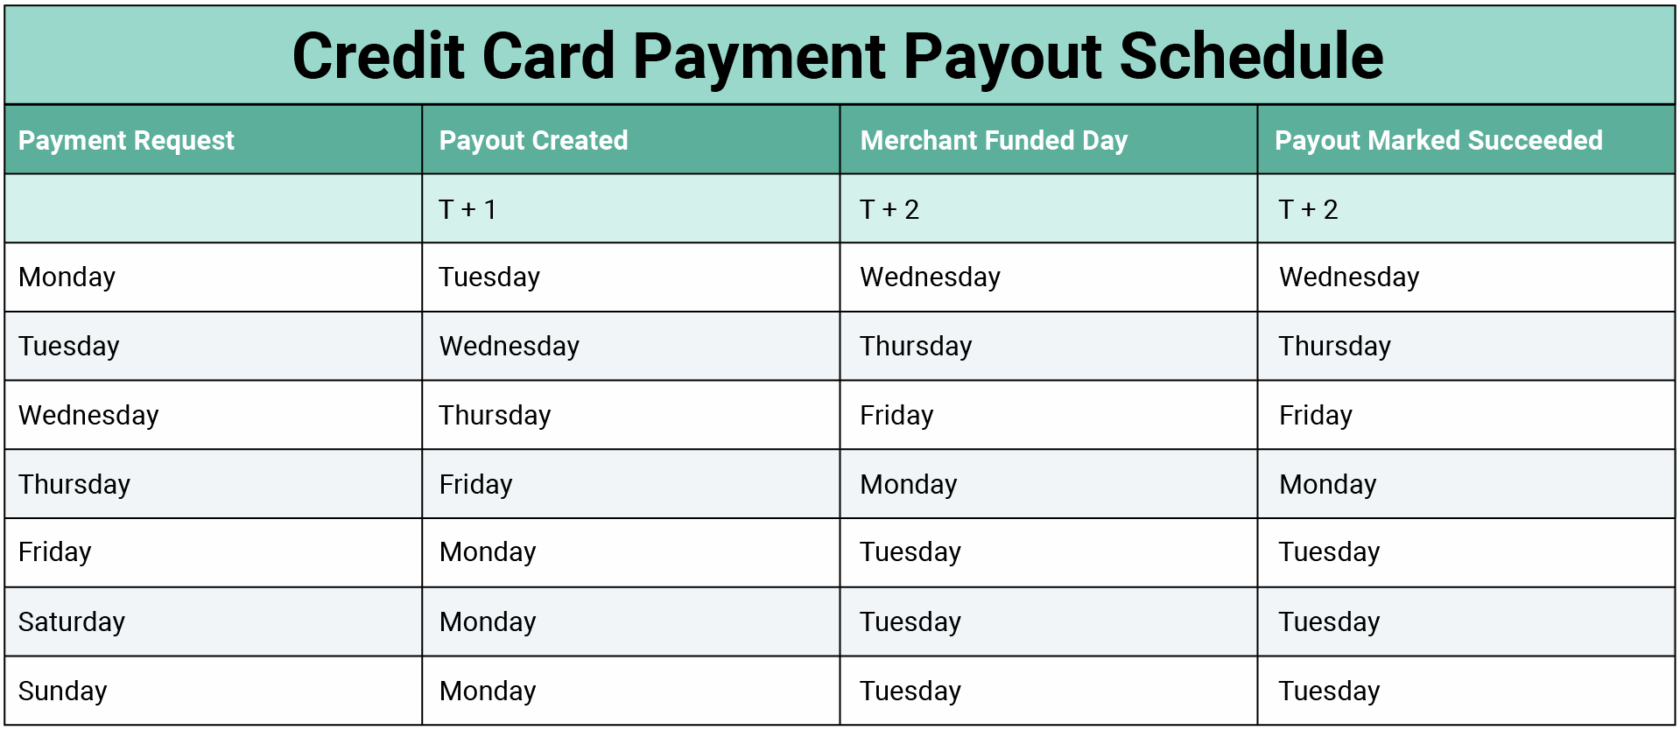
RW Pay Credit Card Processing Timeline
T = transaction day
Interested in offering your Customers the choice between paying by credit card or ACH? Check out ACH with RW Pay!