PLEASE NOTE: This feature is only available for users that have enabled Integrated Credit Card Processing.
E-Signatures allow you to collect agreement to your Terms & Conditions electronically, no more back-and-forth with your customers waiting for them to physically sign and send back your Rental Agreement.
Enable E-Signature
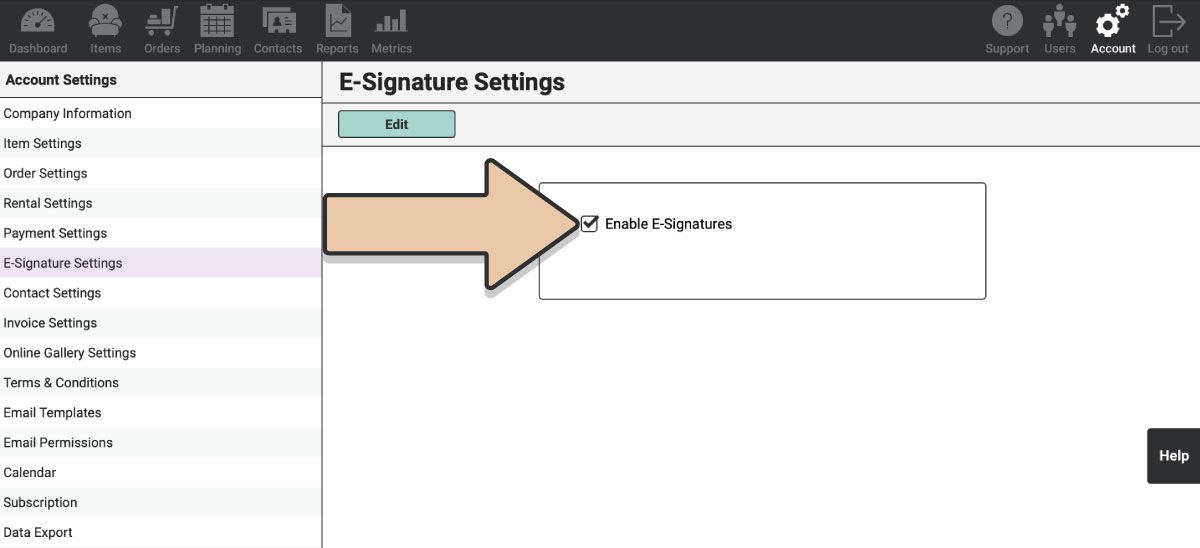
To enable E-Signatures, navigate to the “Account” icon in the upper right corner of your browser window.
Select “E-Signatures Settings” in the left column.
Click the green “Edit” button.
Tick the “Enable E-Signatures” box.
Send E-Signature Page
Once E-Signatures are enabled, the E-Signature page can be found through the Payment Link within a Proposal that has not yet been signed.
To send a Payment Link to a customer, navigate to Orders and select the pertinent Proposal.
Select the “Payments” tab of the Order.
The E-Signature page can be sent in three different ways:
1. Select the “Copy Payment Link” button and send that link to the customer.
2. Select the “Create Email” button to open an email generated based on your Payment Link Email Template (must include the Reference Tag ##PAYMENT_LINK##). This will be ready to send to the email address entered for the Order.
OR
3. Select the drop-down arrows on the “Invoice PDF” button and select “Email PDF Link” to also generate the customized email for this Order.
When the customer opens the Payment Link for a Proposal, it will take them directly to the E-Signature Page.
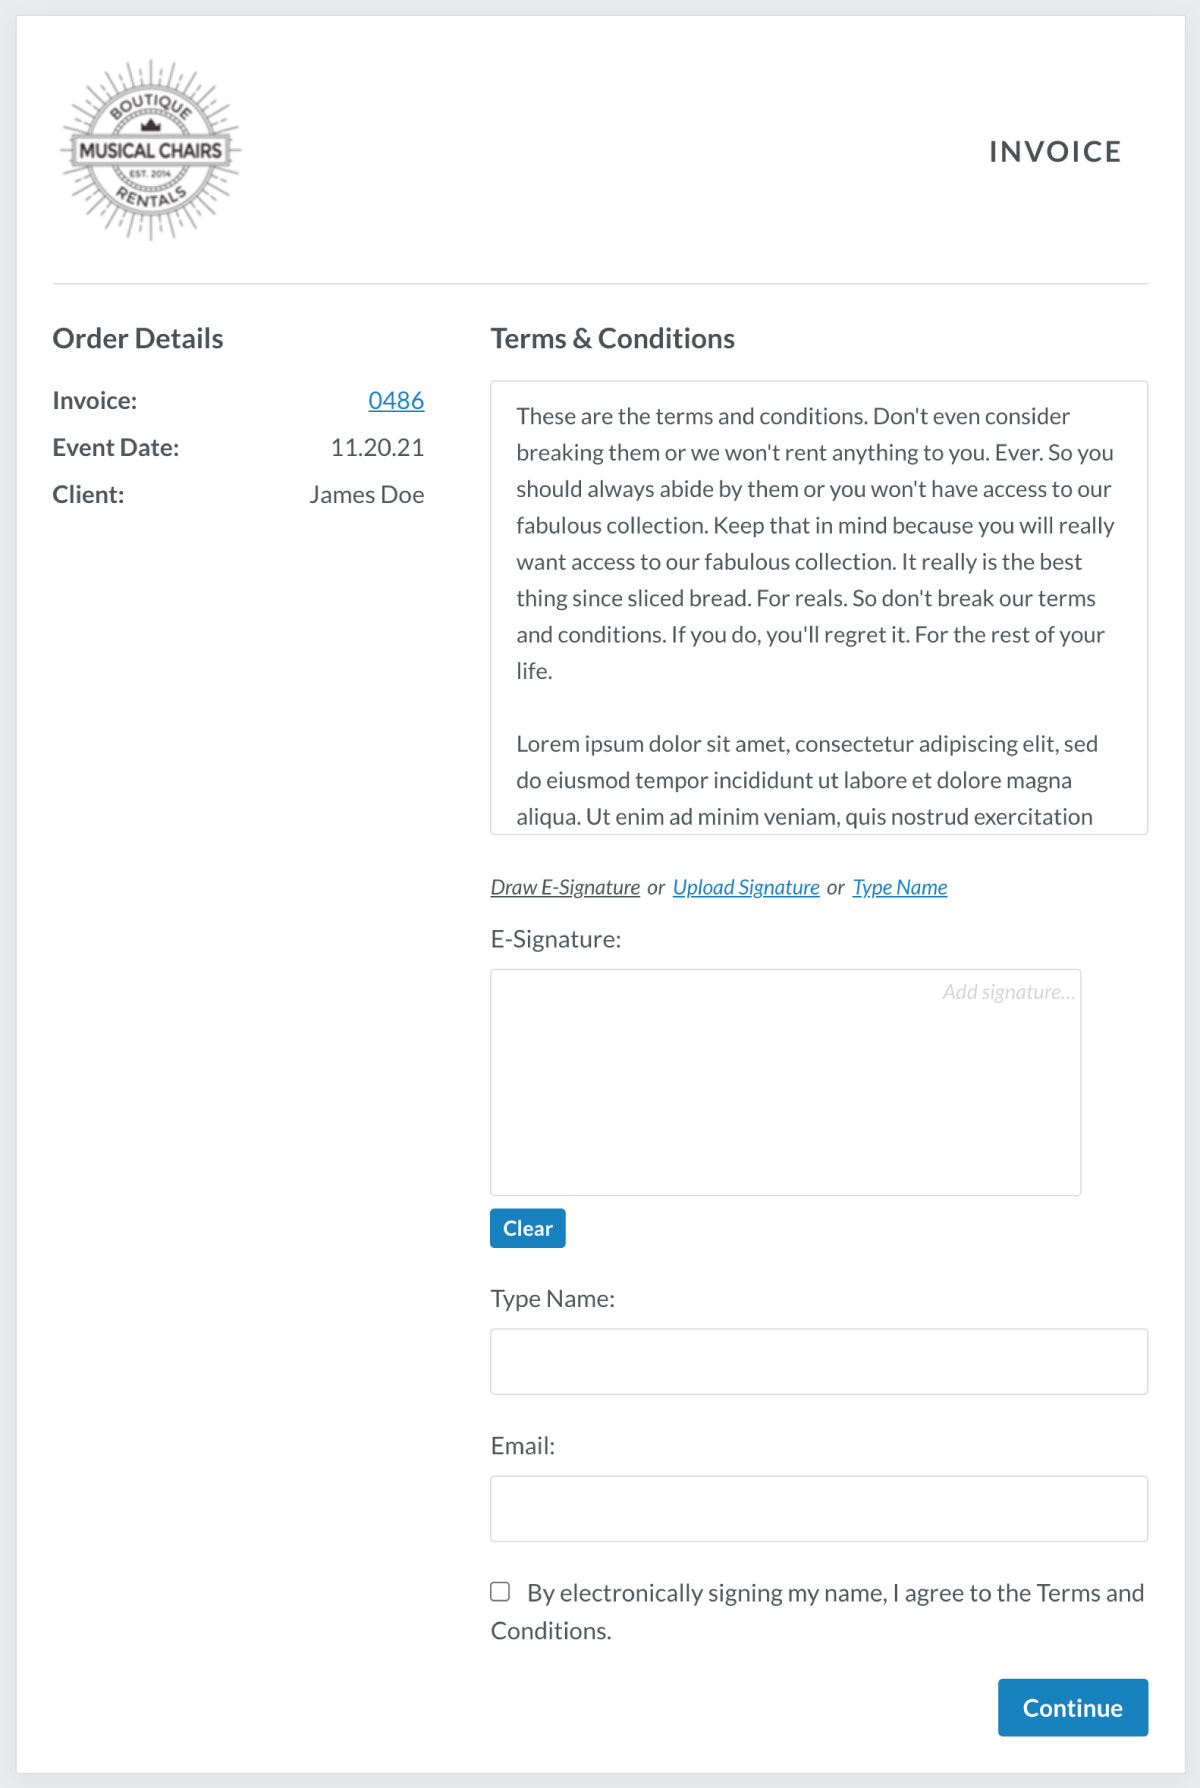
The E-Signature Page will display the Order information on the left and your Terms & Conditions on the right.
In the upper left, find the Order Number (with a hyperlink to their Proposal Invoice PDF), the customer’s name and the Event Date.
Once the customer has read through your Terms & Conditions, they can then electronically sign.
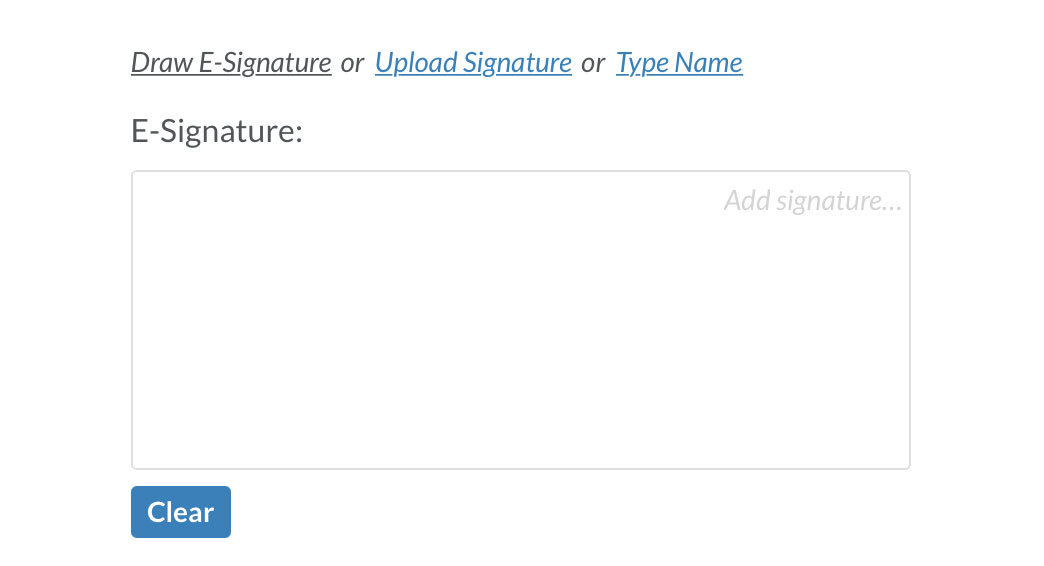
There are three ways to capture an Electronic Signature:
- Draw E-Signature
- Upload Signature
- Type Name
The customer will also be required to type their name and enter their Email address.

Once they’ve clicked “Continue” at the bottom of the E-Signature page, the customer (as well as all Admins in your RW Account) will receive an E-Signature Confirmation Email.
After agreeing to your Terms & Conditions, the customer will be directed straight to the Payment Page where they can pay by credit card.
Once the deposit has been paid, the Order will automatically become Confirmed within your RW Account and they will receive the Payment Confirmation Email.
Any time the customer views the Payment Link of a CONFIRMED Order, it will then direct them straight to the payment portion, skipping the Terms & Conditions section.
Signed Invoice PDF
The E-signed version of the Proposal can be viewed within the Order by selecting the “Signed Invoice PDF” button.
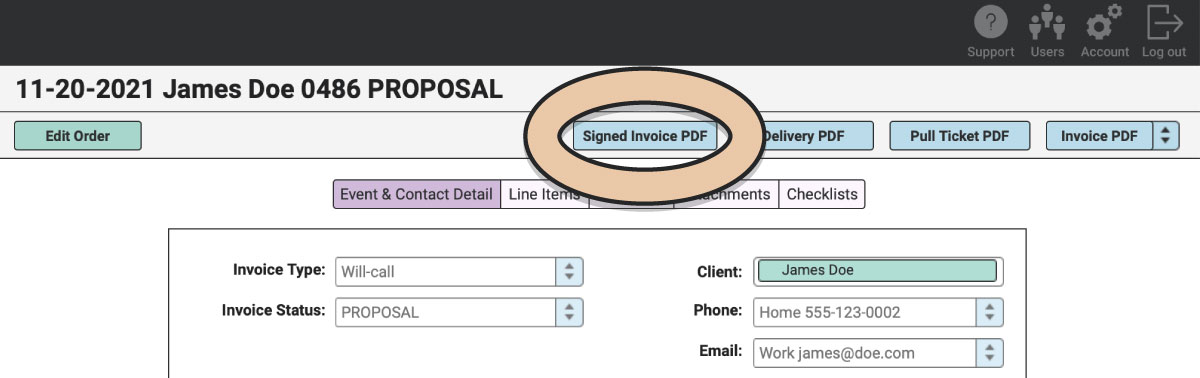
This Signed Invoice PDF is the version of the Proposal at the time of consent, with the E-Signature image placed below the Terms & Conditions.
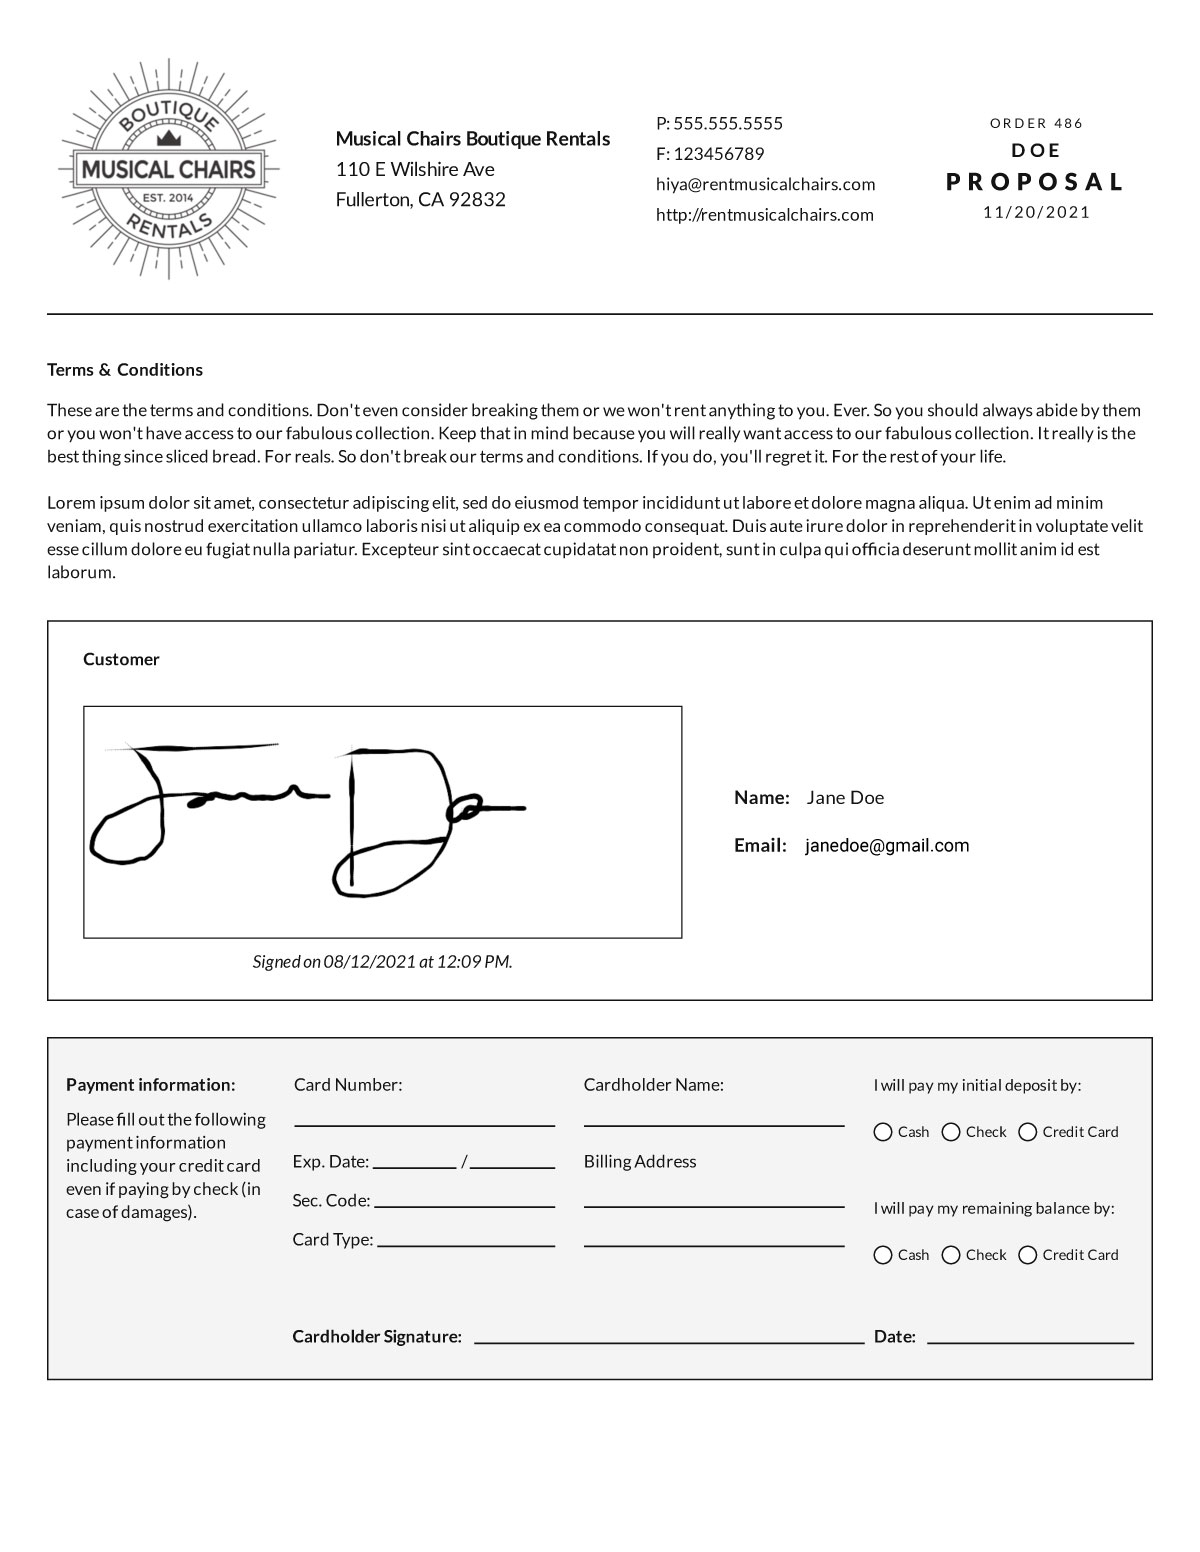
It will include the name and email address of the customer who signed as well as the date and time at which they E-signed.
This version of the Signed Invoice PDF will not change unless the Order is re-signed.
If you’d like the customer to re-sign the Order, you’ll first need to change the Order Status back to Proposal, then resend the Payment Link.