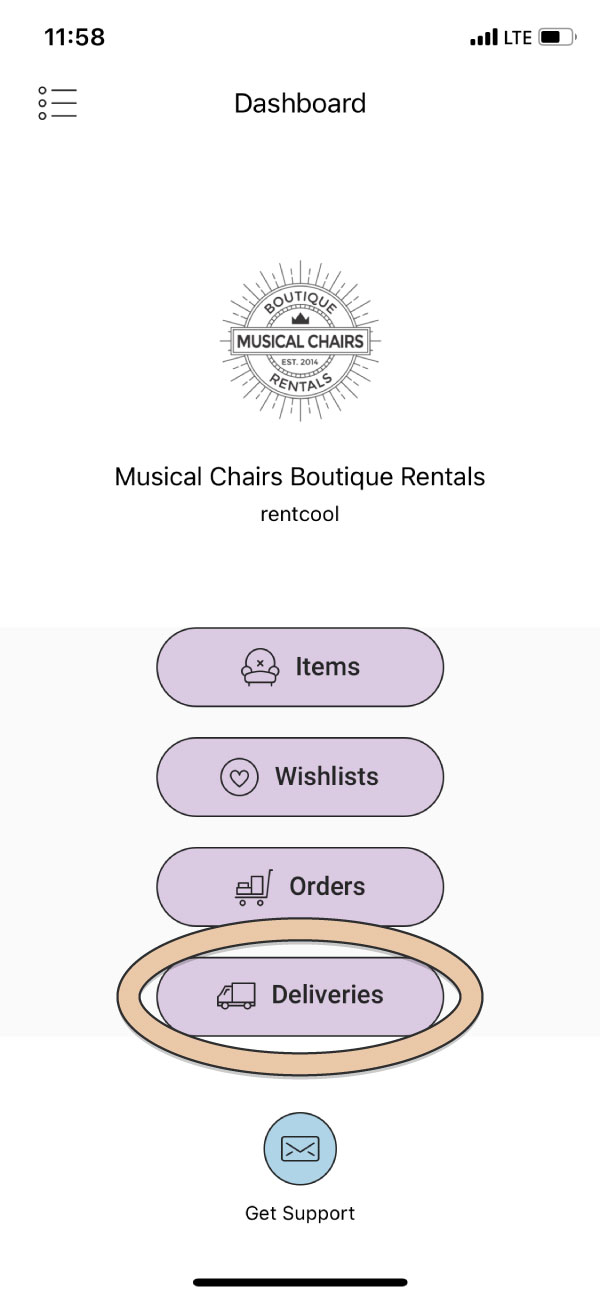
From the App Dashboard, select the “Deliveries” icon.
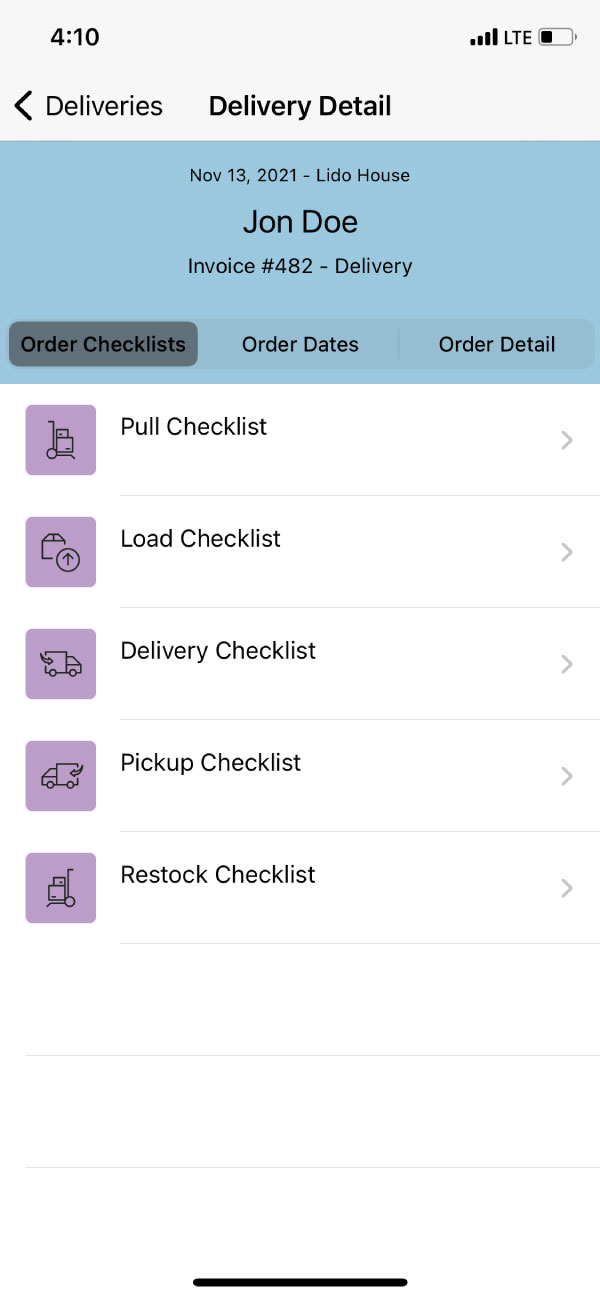
Select an Order to start a Checklist.
Checklist Types
There are five Checklists available for each Order:
- Pull Checklist – for pulling Items from the shelf within the warehouse
- Load Checklist – for loading Items into the Delivery truck at the warehouse
- Delivery Checklist* – for unloading Items at the Venue
- Pickup Checklist* – for picking up Items after the event
- Restock Checklist – for restocking Items back at your warehouse
*Delivery and Pickup Checklists allow for Client Signatures before and after the event.
Within each Checklist, see the Item Name, Item Image, Quantity, and Line Item Notes.**
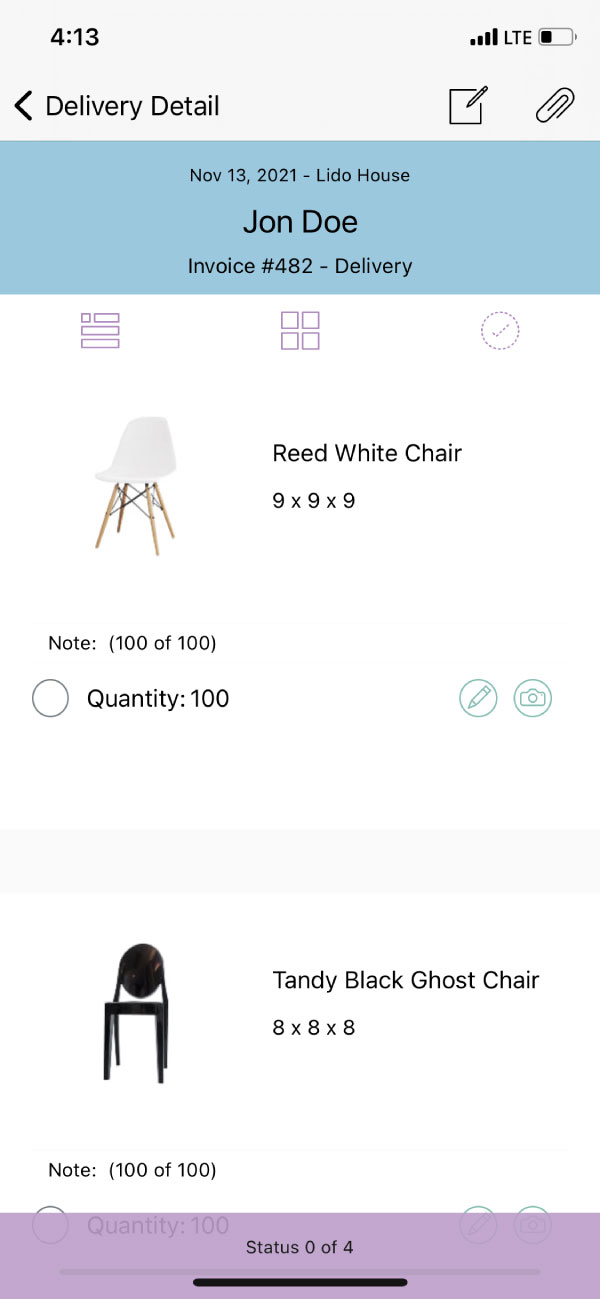
View the Checklist in default List view or in Thumbnail View by tapping the four squares icon.
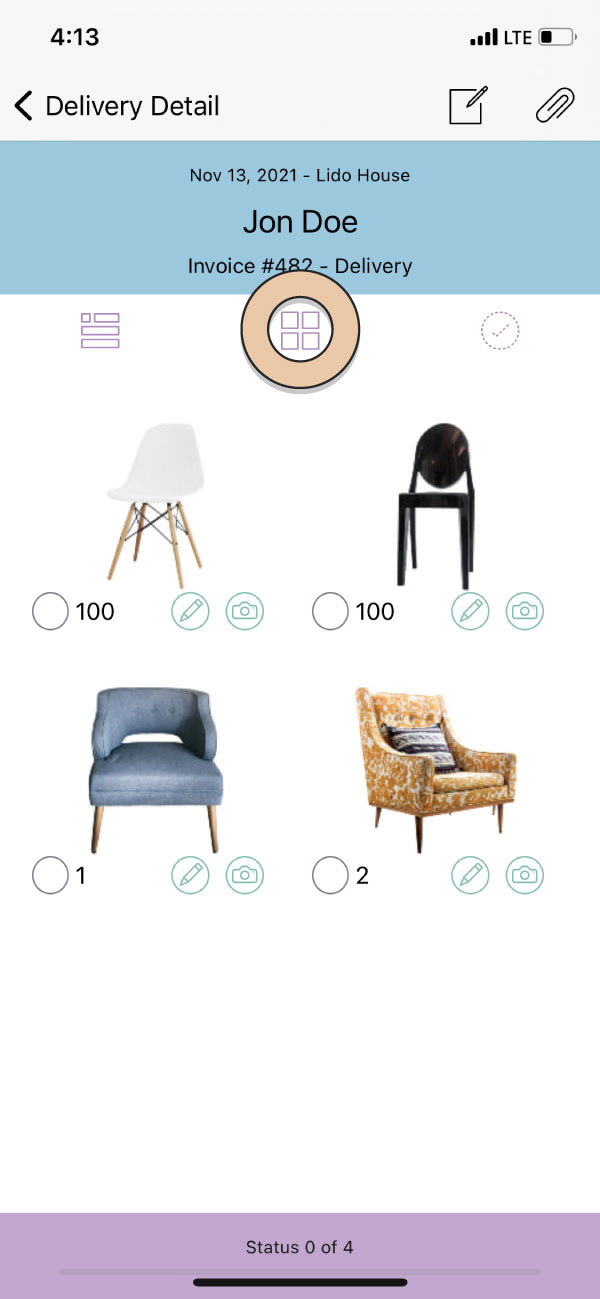
**Conceptual Items will not appear on Order Checklists within the iOS App.
Checklist Progress
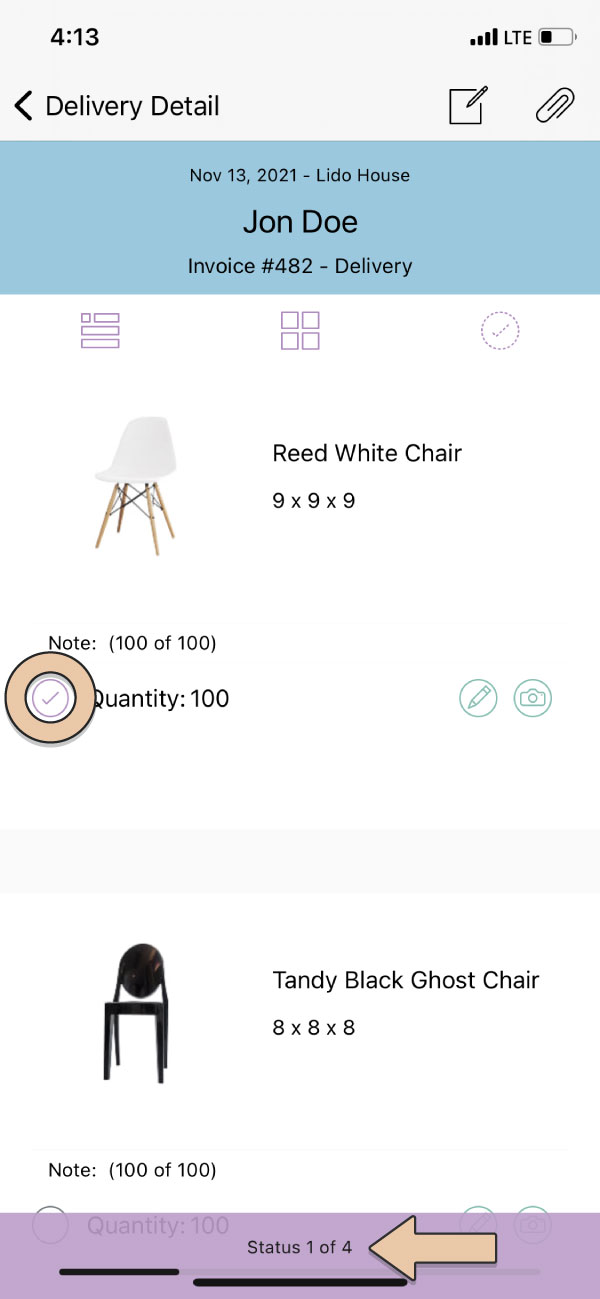
Check off Items by ticking the circle next to “Quantity” at each stage of an Order to note that the Item was accounted for.
Continue ticking off each Item as its loaded, unloaded, etc.
As Items are checked off, the status bar at the bottom will keep track of your progress. This will help make sure no Items get left behind and the Crew can easily see how many Items are left.
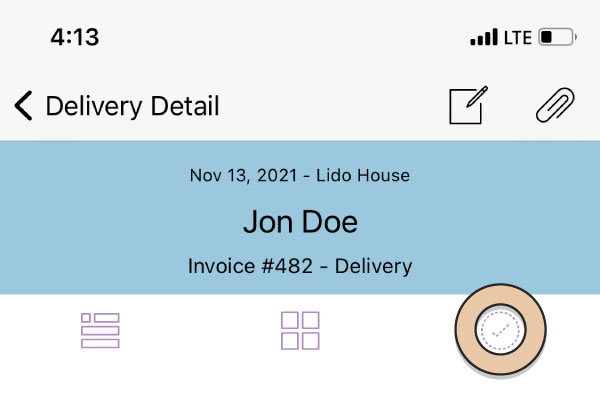
Use the Checkbox icon at the top of the Checklist to filter through the progress of your Checklist.
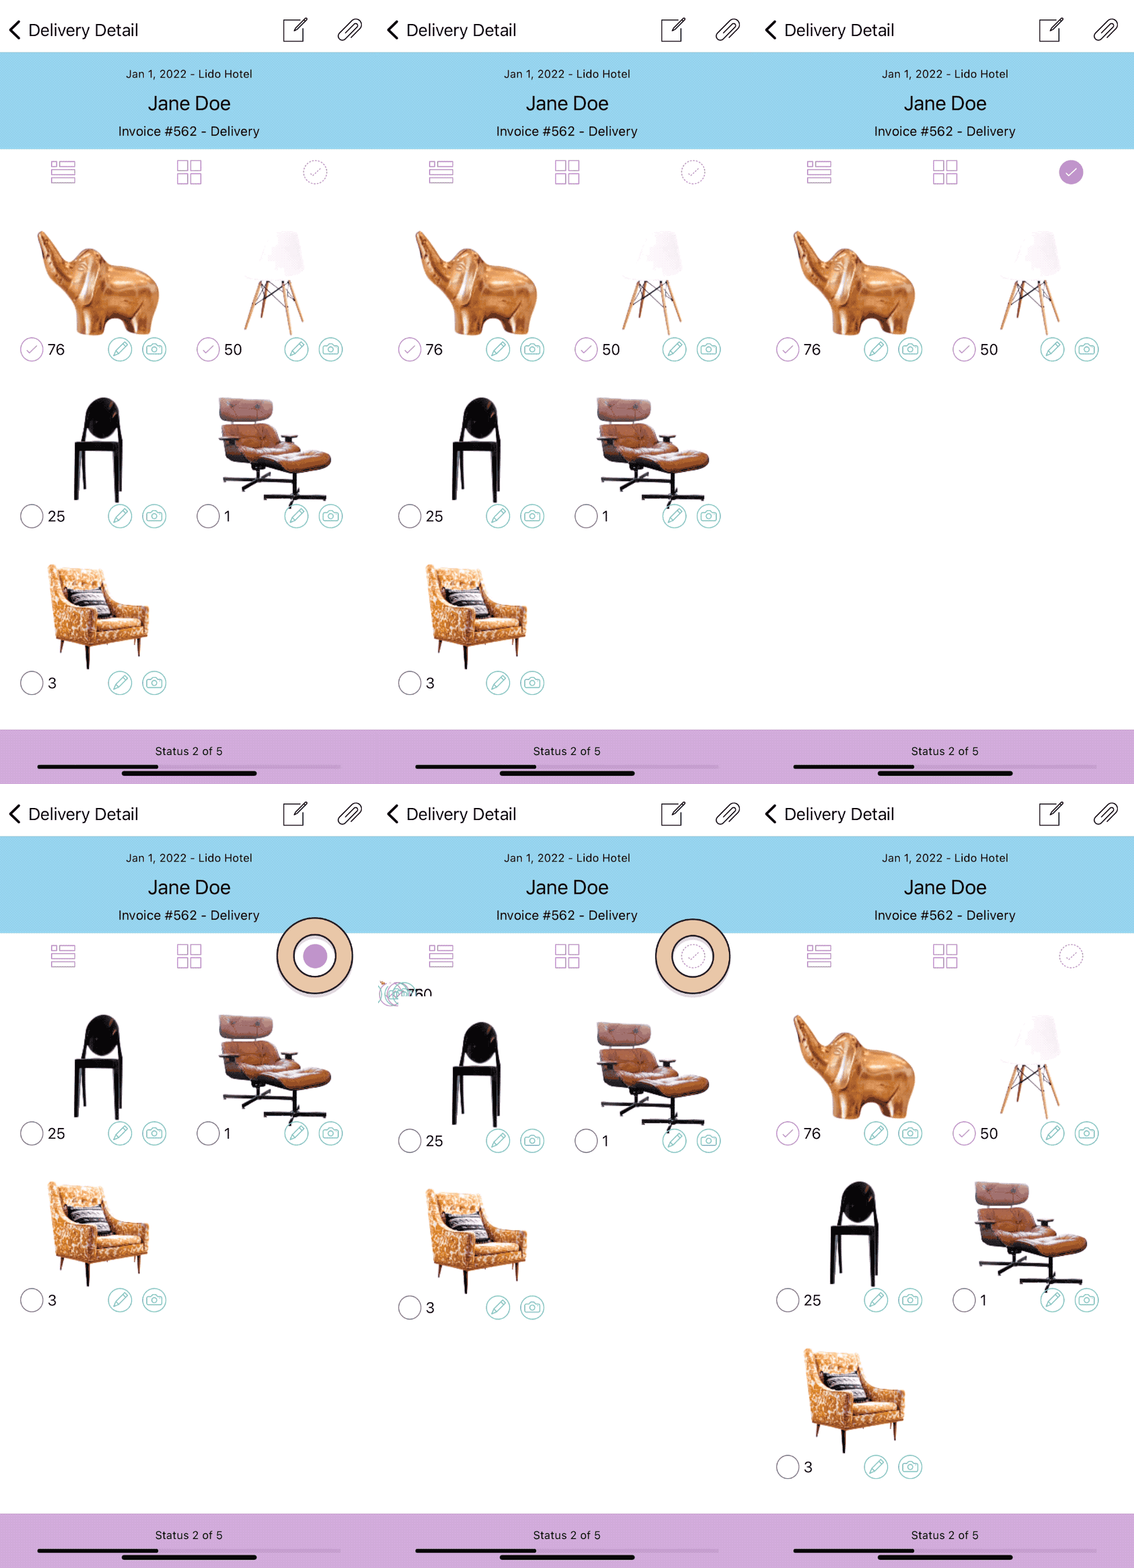
Each time you select this icon, the view & the corresponding icon will change to depict what view you’re in:
- Dash circle with checkmark: this will display all the Items on the Checklist in the default order
- Solid circle with checkmark: this will display all Items that have already been checked off
- Solid circle no checkmark: this will display on the Items that have yet to be checked
Order Attachments
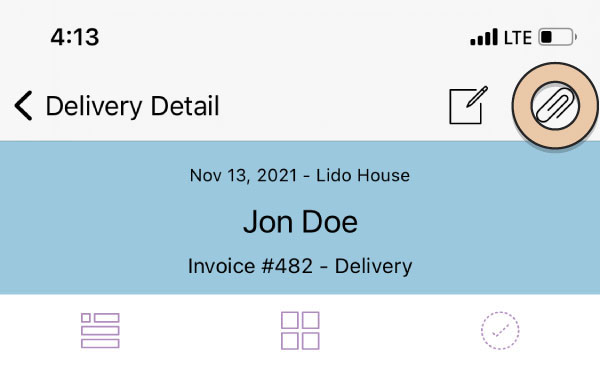
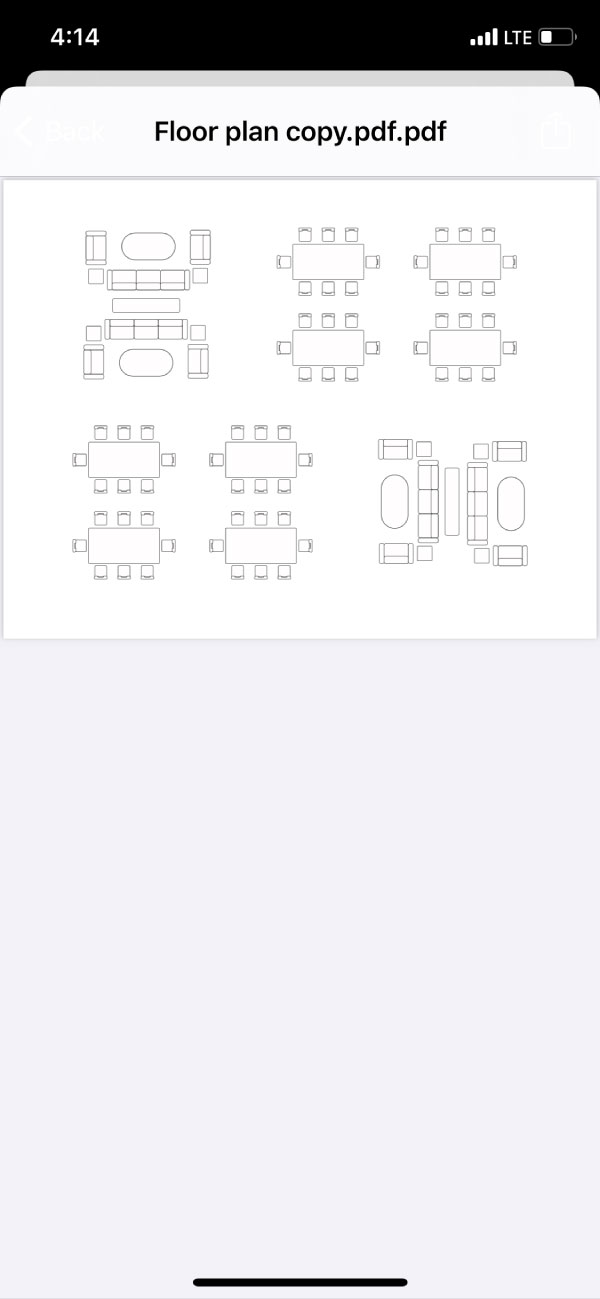
If there are Order Attachments on the Order (i.e. floor plan, design mock-up, etc.) a paper clip icon will appear in the upper right corner for your Crew to easily view the documents within the App.
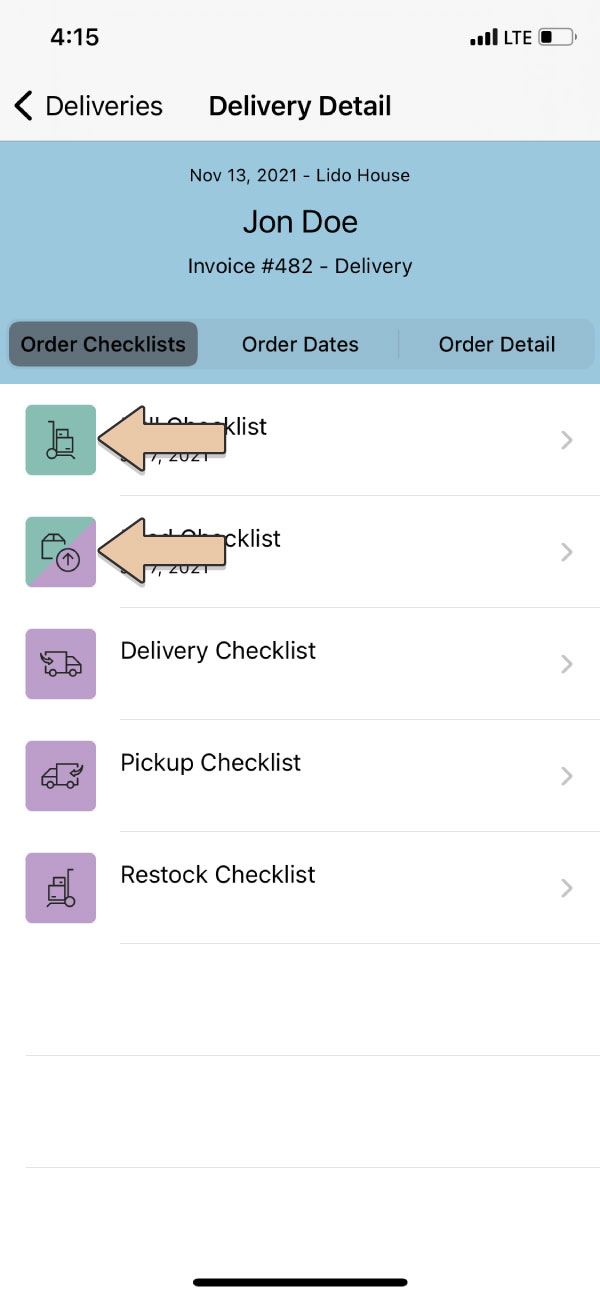
Once a Checklist is Completed, its icon will become green. A partially completed Checklist will be half blue & half green
Checklist Notes
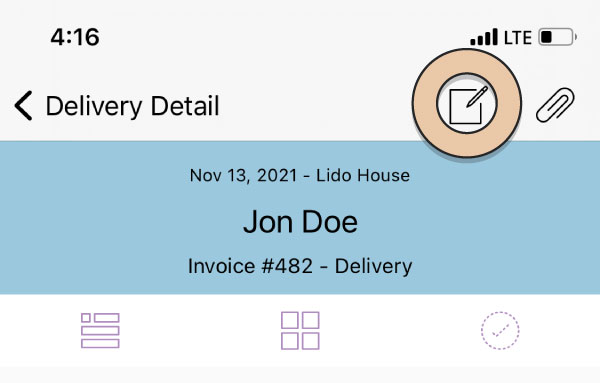
Take notes at every stage of the delivery. Within a Delivery Checklist, click the Note icon in the upper right corner of the page.
Checklist Notes will display at the top of every other Checklist so your crew never misses the good stuff.
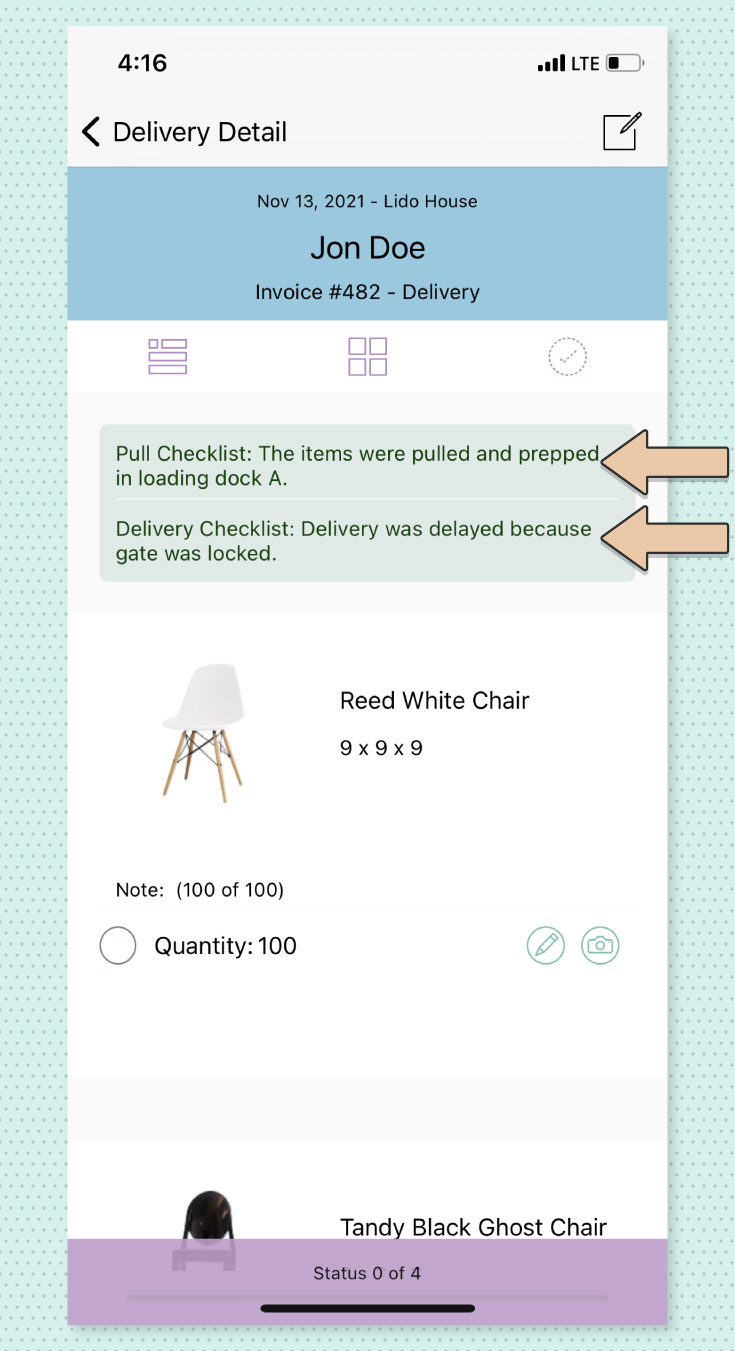
Also take notes on an Item-by-Item basis.
Checklist Item Notes
Add a note about an Item at each stage of delivery by clicking on the Note icon.
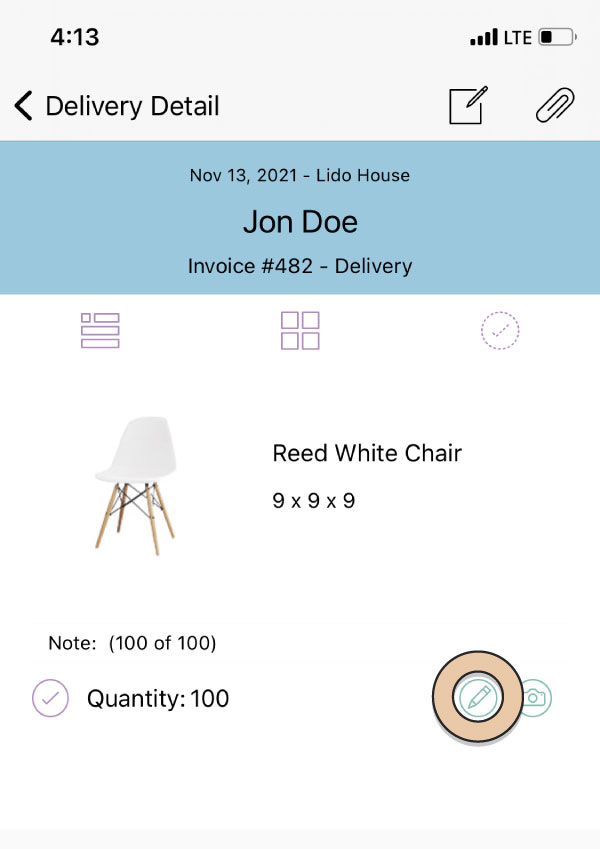
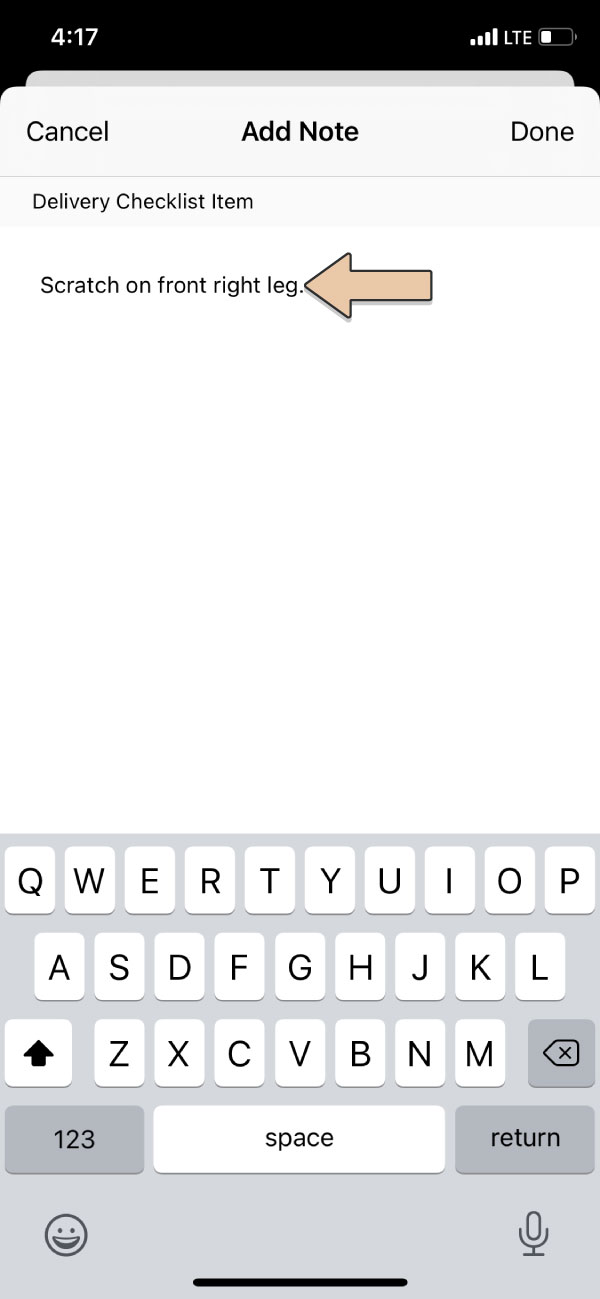
Type in the note and click “Done” in the upper right hand corner.
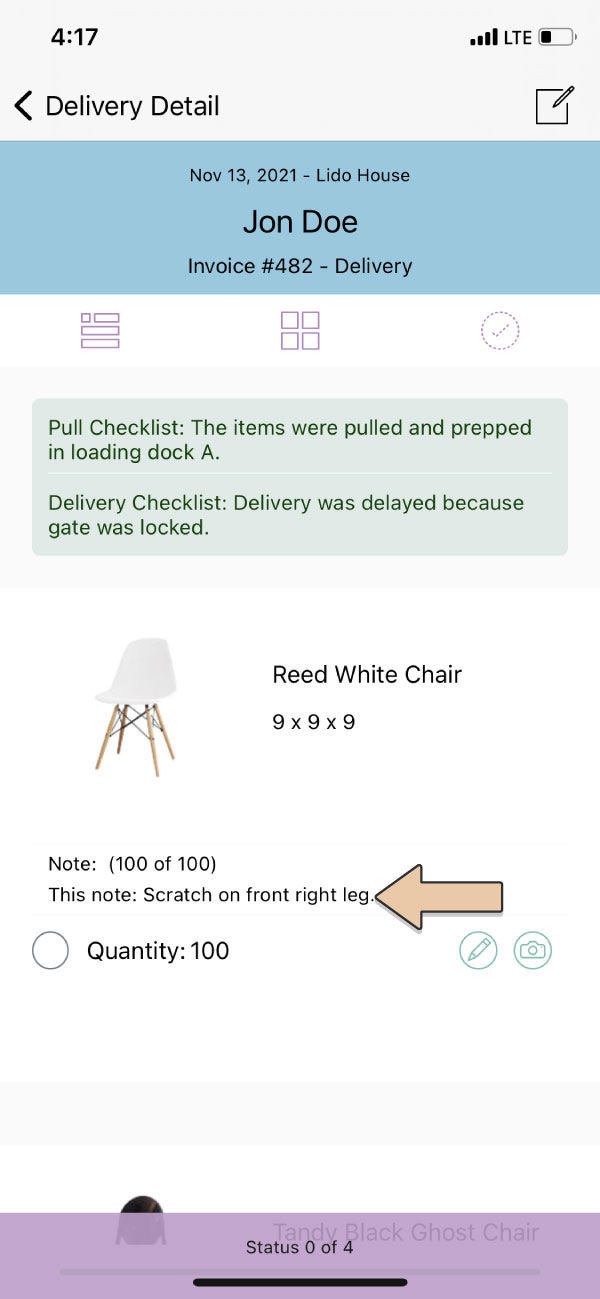
The note will display on all of the Order’s following Checklists and will denote which of the Checklists it came from (i.e. Load, Delivery, etc.).
Checklist Item Images
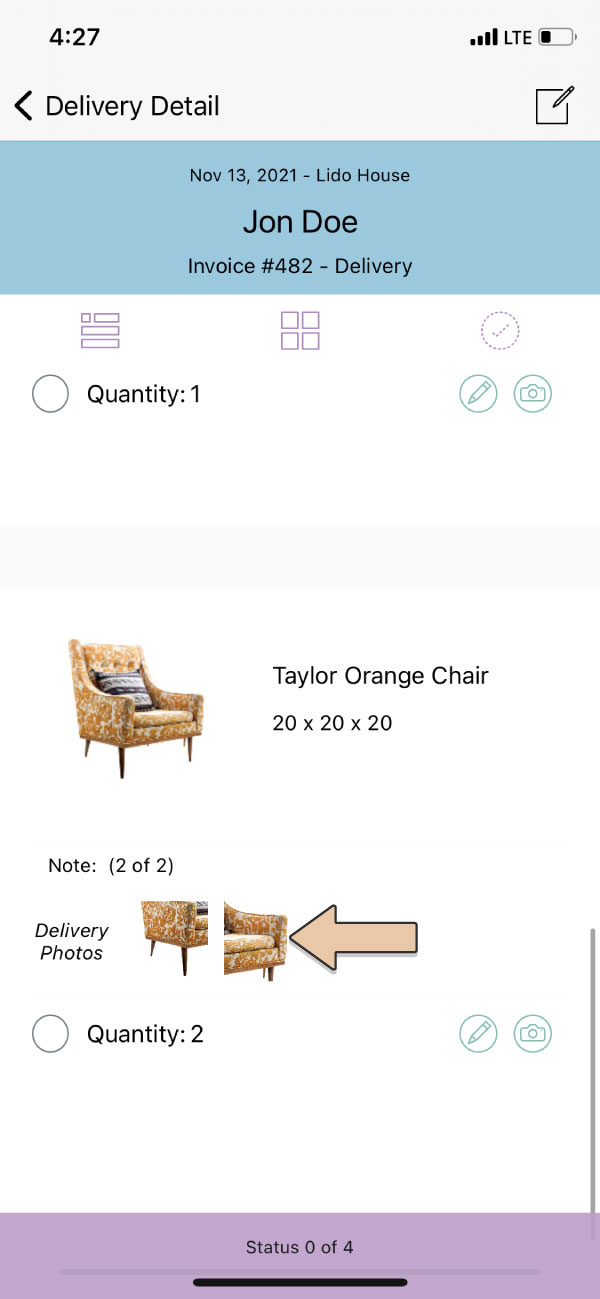
Add photos of an Item within a Checklist to document damages, placement, etc.
Click on the Camera icon next to an Item.
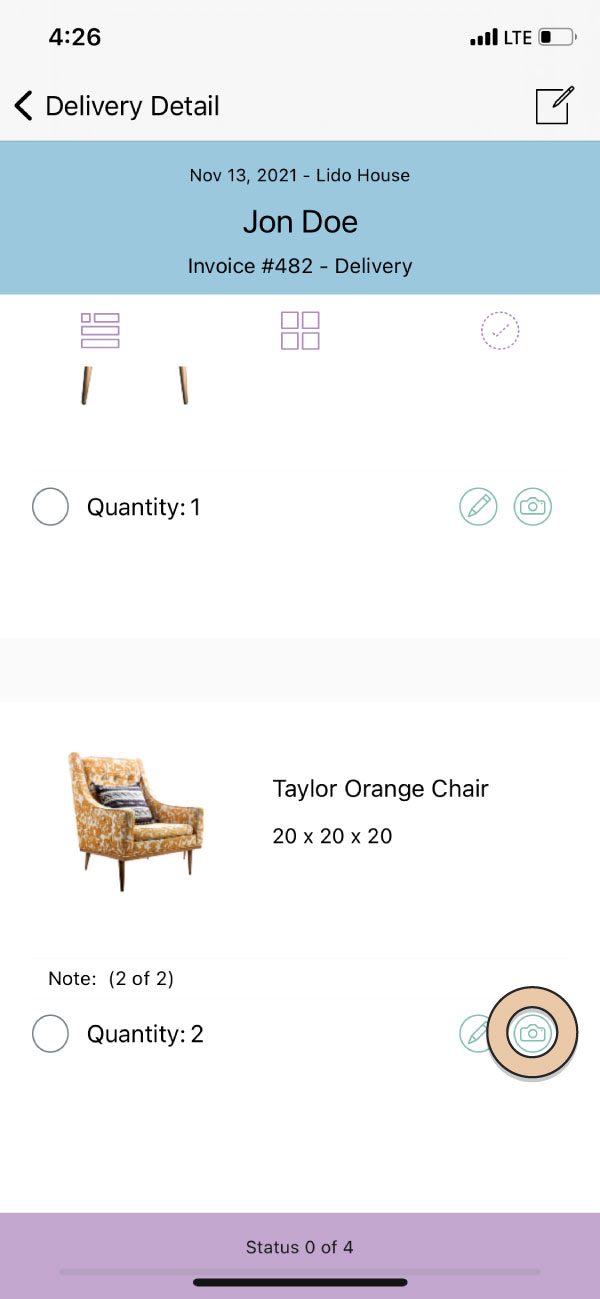
Click the green “+” button to upload or take photos to add to an Item.
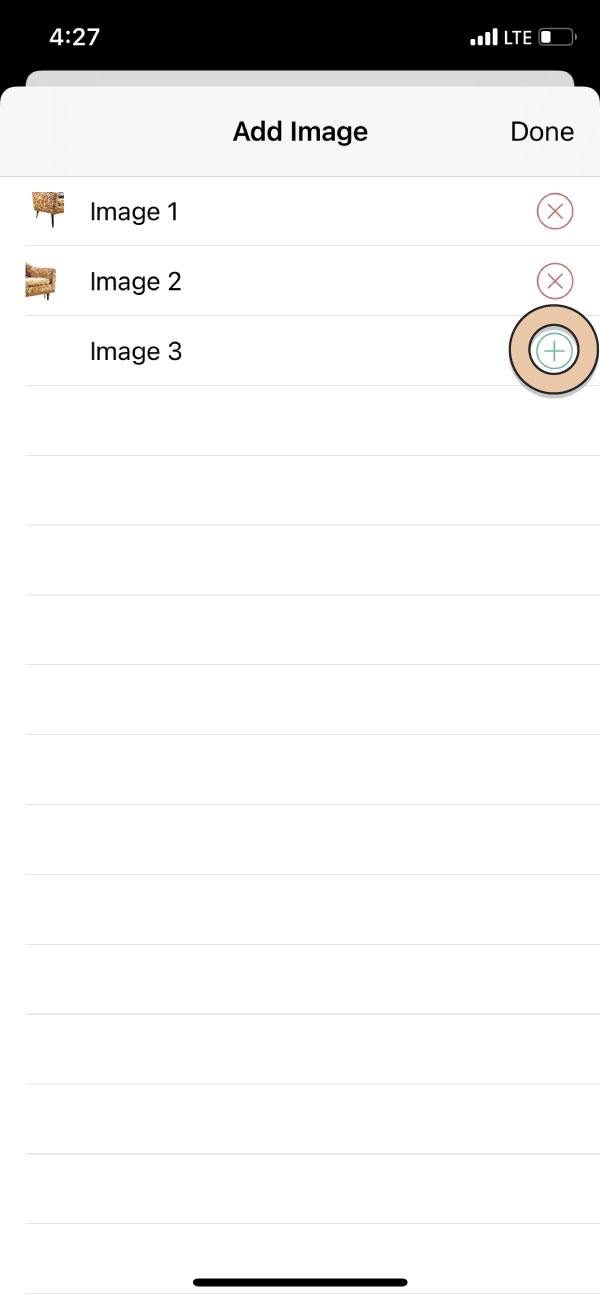
Once you’ve added Images to an Item, they will appear below the Item and will denote which Checklist it was added to. The Images will also appear within Checklist PDFs in your desktop Account.
Collect Signatures
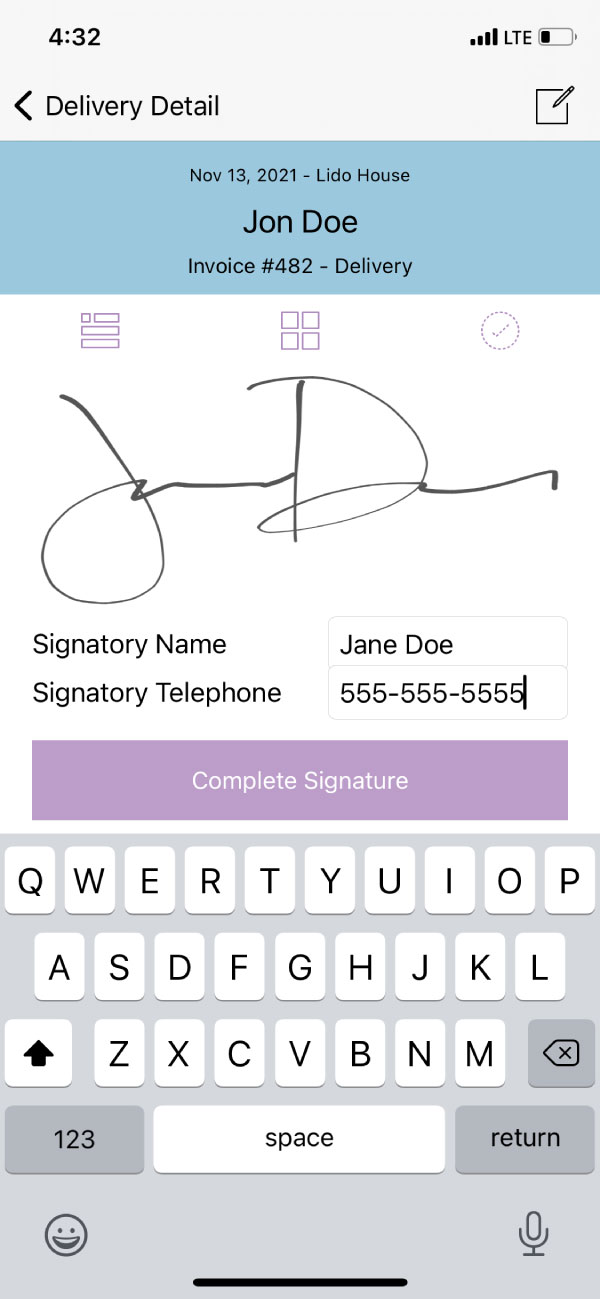
Delivery and Pickup Checklists are special in that they allow Clients to read your Terms & Conditions and E-sign right within the iOS App.
Once all Items are ticked & accounted for within Delivery and Pickup Checklists, your Delivery Ticket Terms will appear at the bottom of the Checklist also with fields to enter the Signatory Name & Signatory Telephone.
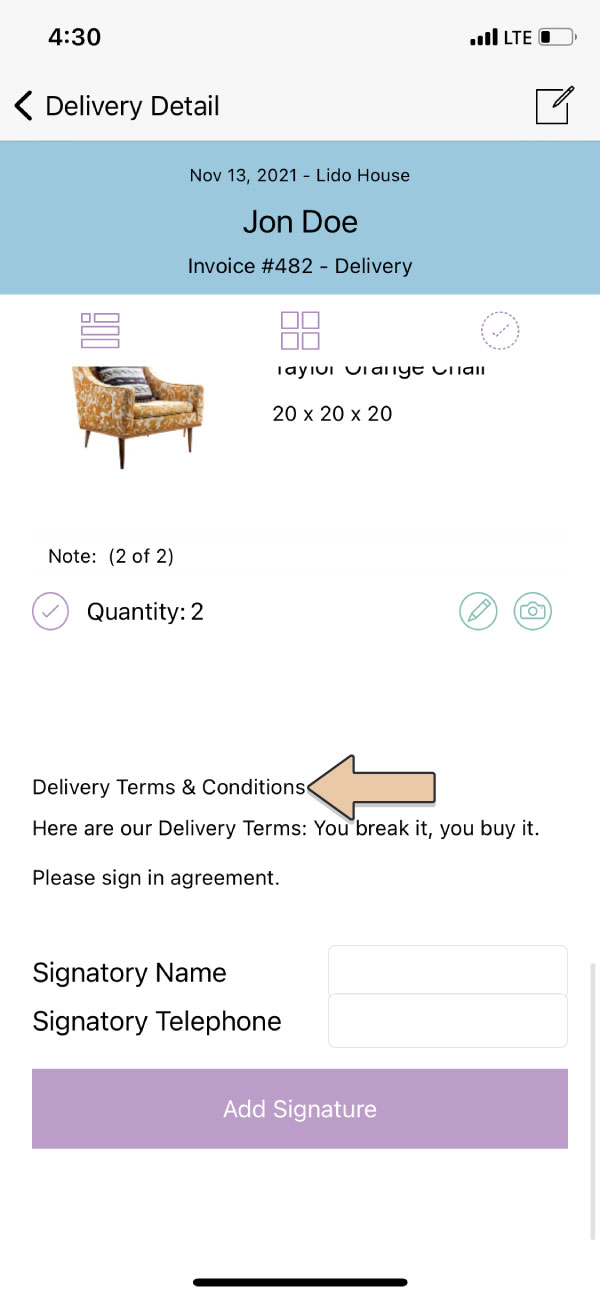
The Delivery Terms & Conditions will generate from the Delivery Ticket Text in your Account Settings.
Delivery Checklists will populate the “TOP” Delivery Ticket Text.
Pickup Checklist will populate the “BOTTOM” Delivery Ticket Text.
These Delivery Ticket Text fields can be managed within your desktop Account Settings under Terms and Conditions.
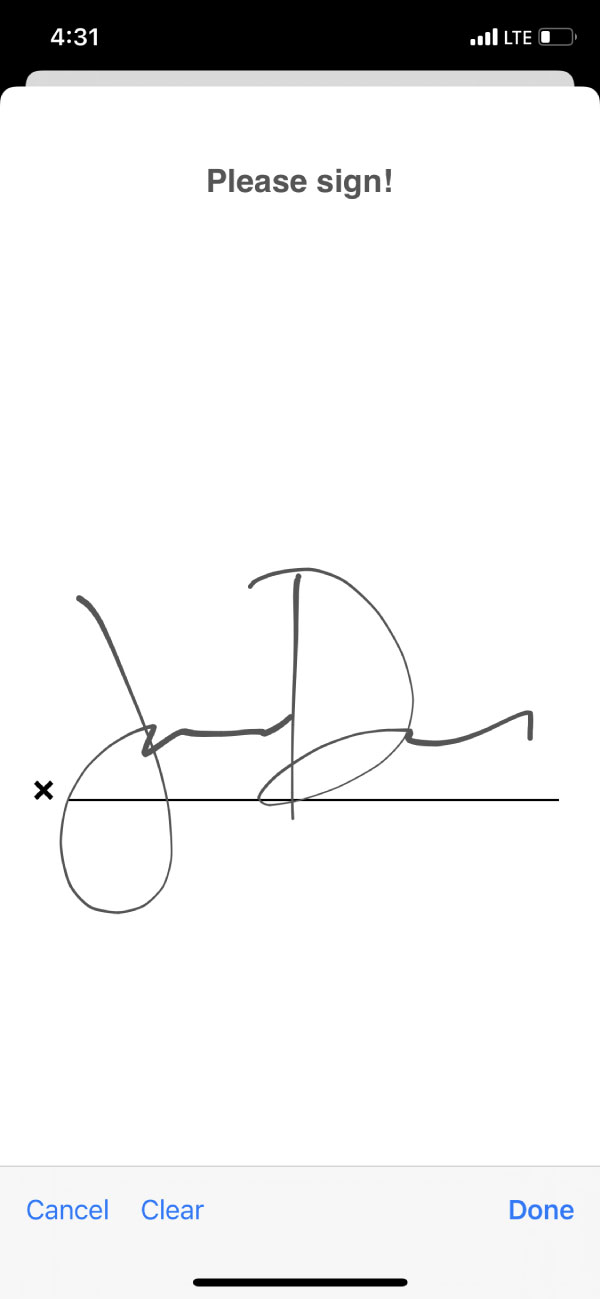
Select Add Signature for the client to sign right within the App.
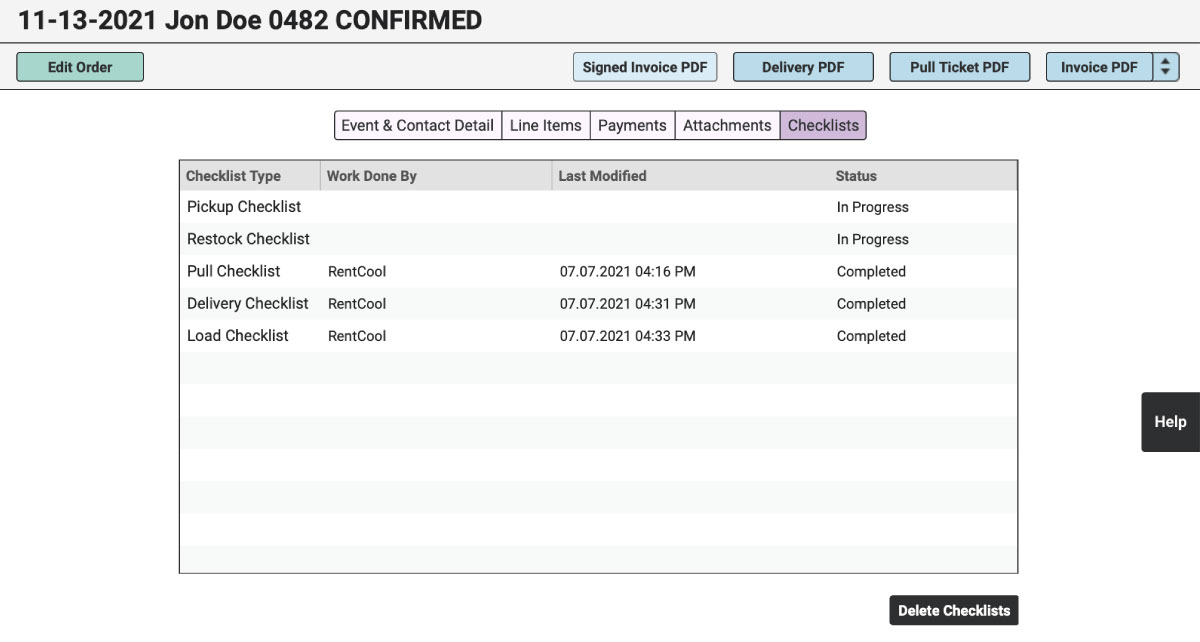
Checklists in Desktop Application
View “Completed” and “In Progress” Checklists within the desktop version of your RW Account under the Checklists tab of the Order.
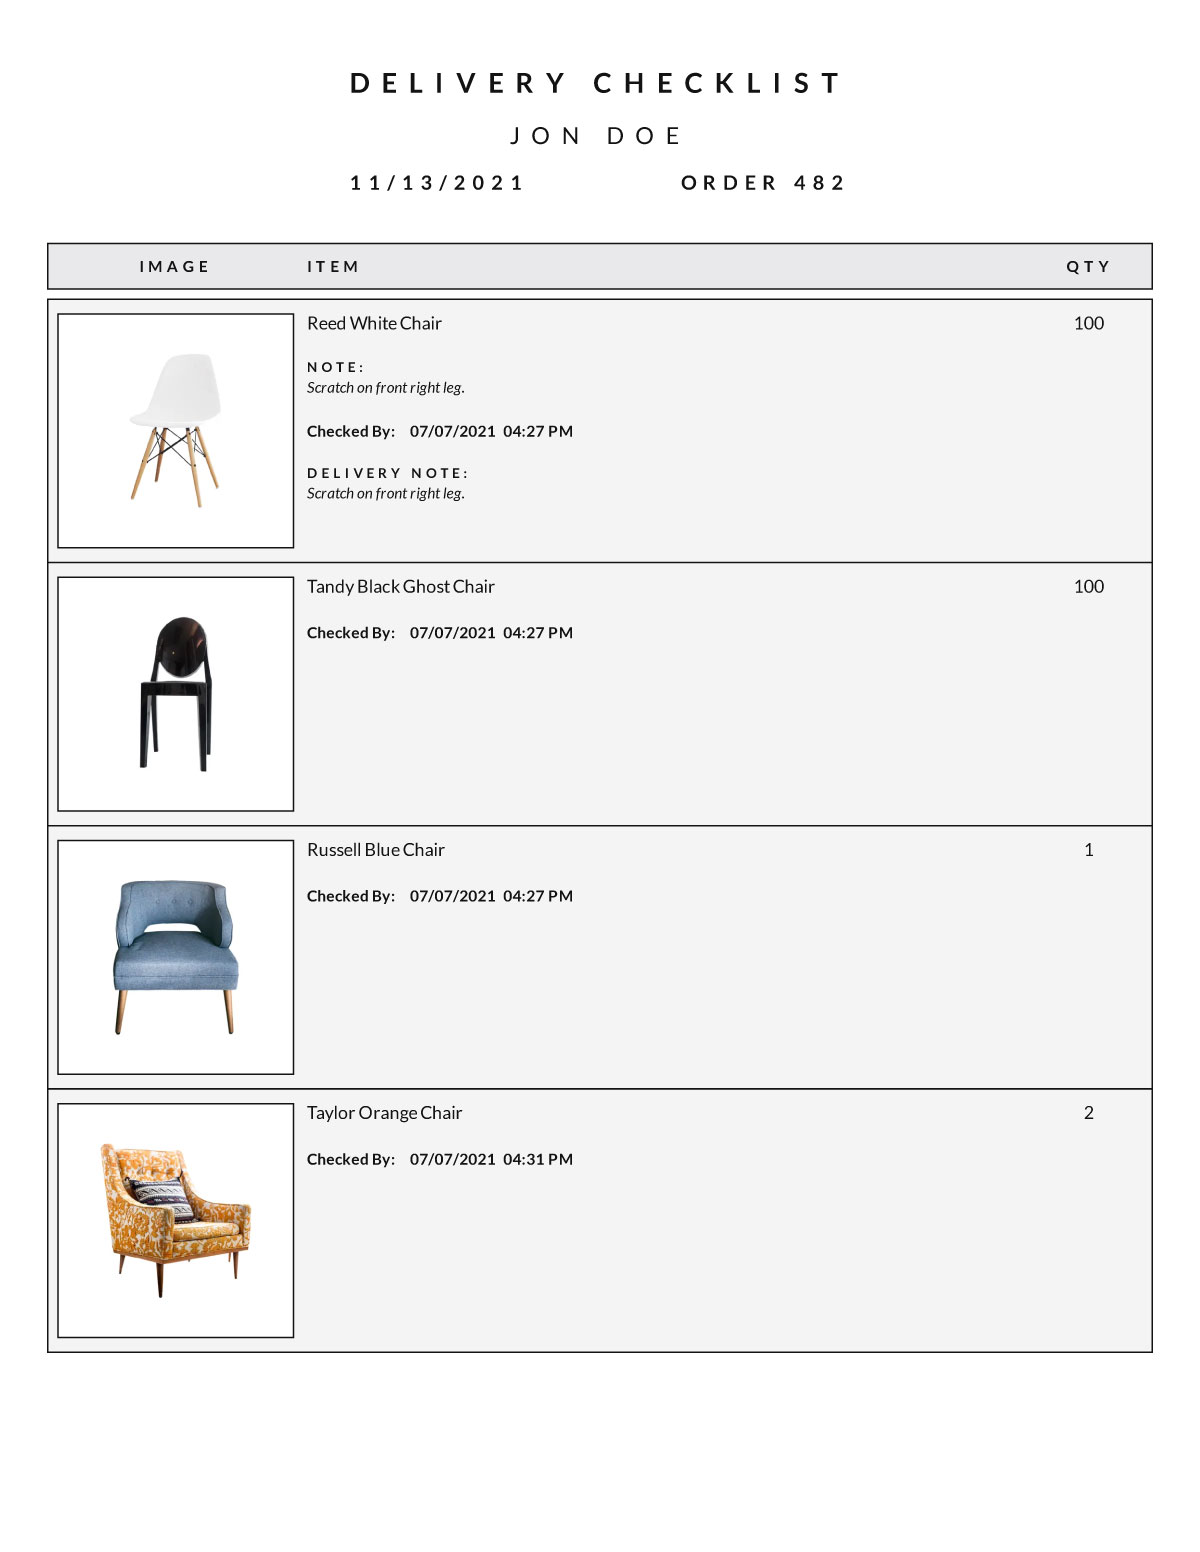
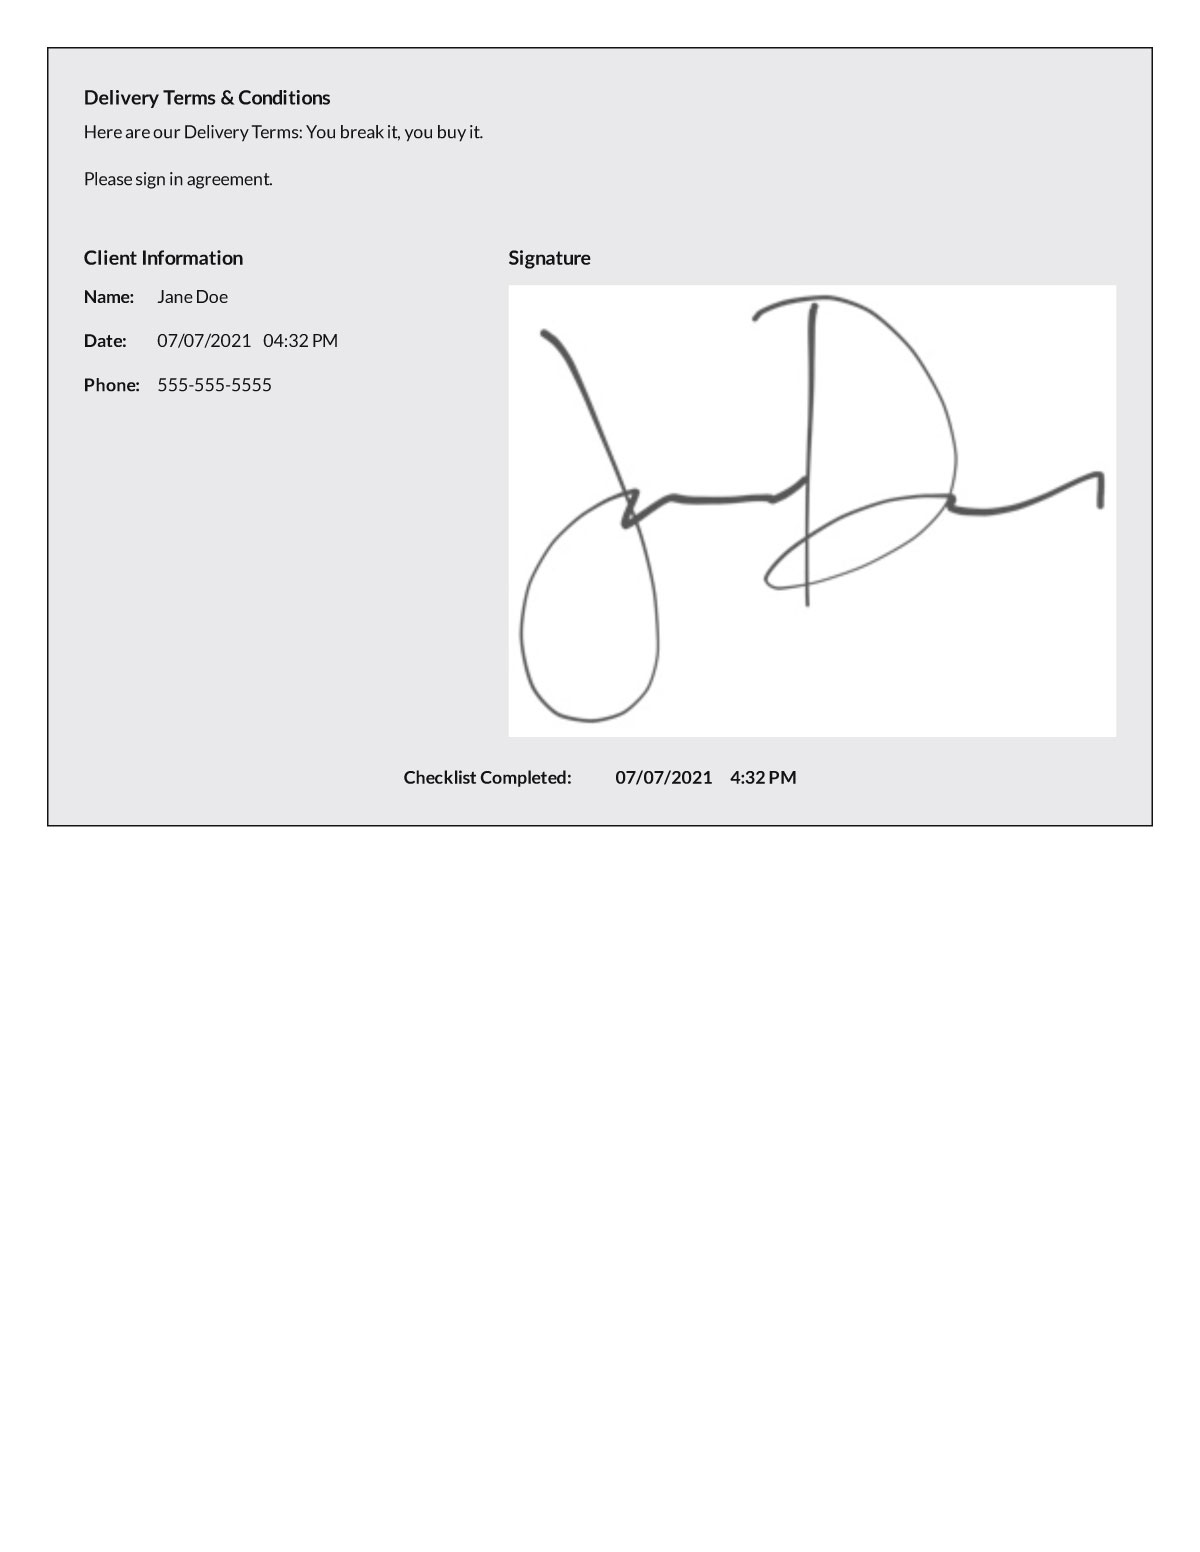
Select a Checklist to view a PDF including all Notes, Images, and Signatures.
The Checklist PDF will also include a timestamp and User that checked off each item and completed the entire Checklist.
Updating Orders with Existing Checklists
Once a Checklist has been started, if an Order is edited, it will only update the desktop version of the Order, it will not update existing Checklists.
When editing an Order with a Checklist already started, you will receive the following error message stating which Checklists have been started and will not be updated.
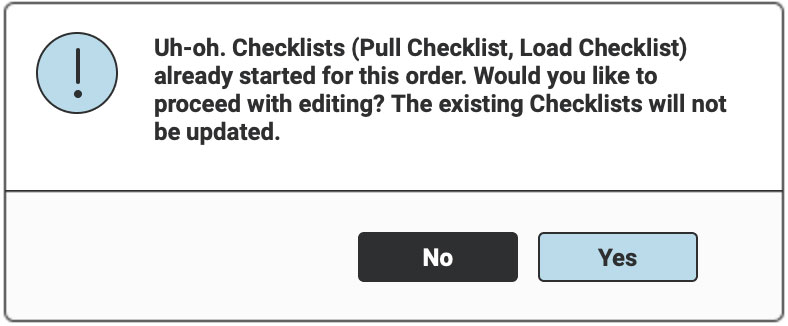
To resolve this, click the blue “Yes” button, then head to the Checklists tab of the Order. Select all of the Checklists in the table (you can select the first one, hold the Shift key on your keyboard, then select the last one). Click the black “Delete Checklists” button in the lower left corner beneath the table.
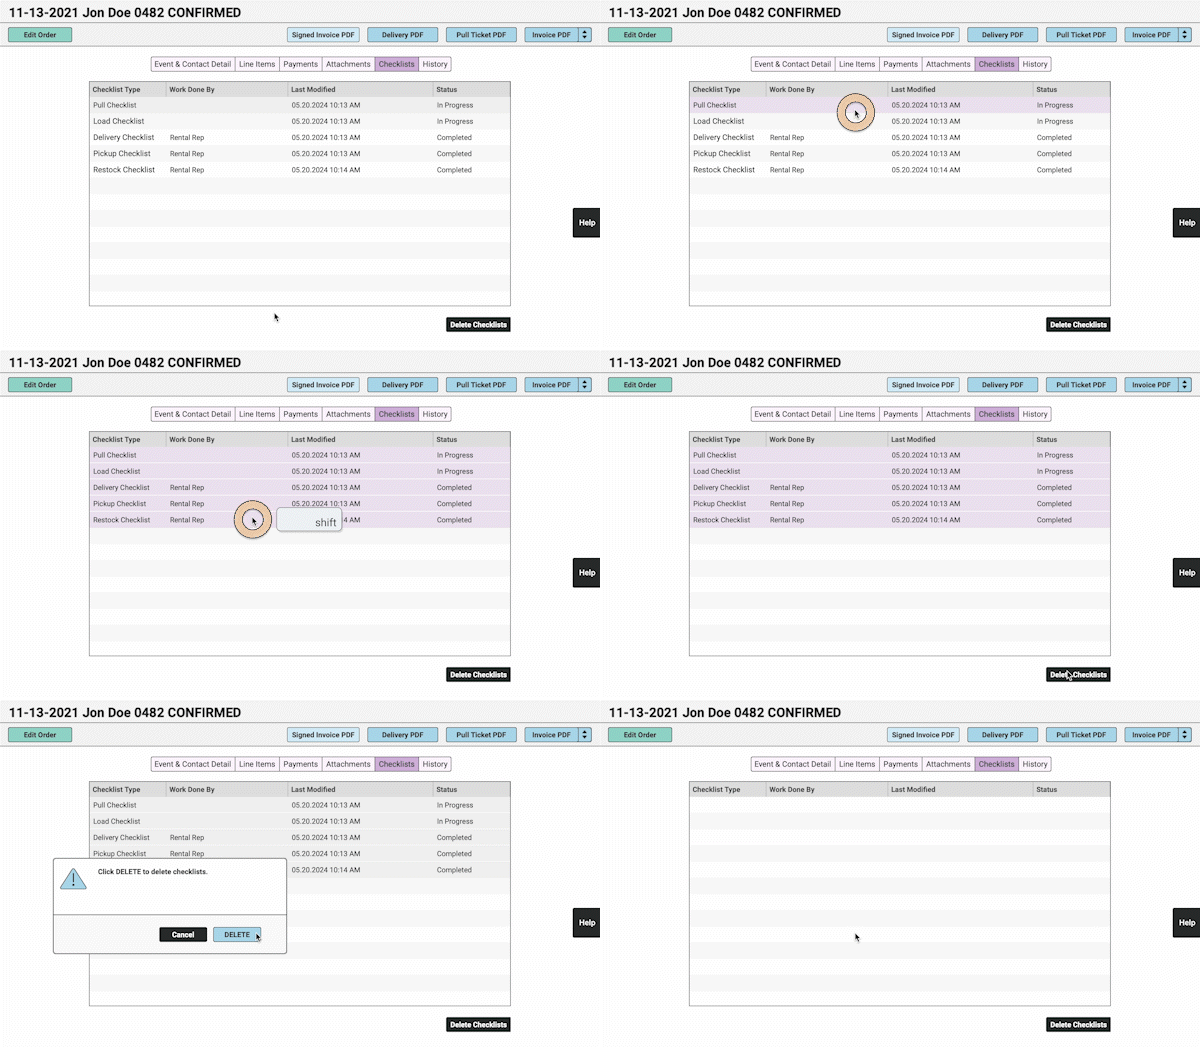
Once those Checklists have been deleted, you are free to make changes to the Order. You will want to communicate with your crew that they will need to restart any Checklists they were working on.
Consider creating a Delivery Crew User for your crew to create Checklists with. This role limits access to Item pricing & Order payments.