Setting up Terms & Conditions
To enter or edit your Terms & Conditions, navigate to the “Account” icon in the upper right corner of your browser window.
Select “Terms & Conditions” in the left column.
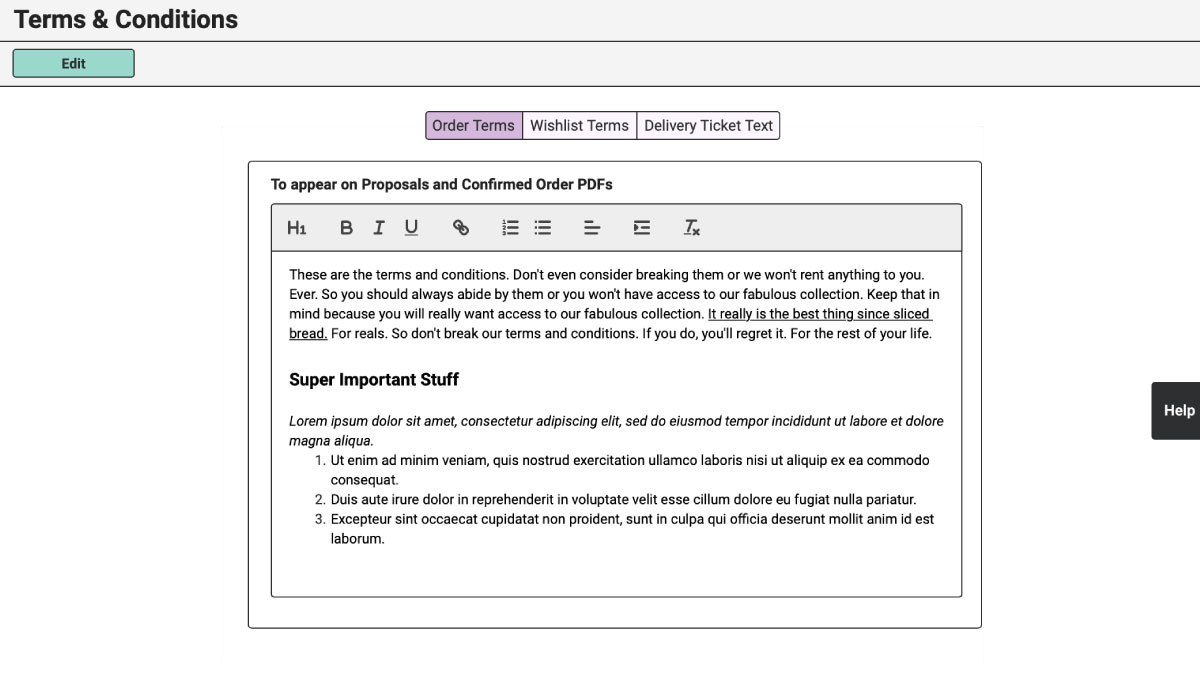
Click on the green “Edit” button at the top of the browser window.

Type or paste the text of your Terms & Conditions in the box in the center of the window.
Apply different formatting options to your Terms to bring clarity and attention to the most important parts. The formatting options include (from left to right):
- Headings
- Bold, italicize, or underline
- Hyperlinks*
- Numbered and bulleted lists
- Left, center, or right justify
- Indent
- Remove text formatting
Once you’re happy with your Terms, be sure to click on the green “Save” button at the top of the window.
*Be sure to include the entire URL, including the http:// or https://, for the hyperlink to open.
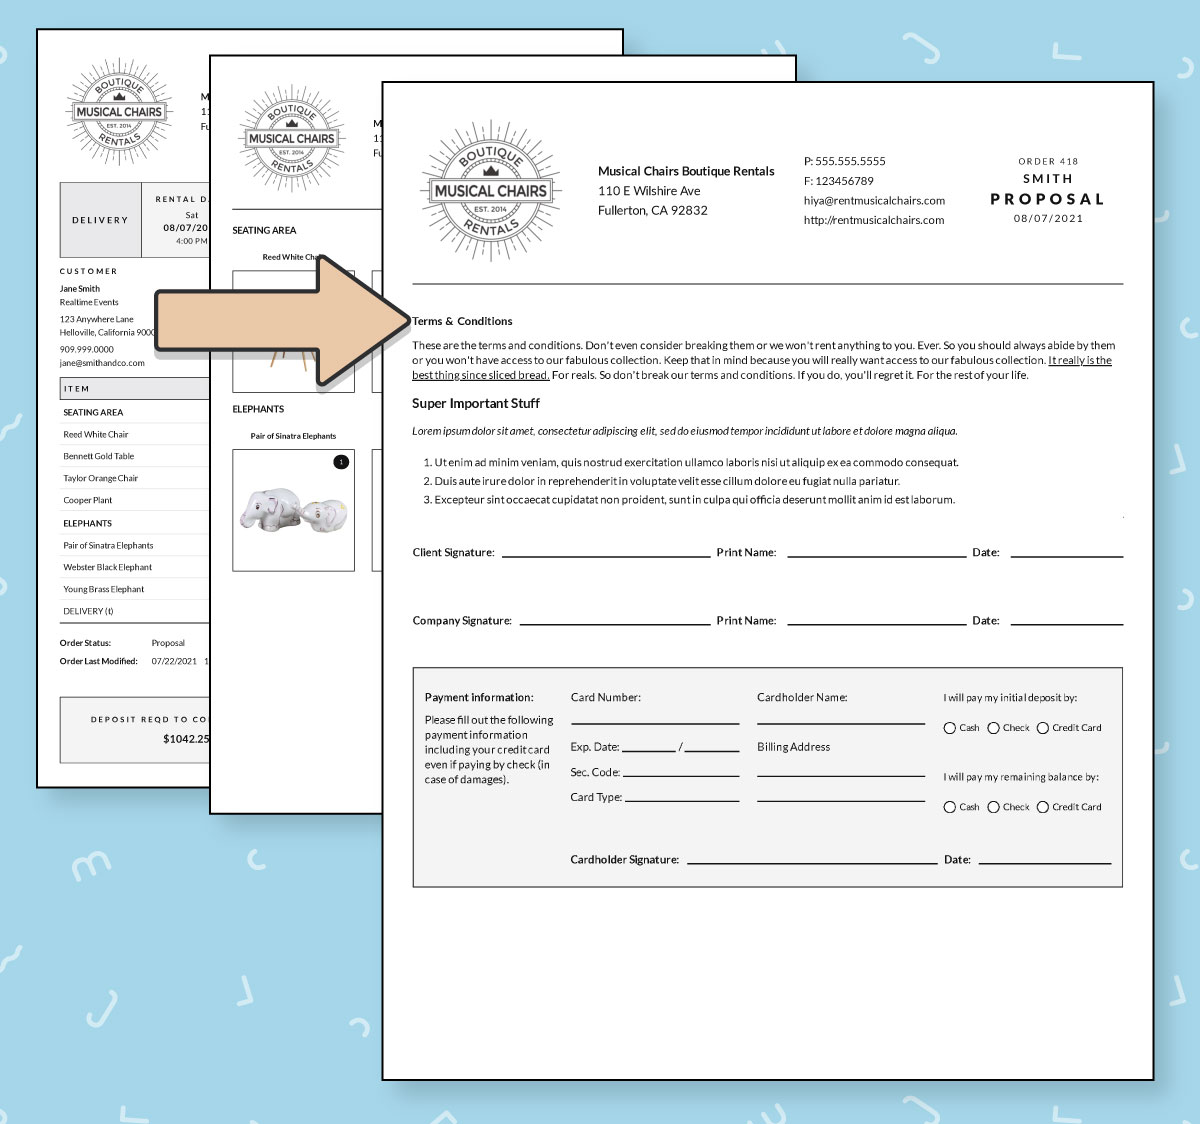
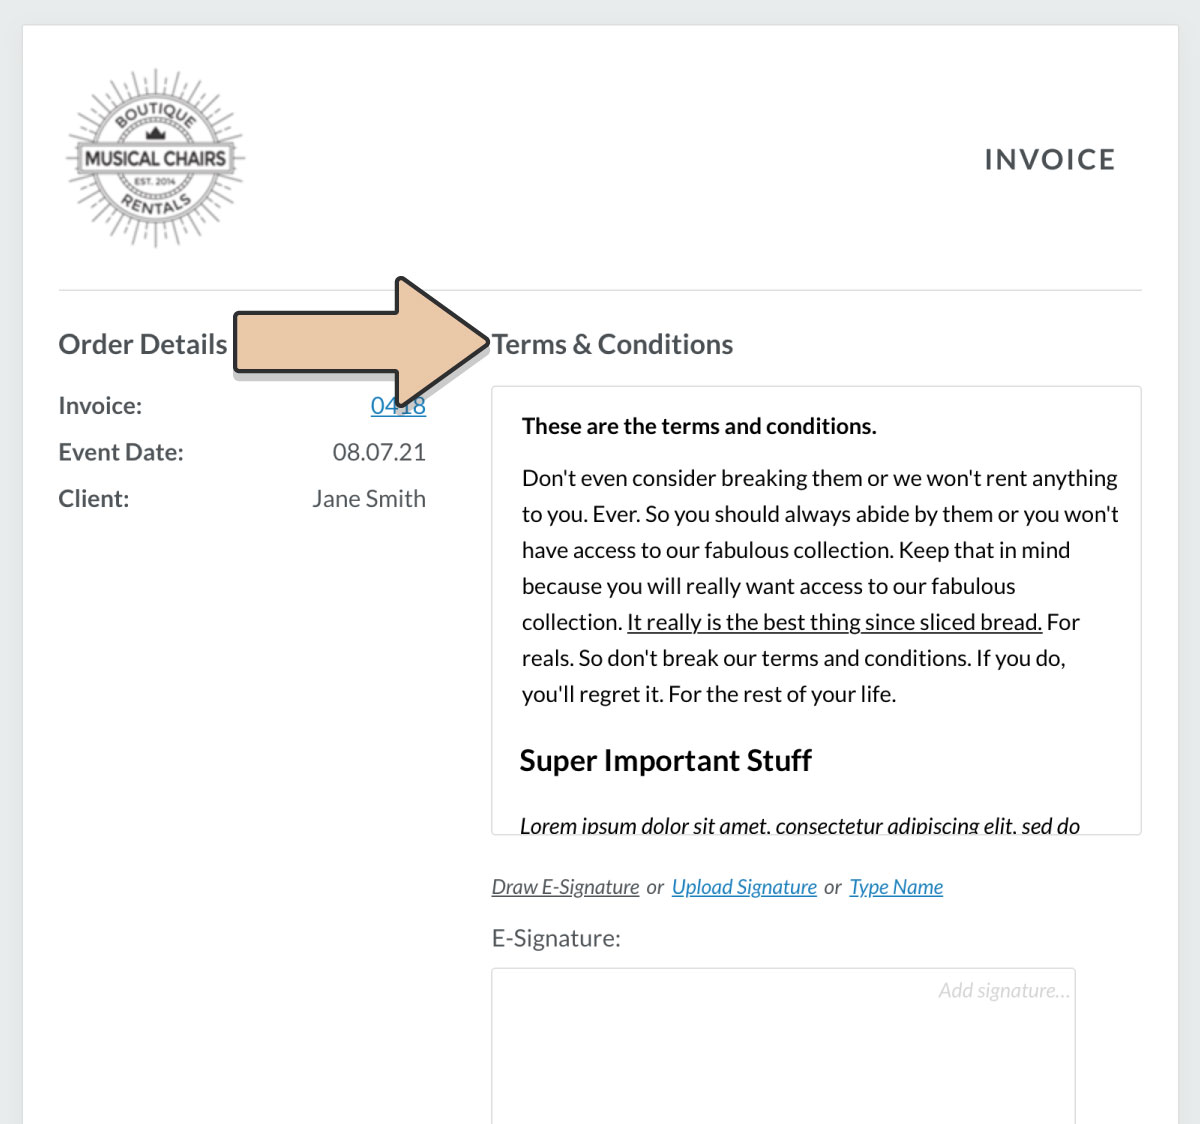
These Terms & Conditions will appear on the Order PDFs for Proposals and Completed Orders and on your Online Payment Pages.


Updating Terms & Conditions
As you grow in business, likely your Terms will change with your updating policies.
If ever your Terms & Conditions change, simply edit or copy & paste the new Terms in this section.
After your Terms are updated, all new Orders will reflect the new Terms.
For future existing Orders, you’ll have the chance to manually choose to update or not update the Terms.
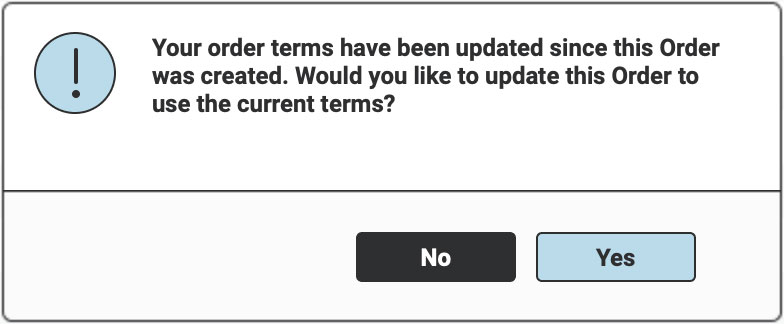
The first time you go to Edit an Order (with an Event Date after the date your Terms were updated) you’ll receive the following pop-up:

Selecting “Yes” will update the Order’s Terms to the current version that is in your Account Settings.
Selecting “No” will not update to the new Terms but will keep the original Terms attached to the Order.
Once you select Yes or No, you will not be prompted again with the pop-up on that Order unless your Terms are updated again.
Also, consider enabling E-Signatures to save time collecting agreement to your Terms & Conditions.
You might also be interested in Wishlist Terms and Delivery Ticket Text.