Start by navigating to the “Orders” icon in the upper left corner of your browser window.
Use the “+” button at the top of the left column to create a new Order.
At the top of your browser window, click on the green “Edit” button to begin making changes to the Wishlist.
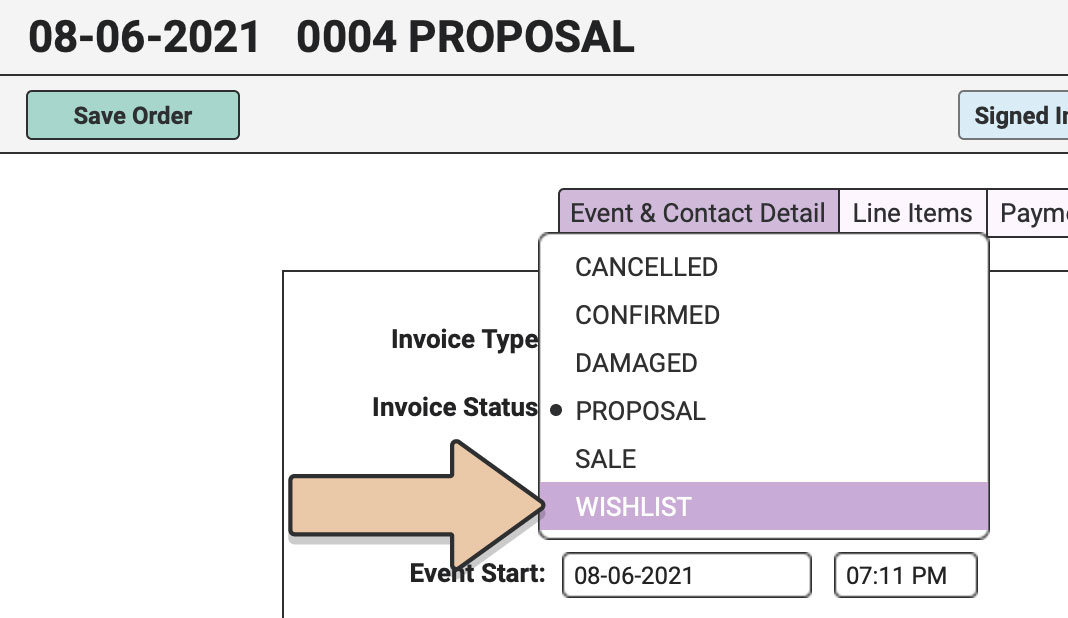
From the “Invoice Status” menu, choose “Wishlist.”

Wishlists are similar to other Orders but also have a few differences. They allow you to create a list of Items with prices but do not check for availability. You can collect as much information as you’d like in this Wishlist including Event Start Time, Customer information, etc., but the only required fields are the Off-the-Shelf and Restock times.
Again, the Wishlist is not going to check for the AVAILABILITY of Items between the Off-the-Shelf and Restock times, but it will not include Items that don’t exist in your collection between those dates (because the acquisition date hasn’t happened yet or because you’ve sold them or otherwise reduced the quantity to zero).
The only required fields on the “Event & Contact Info” tab are Off-the-Shelf and Restock times.
Once you’ve added Off-the-Shelf and Restock times, click on the green “Save” button at the top of the browser window.
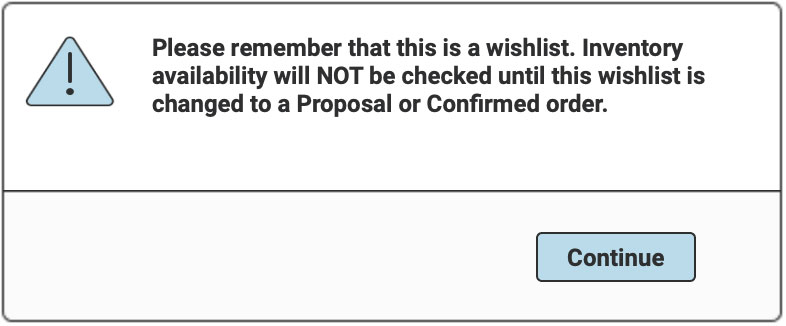
Upon saving, this message will pop up to remind you that your Wishlist will not check for availability of Items.

Once you save the Wishlist, you’ll notice that this Wishlist doesn’t even save an Expiration Date. Since the Wishlist isn’t going to check for Item availability, it is not going to “hold” any Items for this Wishlist and therefore an Expiration Date would be irrelevant.
Next, click on the “Line Items” tab to begin making your list.
Click on the green “Edit” button at the top of the browser window.
You’ll notice that all of the Items that appears in the lower left column will be fully available. Again, with a Wishlist, RW Elephant is not going to check for availability of Items. The Items may already be booked on a Confirmed Order. They may be on a Proposal. Wishlists are just pricelists of Items. They DO NOT check for availability of any of the Items.
Drag and drop Items from the left column to the Line Items table on the right side of your browser window and edit the quantities like you would with any other Order.
Double-click on the Unit Prices to make any necessary changes.
Include all relevant Items, Fees, Discounts and other info for this Wishlist.
Next click on the “Payments” tab.
Please note that you cannot record any payments for a Wishlist. You cannot confirm the Order and you cannot receive any money for it.
However, from the Payments tab, you will be able to use one-click emailing to send the Wishlist PDF to the customer. It is a little different than the one-click emailing for an Invoice PDF because it will not include a link to make a payment.
See more about setting up Wishlist email templates here.
Once your Wishlist is complete, click on the green “Save” button at the top of the browser window.
You’ll notice that both the “Delivery PDF” and “Pull-ticket PDF” buttons are disabled for Wishlists.
You can create a PDF of the Wishlist by clicking on the “Wishlist PDF” button in the top right corner of the browser window.
Notice that it differs from an Invoice PDF in that it contains less information and particularly it uses your Wishlist Terms rather than your regular Terms & Conditions.
See more about setting your Wishlist Terms here.
In addition to creating Wishlists within your Account, your customers can create a Wishlist from your online inventory gallery or through one of our online gallery integrations.
You’ll also want to learn how to convert a Wishlist to a Proposal here.