Within RW Elephant, when you create an Item you’ll need to choose the type of Item it is. There are three options:
- Rental Item: Inventory that you rent on Orders
- Internal Item: Items you want to include on an Order but hide from the customer
- Conceptual Item: Non-tangible “items” that you put on Orders like Fees, Discounts, etc.
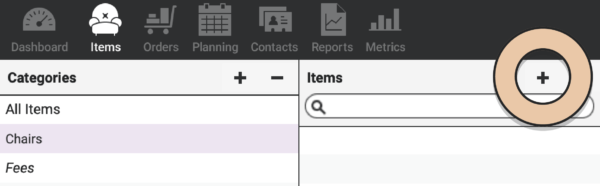
To create an Item, head to the Items icon in the upper left corner of your browser window.
Select a Category in the column on the left.
Now select the “+” button in the upper corner of the Items column.
A pop-up will appear to gather all the necessary information needed to create an Item.
Enter the Item Name and select the Category you want the Item to live in.
From the Item Type drop down option, choose the type of Item you’re creating.
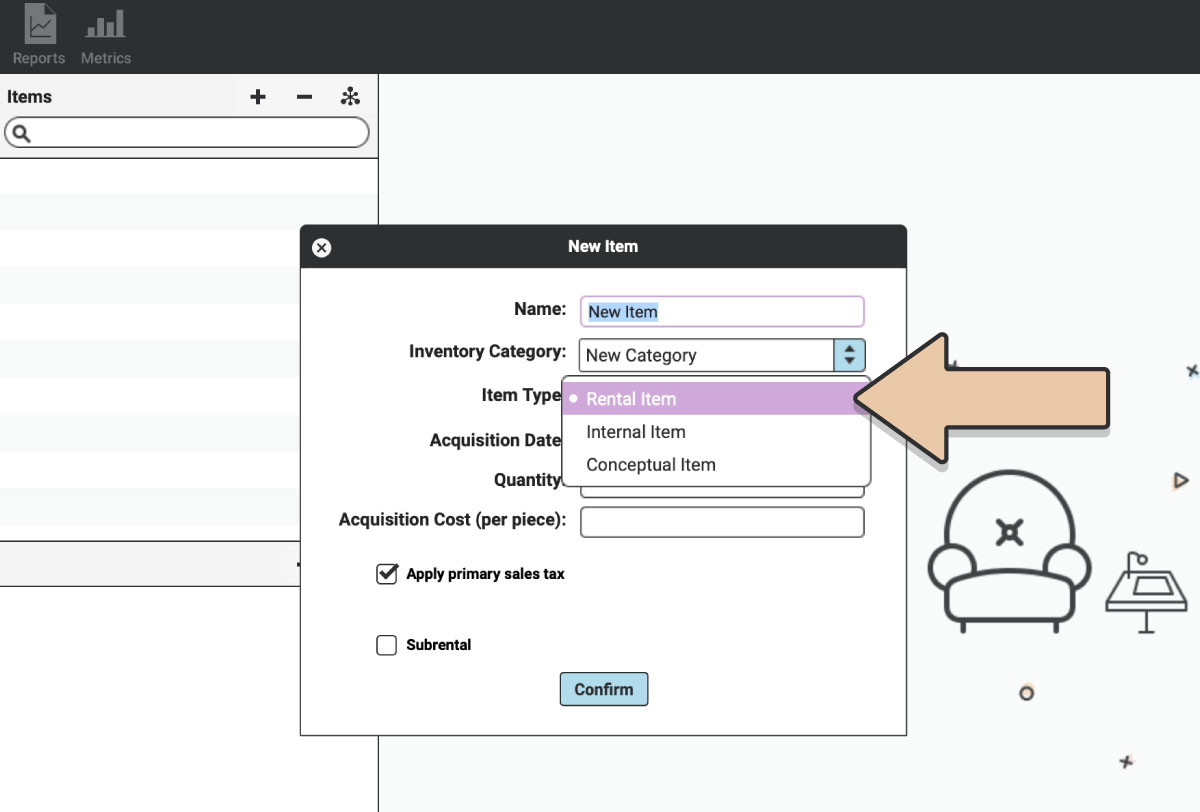
Is it a tangible Item you can touch and charge for? Such as plates, couches, chairs, or a vintage unicycle?
If so, you’ll choose Rental Item.
Or is this an Item that’s used internally for Orders but maybe you don’t want your customer to see? This might include vacuums, ladders, drills, or pillow bags.
If so, choose Internal Item.
Or is this an Item you can’t physically touch? Such as a Damage Fee, Staging Fee, or 10% Friends & Family Discount?
That’s a Conceptual Item.
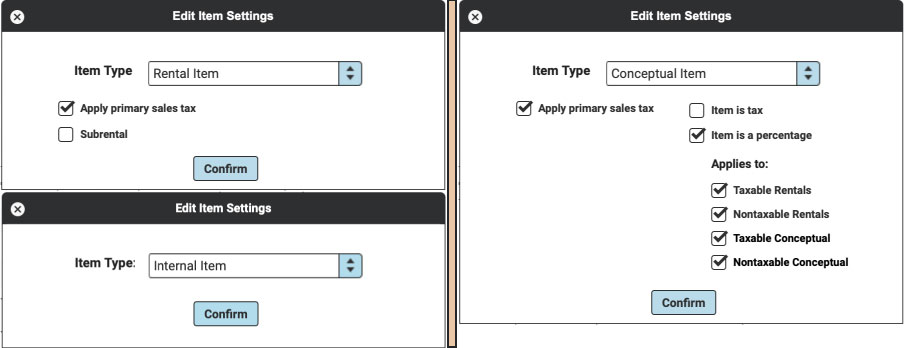
Depending on the Item Type, you’ll be given further Item Settings options.
Item Settings
Rental Items will give you two tick box options:
- Apply primary sales tax
- Subrental
Conceptual Items have a few more options:
- Apply primary sales tax
- Item is tax (a Variable Sales Tax to override the default sales tax rate on an Order)
- Item is a percentage
Internal Items will just need the basics configured.
Once you’ve created the Item, these Item Settings options can be managed in the Item Settings icon next to Item Name.
![]()
Related Articles: