RW Elephant makes collecting sales tax easy peasy. For most Users, it is so easy, you don’t even need this whole tutorial.
To set up your Default Sales Tax Rate, navigate to the “Account” icon in the upper right corner of your browser window.
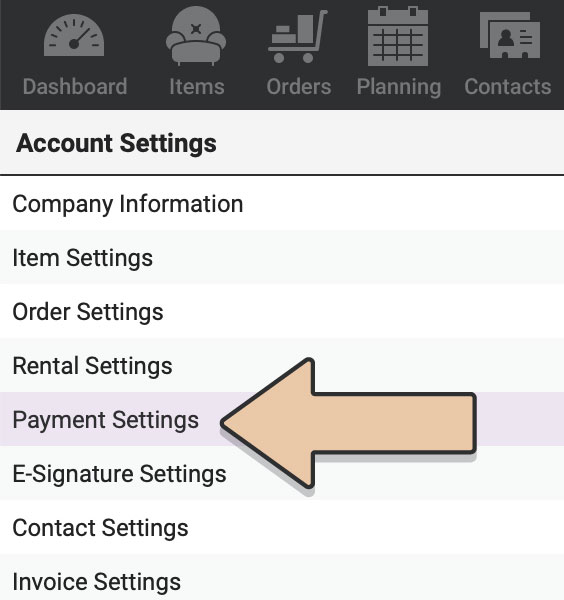
From the left column, select “Payment Settings”.
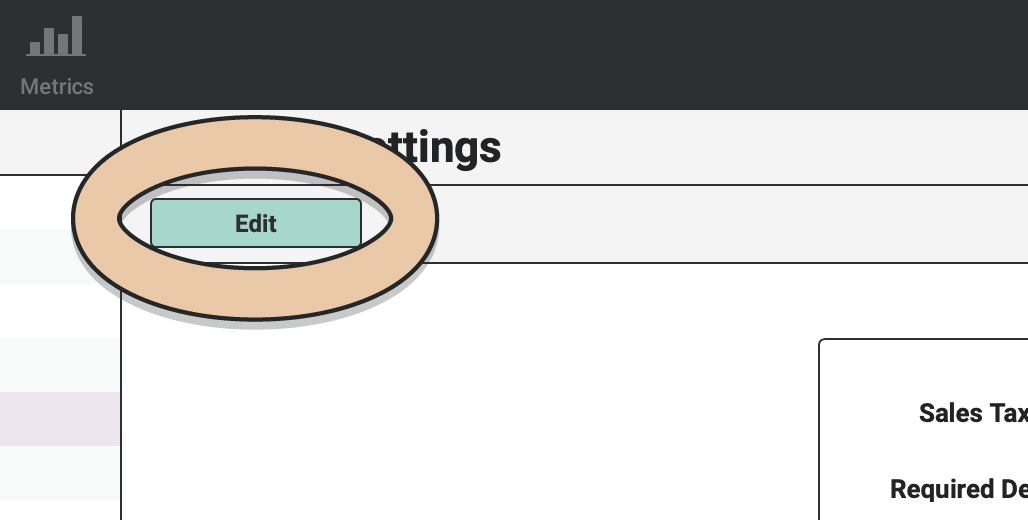
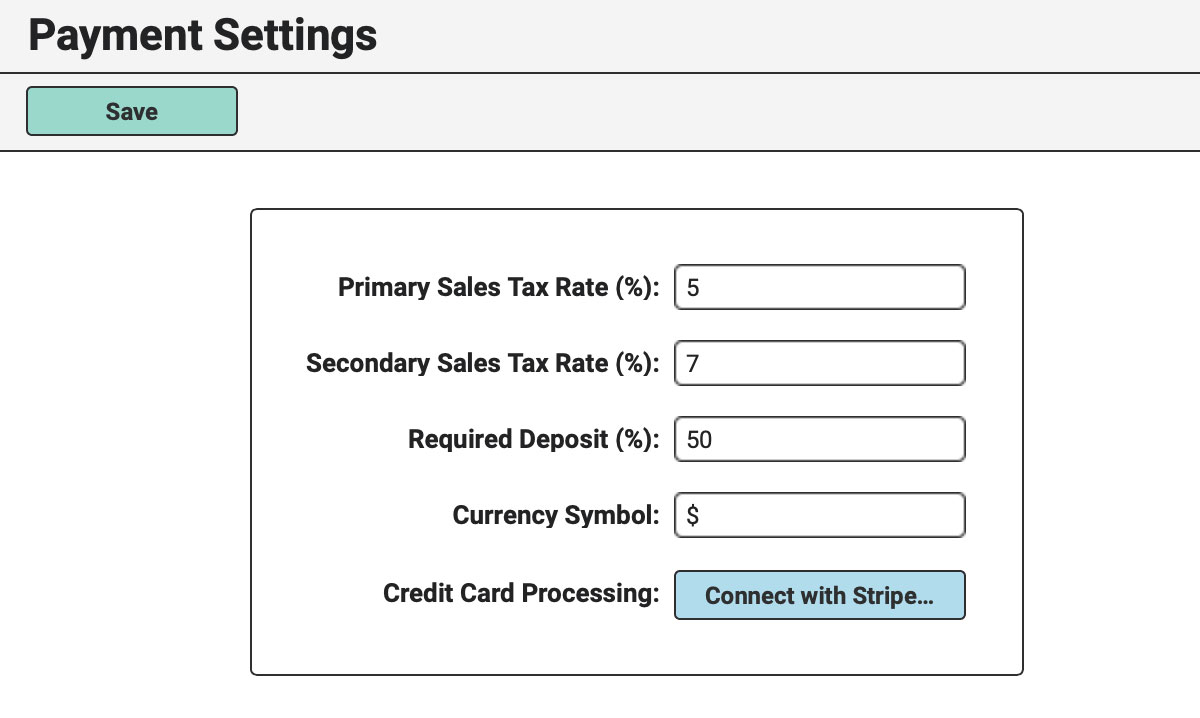
Click the green “Edit” button and enter the Sales Tax Rate you have to collect under “Primary Sales Tax Rate.”
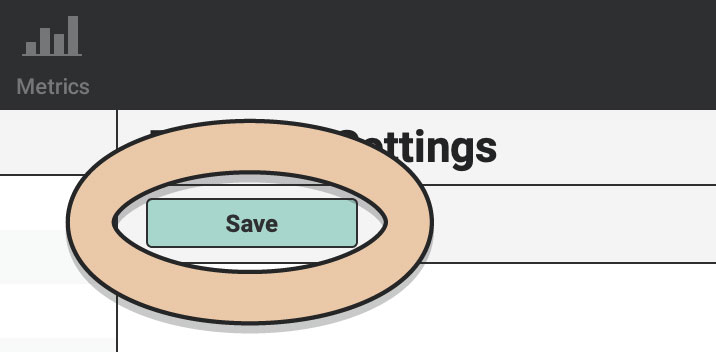
Click the green “Save” button
If you only ever have to collect one rate, you’re done. Hooray!
If, however, you have to collect varying Sales Tax Rates, we’ve got you covered. Keep reading to find out how.
But before we continue, we have a note for our friends in Oregon and other mythical lands that don’t require the collection of Sales Tax. Even though you don’t have to collect Sales Tax, we suggest that you mark most of your Items as “Item is taxable” and then enter 0% here. That will allow you to avoid having the “NOT TAXED” note show up for every single item on your Order PDFs. Cool? Okay. Cool.
Now there are two additional tax scenarios you may fall under:
- You are required to collect two Sales Tax Rates on a single Invoice (i.e. GST + PST)
- The Sales Tax Rate you charge may vary from Order to Order based on the service area the event takes place in
If the first scenario rings true, you’ll need to enter the amount of your second tax rate under the “Secondary Sales Tax” field. You’ll have a chance to determine which Items to apply the secondary tax rate to when creating each Item.
If the second scenario sounds more like your situation, keep reading. You’ll need to create Variable Sales Tax Rates for each of the rates you may possibly need to charge. We suggest you still start with the Primary Sales Tax Rate as your default rate, but leave the Secondary Sales Tax blank. Next, you’ll add as many other Sales Tax Rates as you’d like through Items.
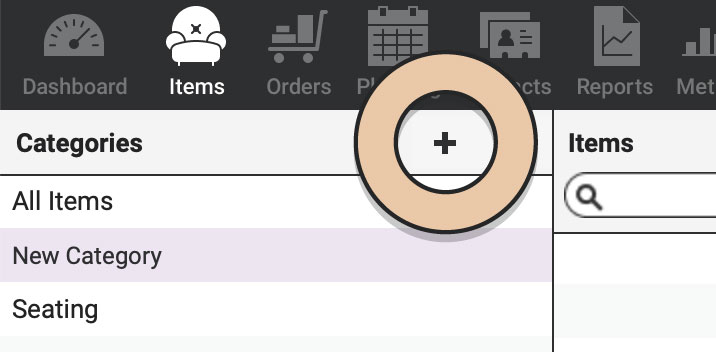
Navigate to the “Items” icon in the upper left corner of your browser window.
In the left column, click the “+” button to create a New Category.
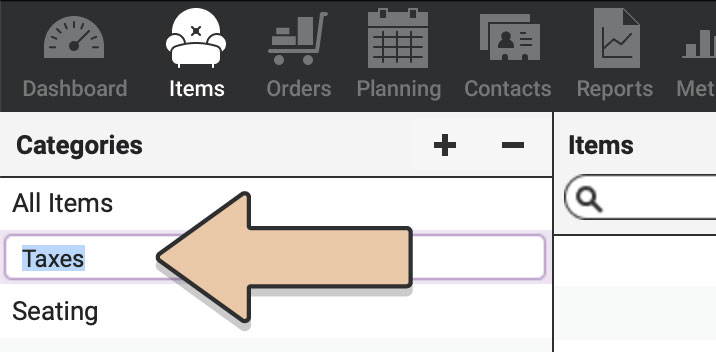
Double-click on the “New Category” and type “Taxes” or whatever else you’d like to call this Category.
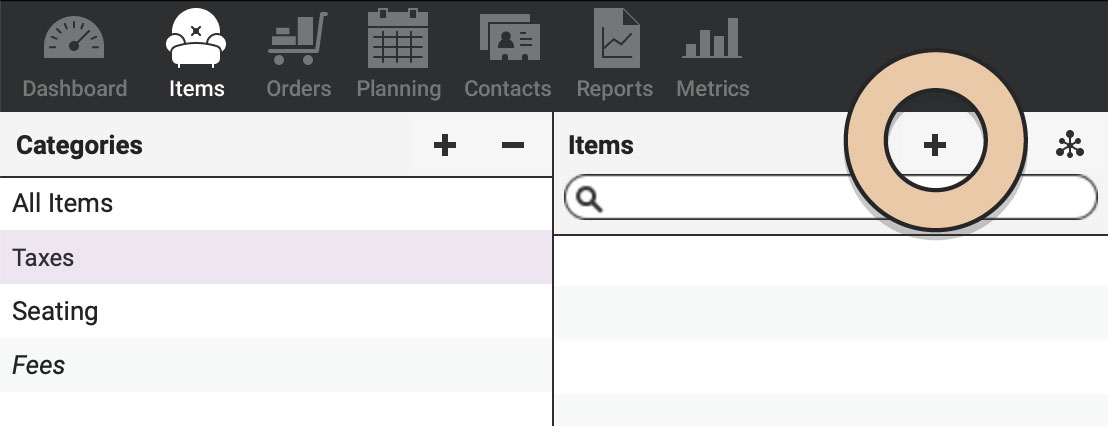
With “Taxes” selected in the left column, move to the second column and click the “+” button to create a New Item.
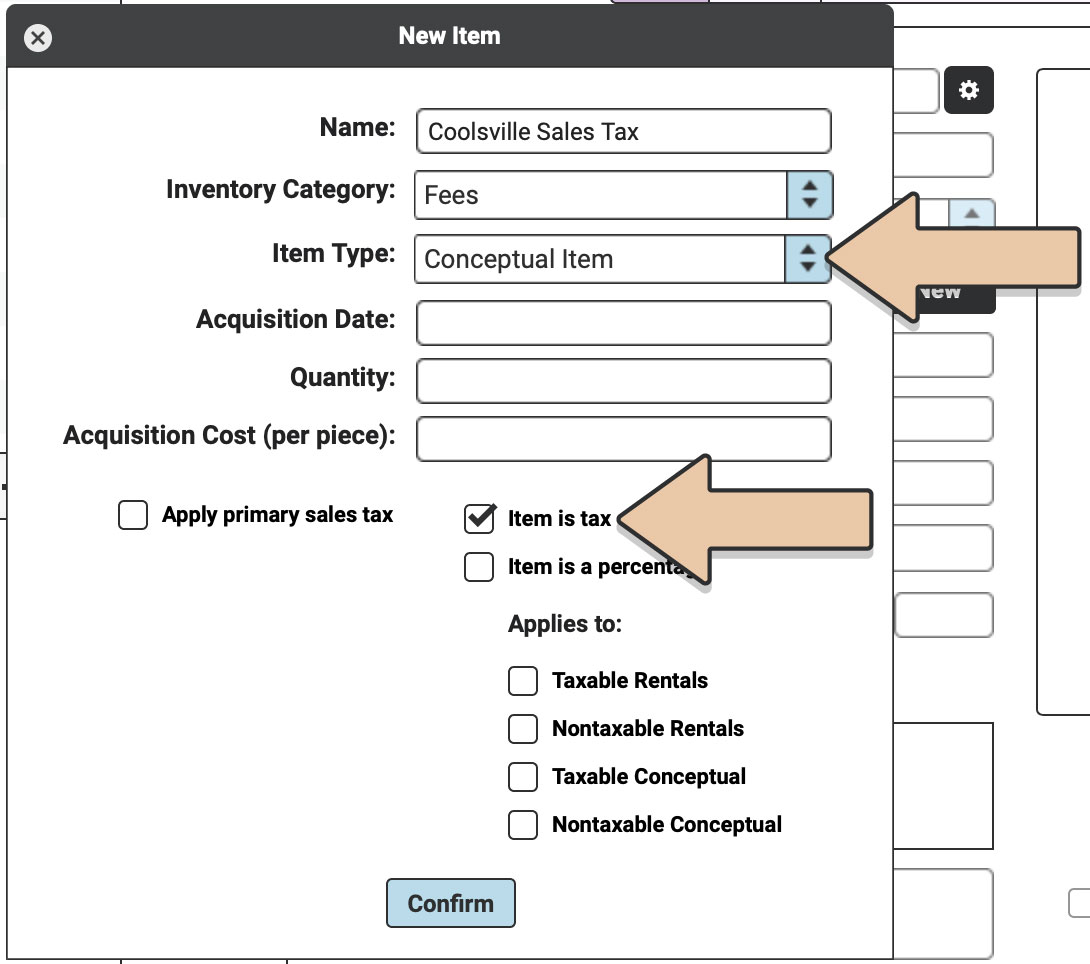
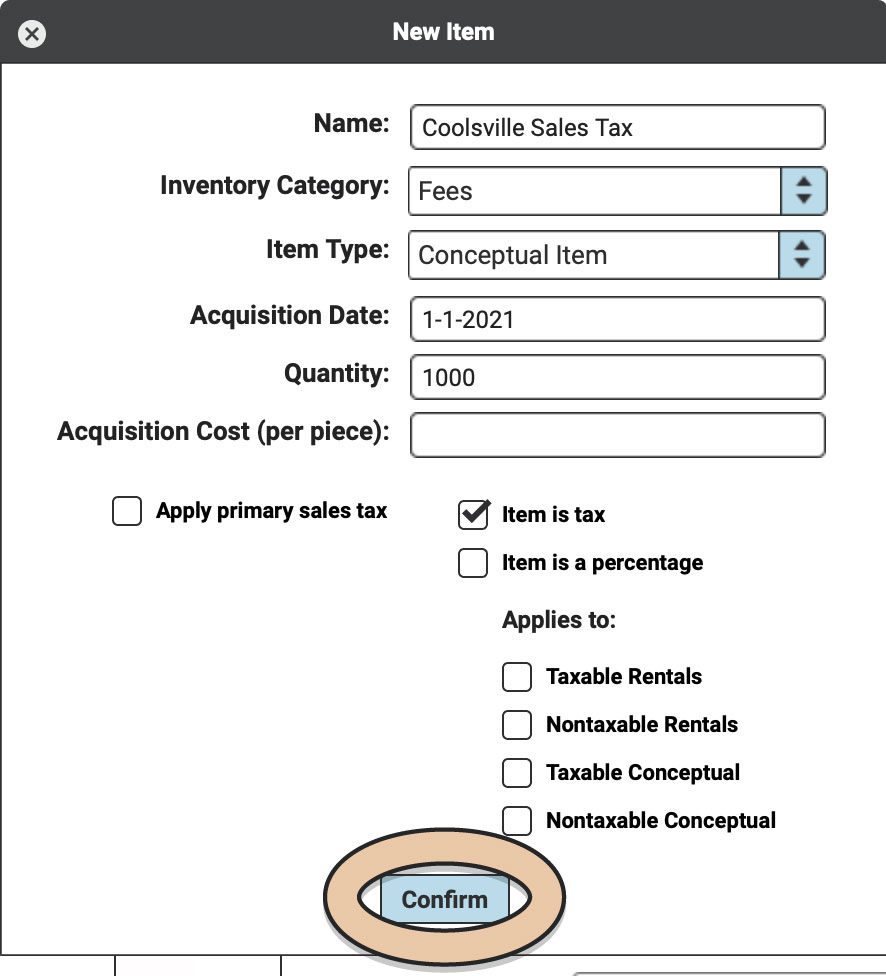
In the New Item pop-up, type the name of your Tax Item; for instance, Coolville Sales Tax. You can also include the amount in the name for your own reference later but it isn’t necessary.
Under Item Type, select “Conceptual Item” and tick “Item is Tax.” Untick the “Apply primary sales tax” tick box.
Enter the Acquisition Date and be sure that whatever you enter here is BEFORE any orders you plan to use the Tax Item on. For instance, if you need to add this Tax Item to orders that happened last month, be sure this Acquisition Date is from at least the month before that or earlier.
Enter a quantity. Like Conceptual Items, we suggest you use a large quantity here like 1000.
Next, enter the Sales Tax amount in the Rental Price field (i.e. if the rate is 7.5%, simply enter 7.5).
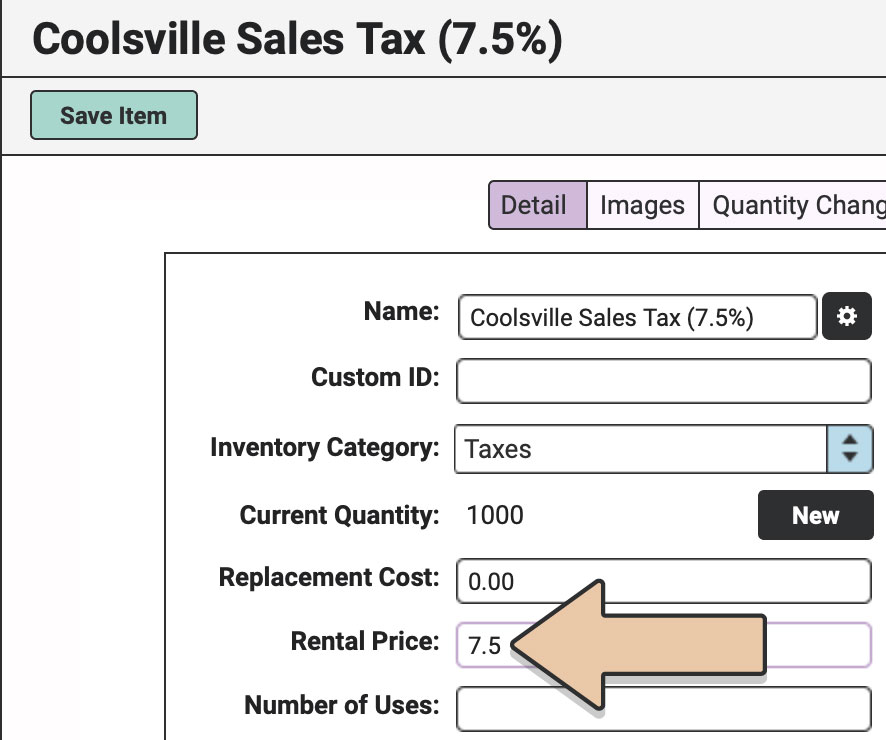
Tax Items support up to three decimal places (i.e. 6.123%).
Be sure to save your Item by clicking the green “Save Item” button.
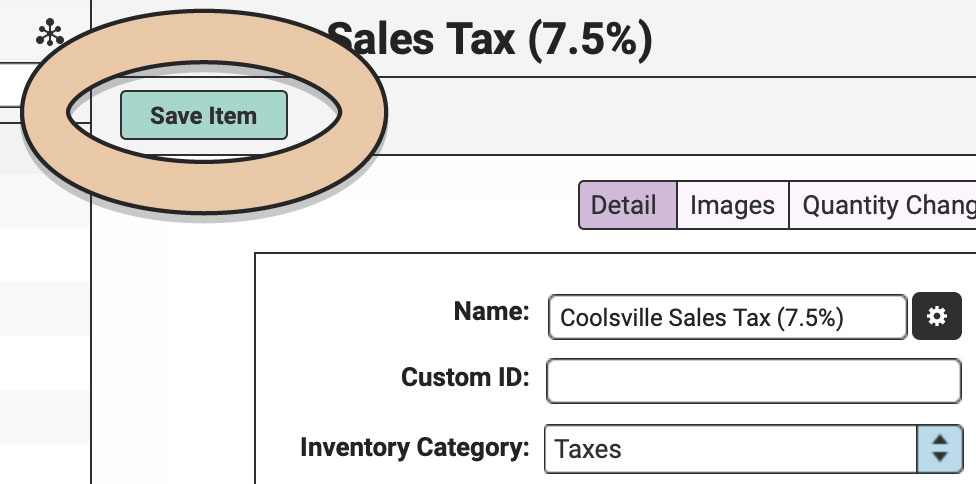
Repeat for all of the Sales Tax rates you need to include.
RW Elephant is one smart cookie. He now knows this is a Tax Item so he’ll be sure to handle it appropriately.
When you add this Tax Item to Orders, he’ll know it is a percentage. He’ll know to only calculate on taxable items, not nontaxable ones, and he’ll remove any other Tax Items on the order (including the default Sales Tax Rate). He’ll even put this Tax Item in the right spot on your Invoice PDFs.
And, when it comes time to fork over all of those taxes you’ve collected on behalf of the state, you’ll be able to generate a handy report to show you how much you’ve collected at each of your varying rates.

Now, you’re all ready to start making some Orders. Let’s take all these lovely Inventory Items, Conceptual Items, and Tax Items, along with our nicely set up Account and make some money.