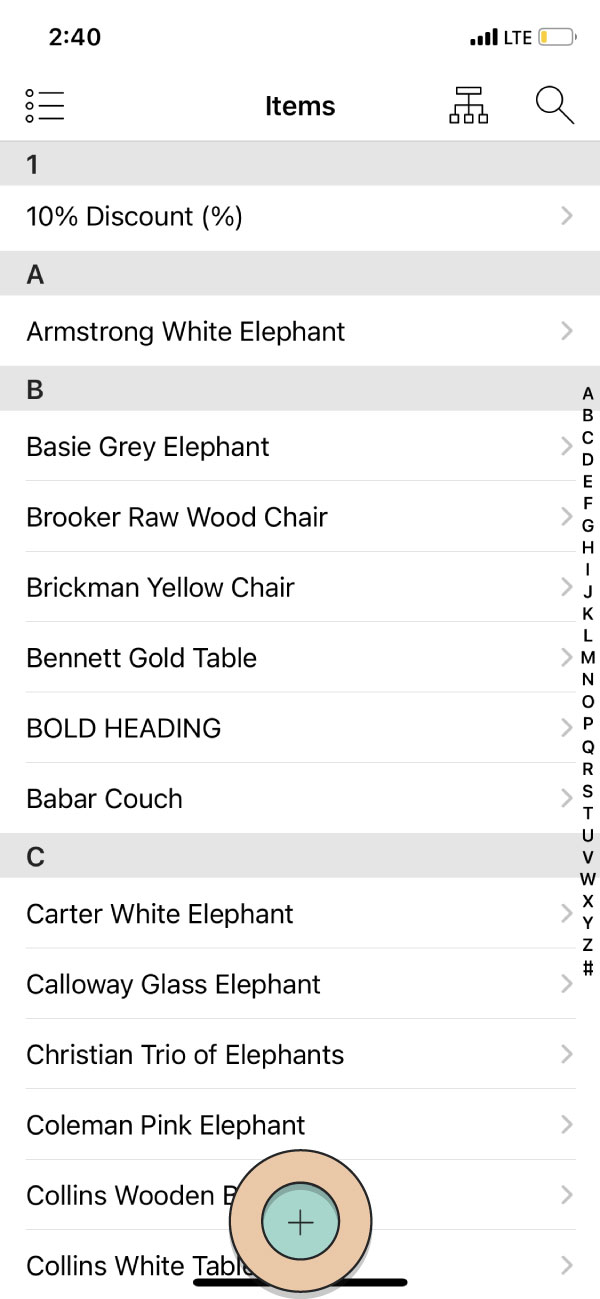
To add an Item tap the “Items” icon from the Dashboard or Menu.
At the bottom of your list of Items tap the green “+” button.
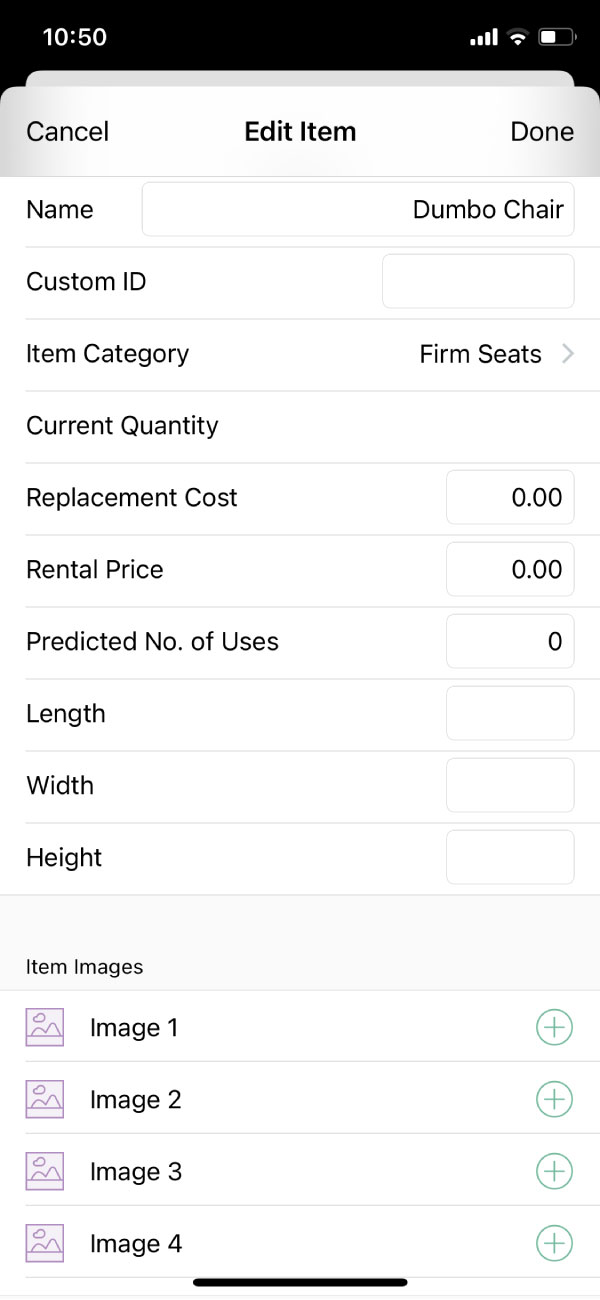
From the Items page that appears you can tap in each field to add details about your new Item.
The two required fields are “Name” and “Item Category”.
Enter as much or as little info as you desire.
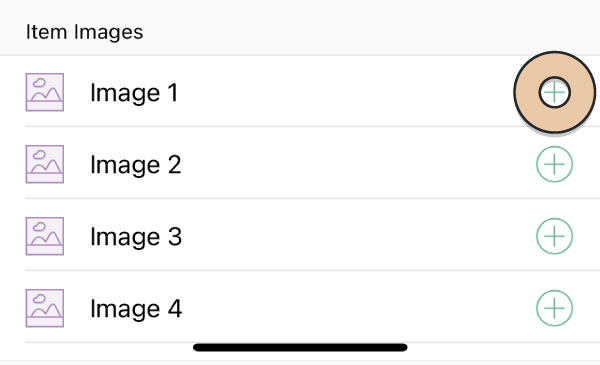
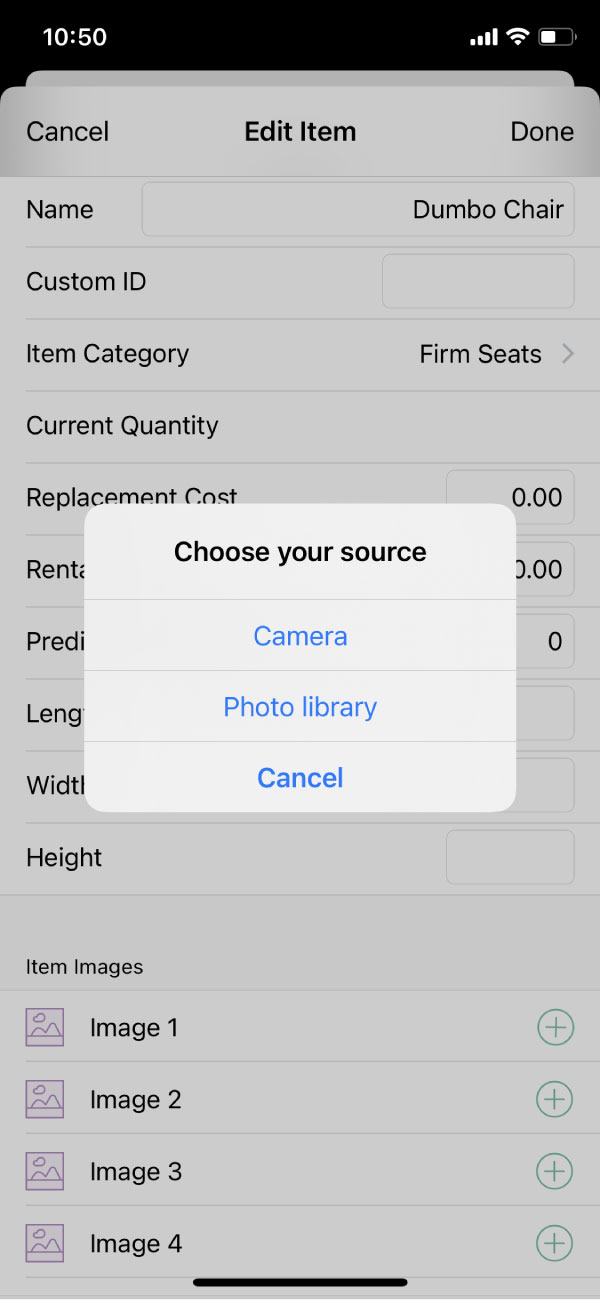
To add an Image tap the green “+” next to one of the four images. You’ll be prompted to choose a source between using your “Camera” to take a picture or selecting an image from your “Photo Library”. Image 1 will be your main image. These can be rearranged in the desktop version of RW.
Please note: only photos can be added through the iOS App. Herd Leaders can add Item Videos through the RW desktop application.
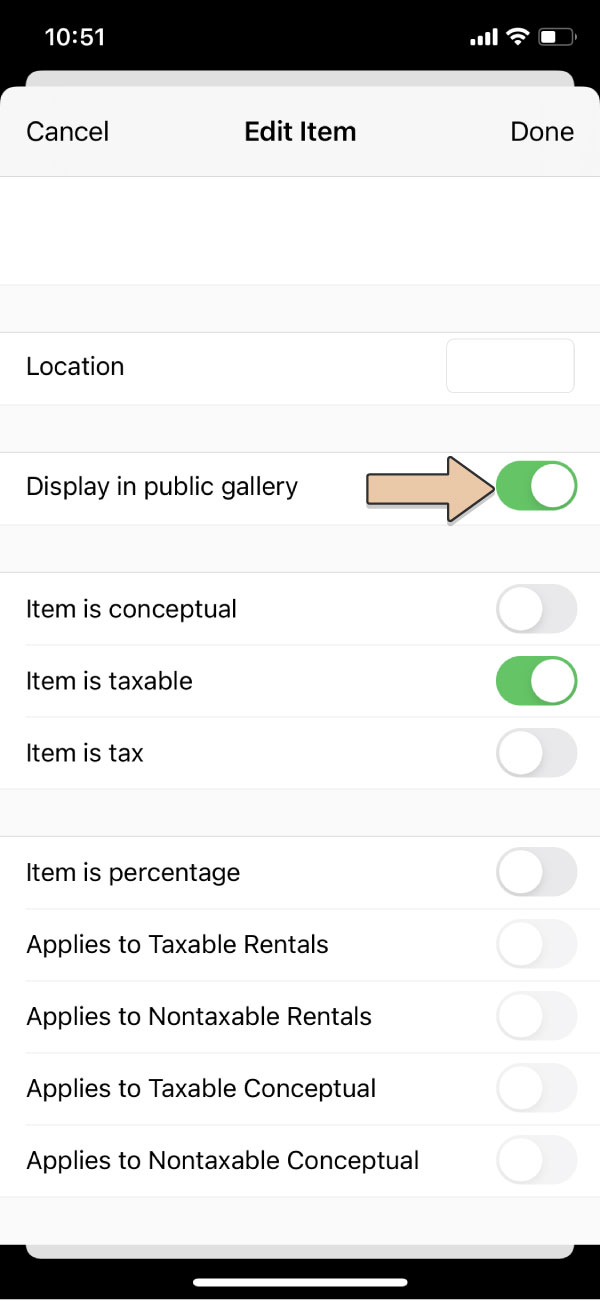
At the bottom of the details list you will see toggle switches that are the equivalent of the tick boxes in the desktop version of RW. Tap them to turn them on or off. When they are to the right with a green color then the switch is on (the box is ticked).
The only step you won’t complete at this stage is the New Quantity Change Event.
When you’re done entering details, tap the word “Done” in the top right corner.
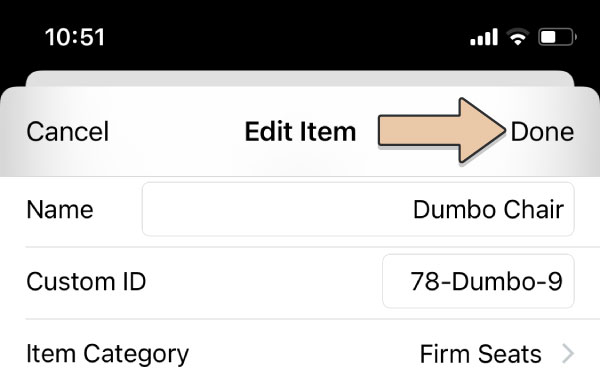
To exit out of the Item, tap the word “Cancel” in the top left corner. Doing so without tapping “Done” will delete any details you have entered.