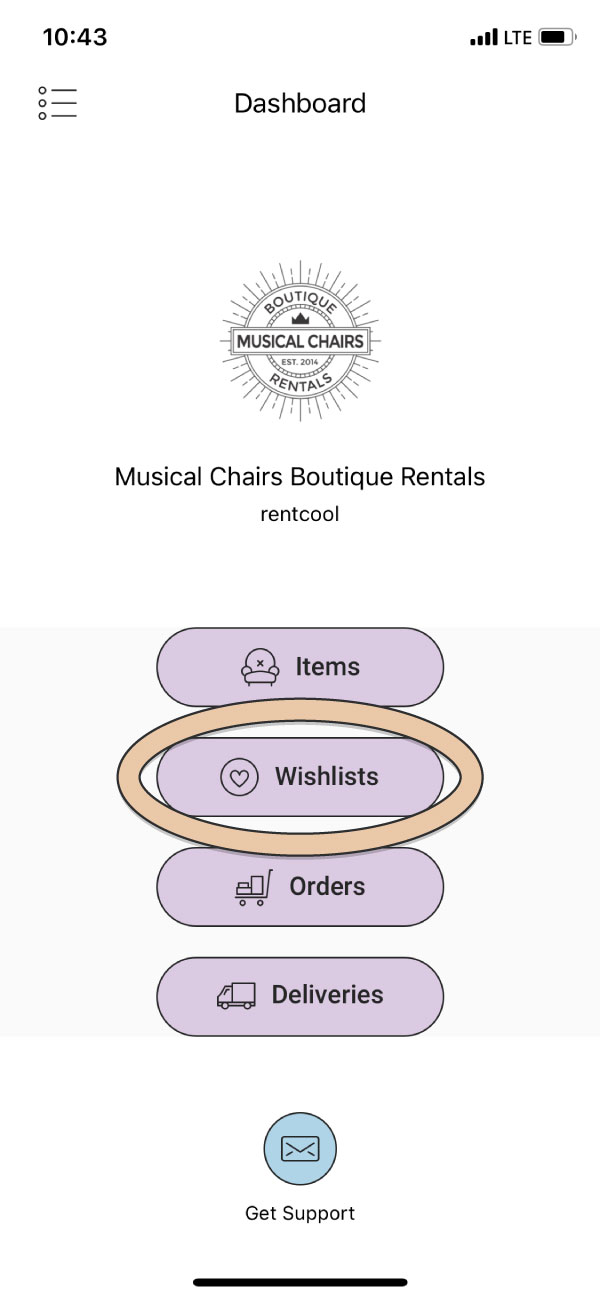
To create a Wishlist tap on the “Wishlists” icon on the Dashboard
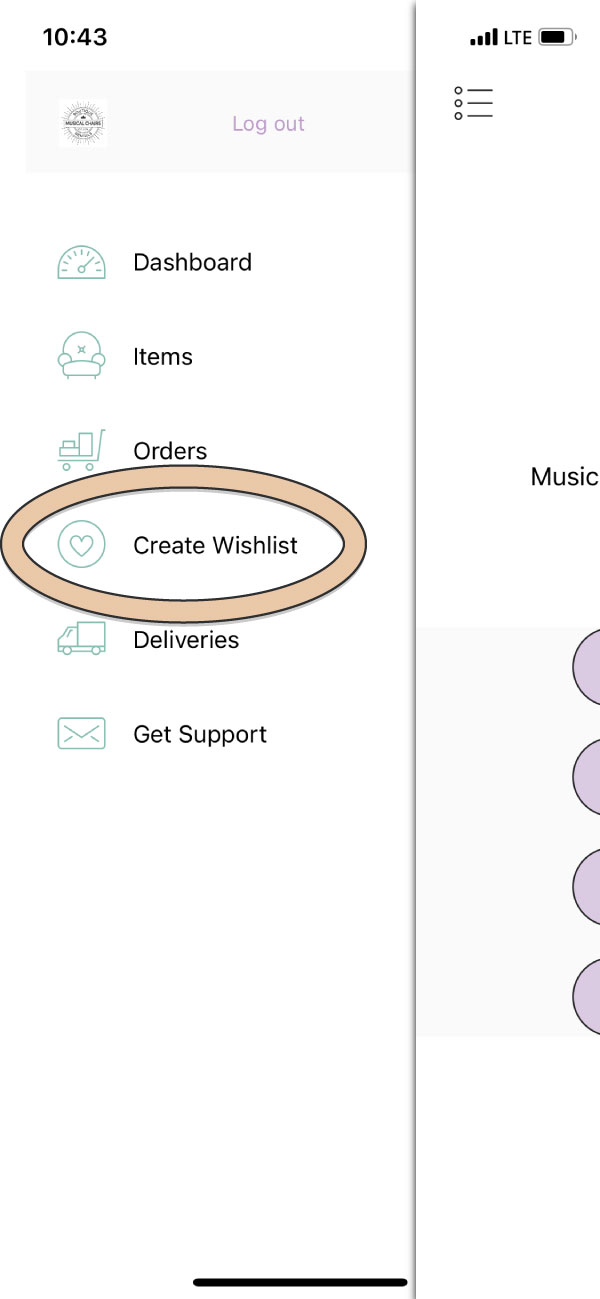
or select “Create Wishlist” in the side Menu.
Use the scroll wheel at the bottom of the screen to select the date and time of the event.
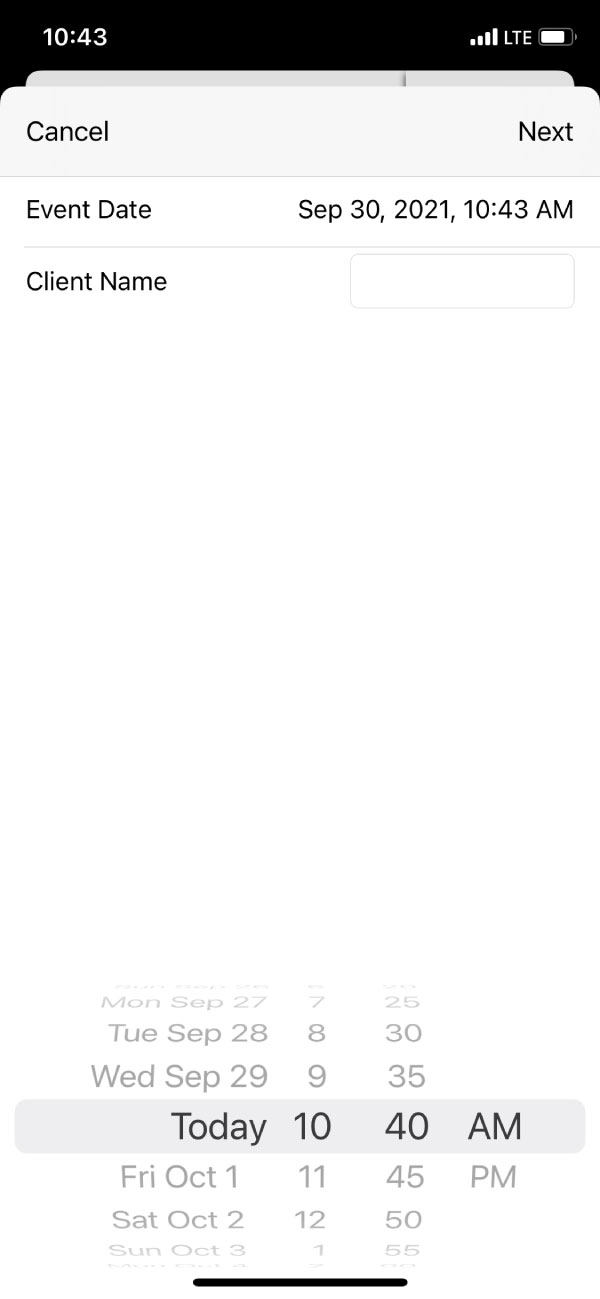
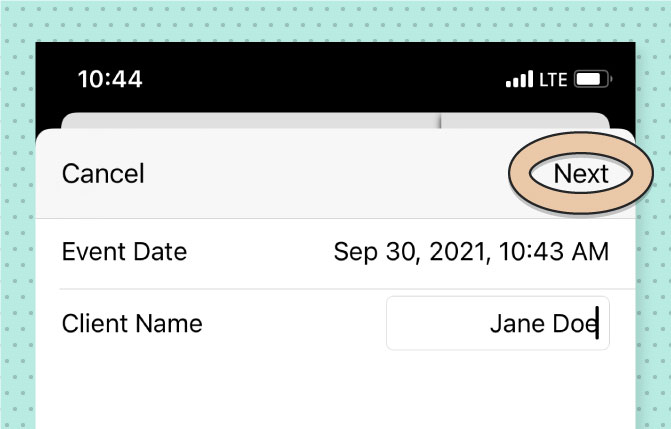
Tap in the Client Name field to type your client’s name.
Tap “Next” in the top right corner.
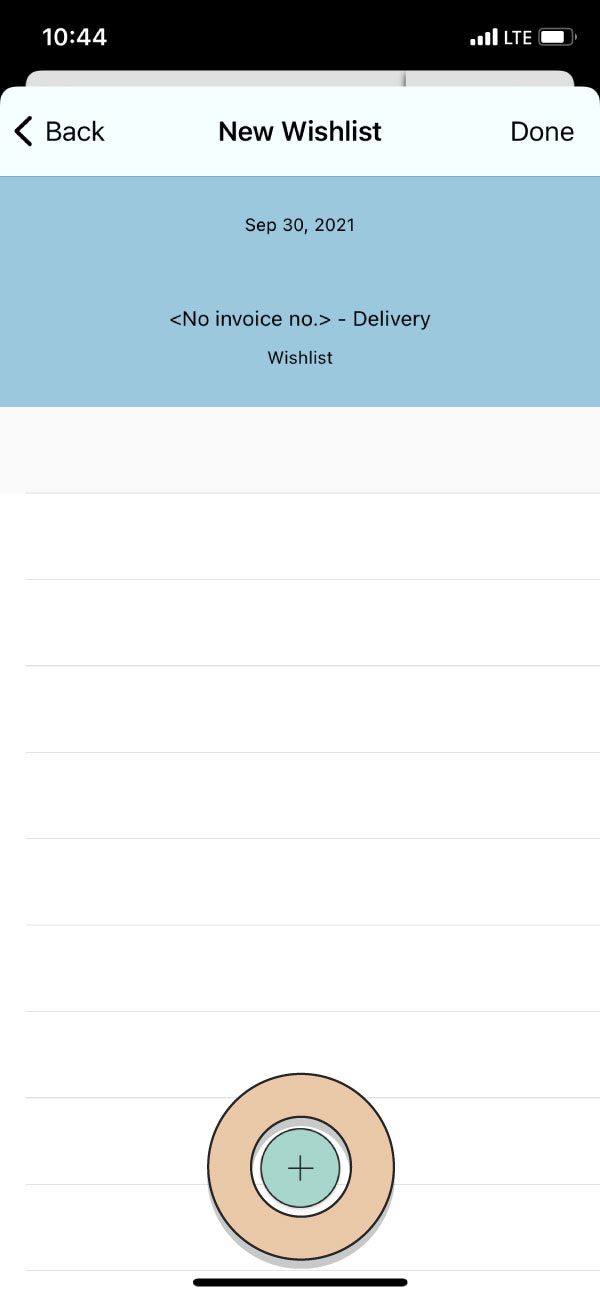
Add Items to your Wishlist by tapping the green “+” button at the bottom of the screen.
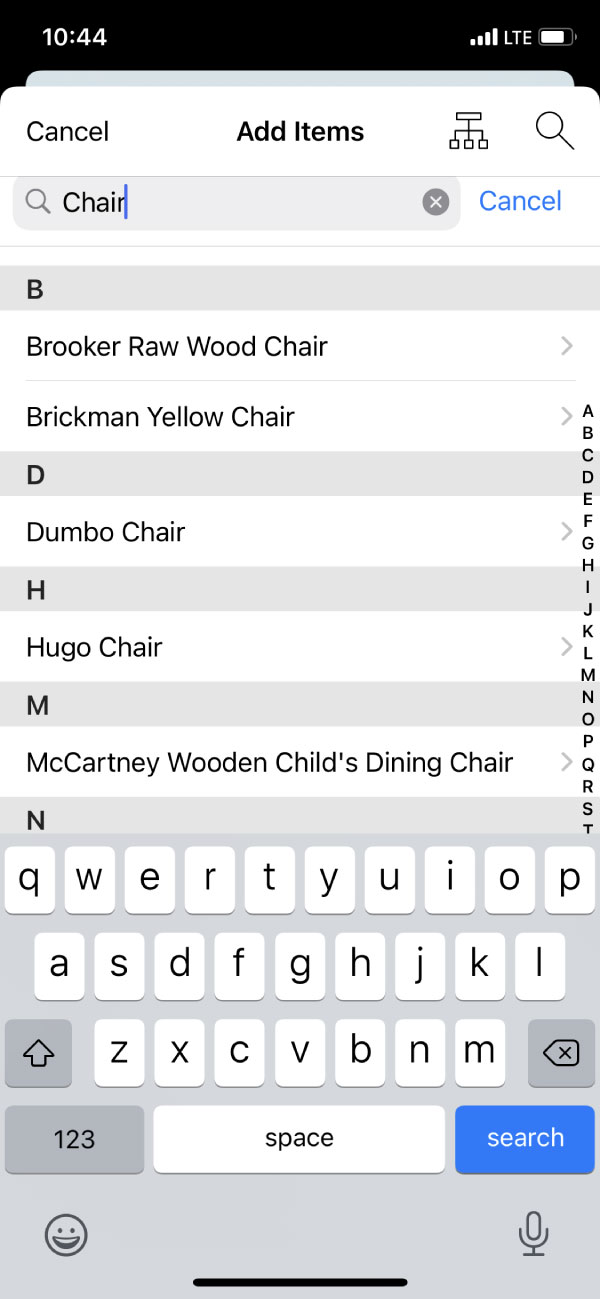
Tap the Item you want from the list of Items to add it to the Wishlist
Filter Items by Category or search by name from the icons in the top right corner.
When you tap the Item, you will be taken to the quantity page. Use the scroll wheel at the bottom to add desired quantity—Remember, Wishlists do not check for item availability.
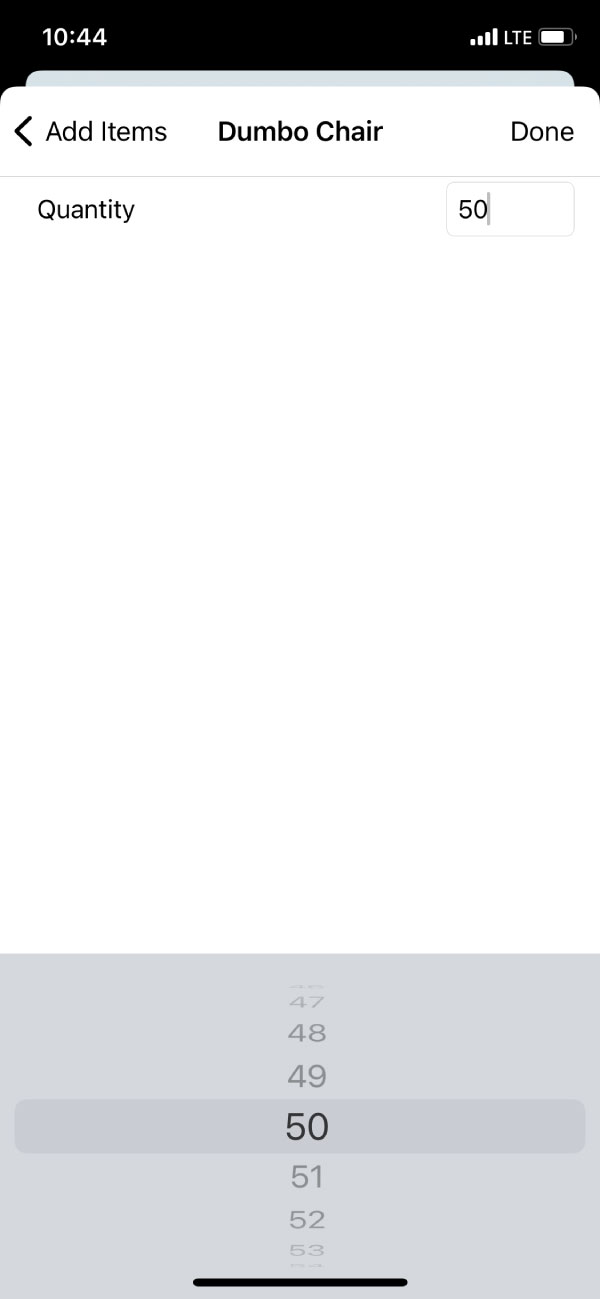
When you have the right quantity tap “Done” in the top right corner.
You will be taken back to the Dashboard.
View created Wishlists through Orders within the App and your RW Desktop Account.