To customize the text of this email, navigate to the Account icon in the upper right corner of your browser window.
In the left column, select Email Templates.
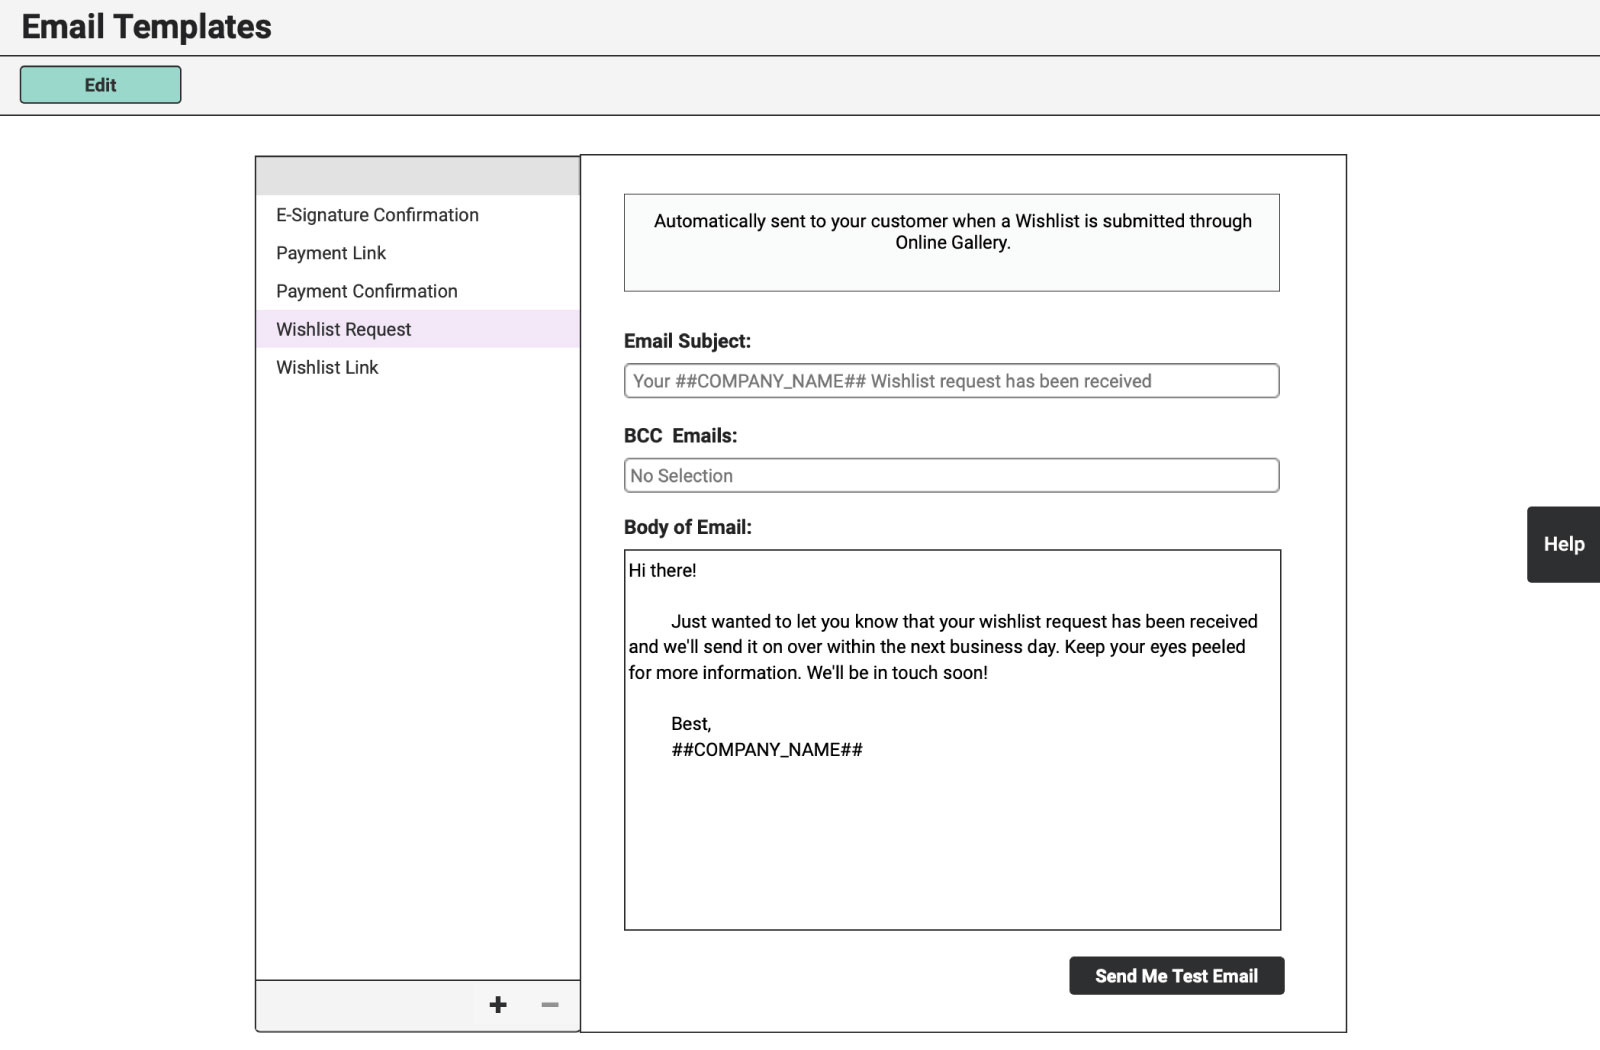
Choose the “Wishlist Request” tab.
Click the green “Edit” button at the top of your browser window.
Feel free to modify the default text in any way that you’d like but keep in mind that the Reference Tags (##COMPANY_NAME##, ##EVENT_DATE##, etc.) are meant to save you from a life of cutting-and-pasting. Even if you rearrange them or add more verbiage, you may want to include these tags.
Here is a Guide for the supported Reference Tags:
Your Company Name: ##COMPANY_NAME##
Event Date: ##EVENT_DATE##
Wishlist Number: ##DISPAY_INVOICE_ID##
Client Name (First and Last): ##CLIENT##
Client First Name: ##CLIENT_FIRST##
Client Last Name: ##CLIENT_LAST##
Link to Wishlist PDF: ##PDF_LINK##
If you choose to include the Link to Wishlist PDF (##PDF_LINK##) reference tag in this Wishlist Request email, your client will AUTOMATICALLY receive a link to their Wishlist PDF via email upon submitting their request online. If you prefer to send the Wishlist PDF manually after you have edited it yourself, do not include that reference tag in this email. Instead, save that for the Wishlist Link email.
Once you have customized your email, be sure to click on the green Save button to activate your new clever communication.
Please note that the email is generated by and sent from RW Elephant.
Also see: