Select the “Contacts” icon in the upper left corner of your browser window.
Here you can edit, add, delete, merge, and archive Contacts.
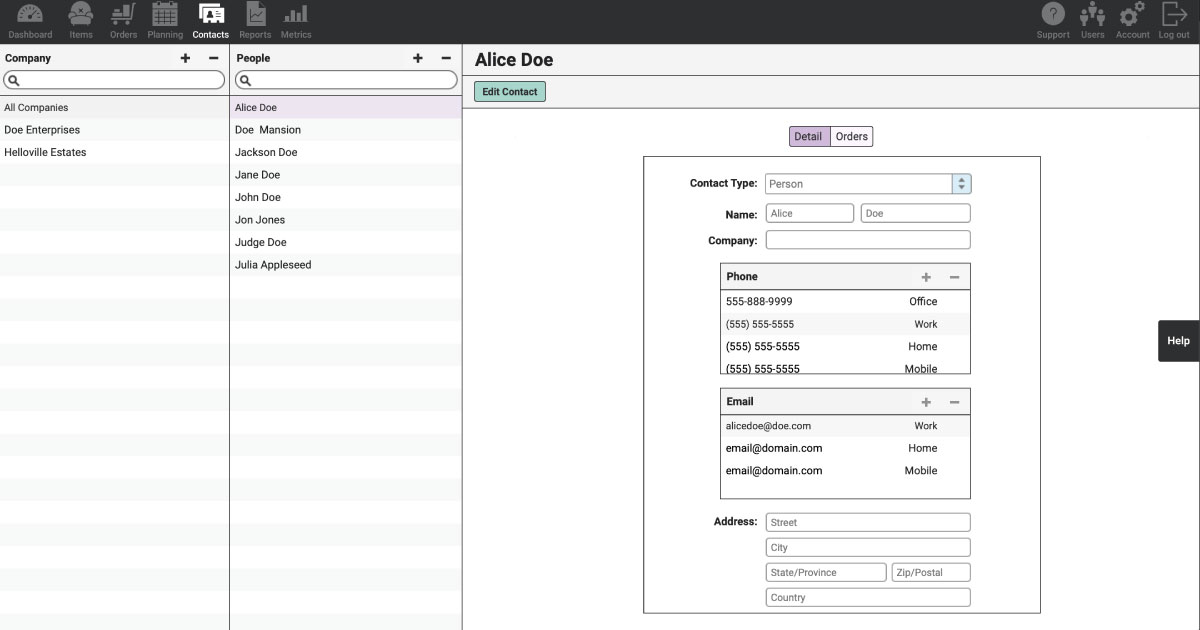
In the column on the left, select “All Companies” to view all People without a Company entered. Or select a specific Company to view the Company and the Persons entered within that Company. Select a specific Person to view their Contact Detail.
When you select a Contact, the Contact Detail will display in the window on the right. When the “Detail” tab is selected, view the Contact’s Name, Company, Phone Numbers, Emails, and Address.

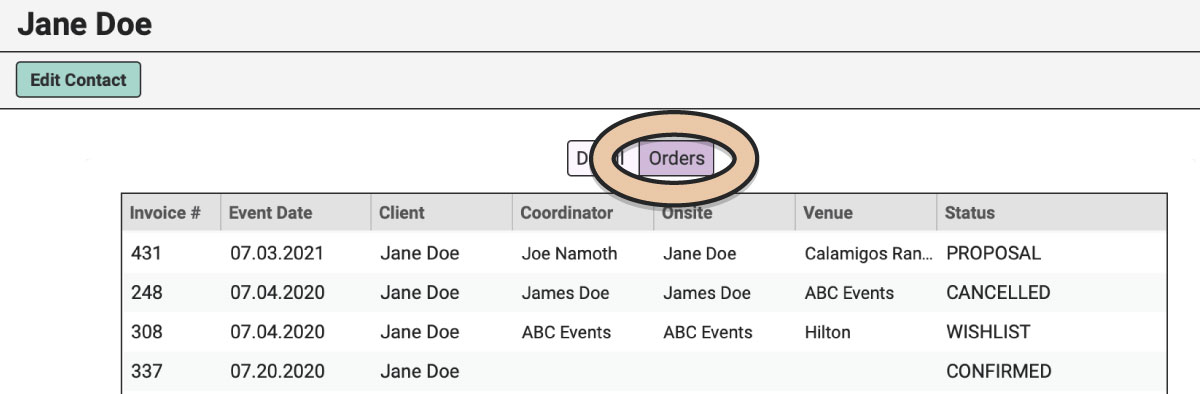
Select the “Orders” tab to view all Orders that the Contact is on and in what field it was entered (Client, Coordinator, Onsite Contact, Venue, etc.).
Add a New Contact
Within RW, Contacts can be added in one of two ways within RW:
- Within Orders, type the name and select “Add new contact…”
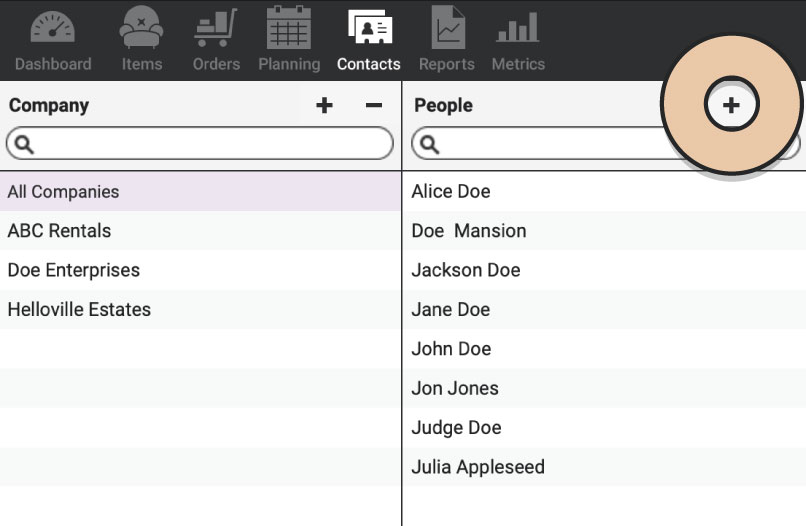
- Within Contacts, select the “+” button
Now let’s talk more about that latter option.
Navigate to the Contacts icon in the upper left corner of your browser window.
Contacts can either be entered as a Person or a Company. At the top of the columns on the left, select the “+” button under “Companies” to add a new Company Contact or select the “+” button under “People” to add a new Person Contact.
A new blank Contact will appear in the right panel.
Select the green “Edit Contact” button.
Enter the Contact Details for name, company, phone, email, and address.
Add a phone number or email address by double clicking on one of the example fields (i.e. prefixed 555-555-5555).
When the edit mode opens, type in the phone or email.
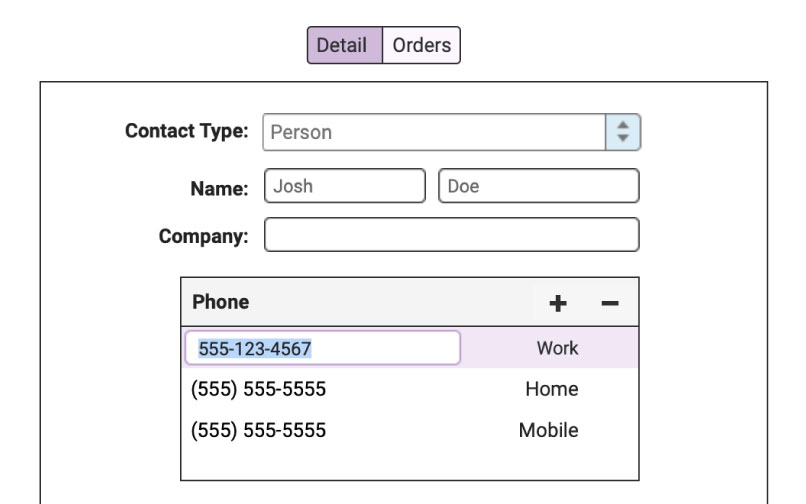
Change the type of phone or email (Home, Mobile, Work) by double clicking on the label and entering in a custom label.
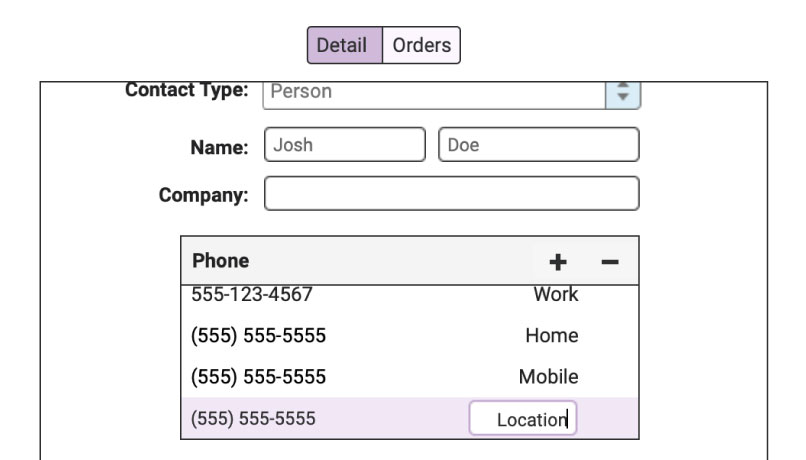
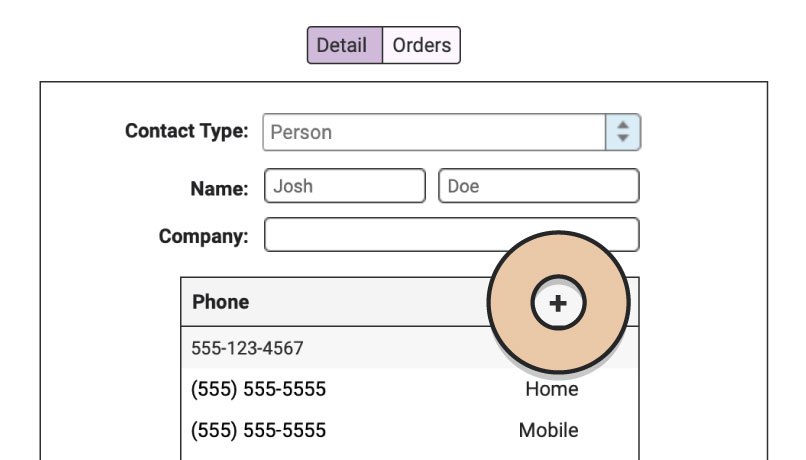
Add additional phone numbers or emails by select the “+” button in the upper right corner.
Delete a phone or email entry by selecting the entry and pressing the “-“ button in the upper right corner.
Delete a Contact
A Contact can only be deleted if it has not been used on an Order.
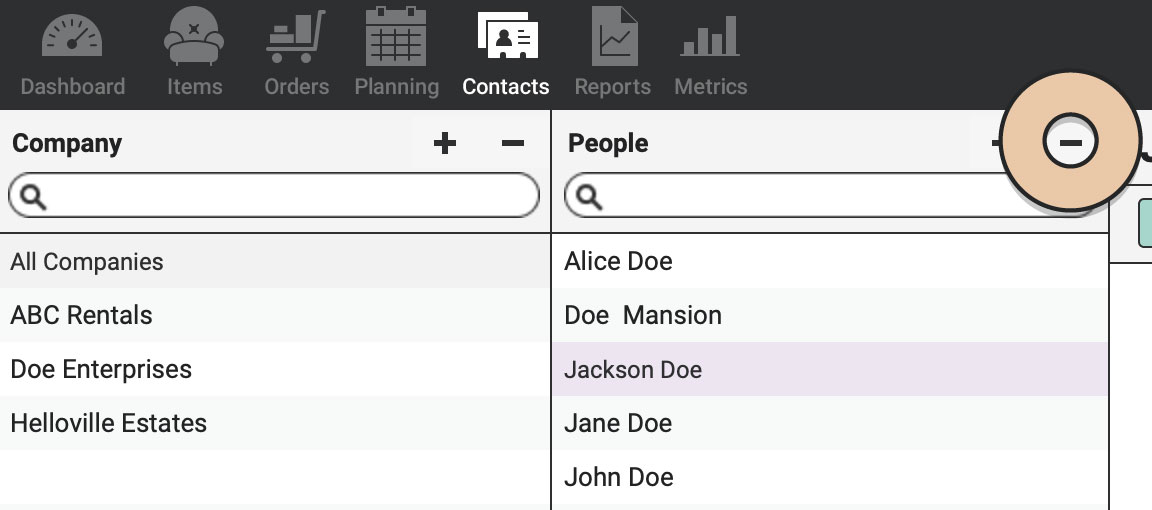
To delete a Contact, select the Contact in the column on the left.
Then press the “-“ button at the top of the list under the search bar.
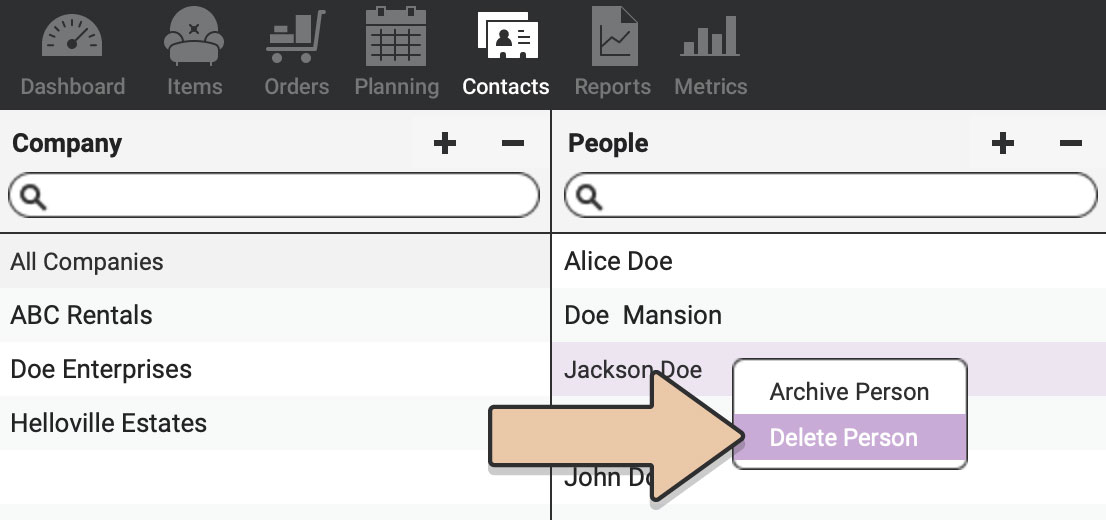
Or right click on the Contact and select “Delete Person”.
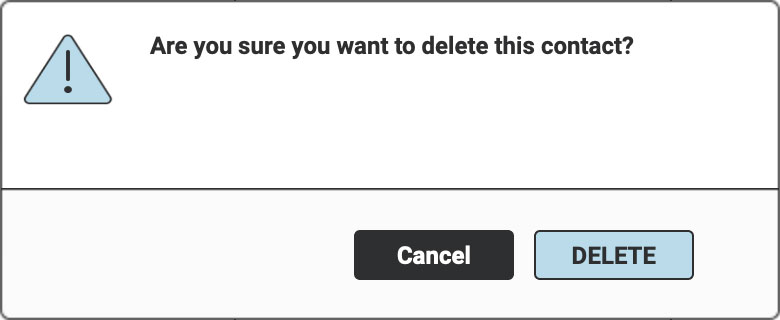
In the pop-up, confirm by selecting the blue “Delete” button.
The Contact will be permanently deleted from your RW Account, unless it it used on any existing Orders, then you will receive this pop-up:
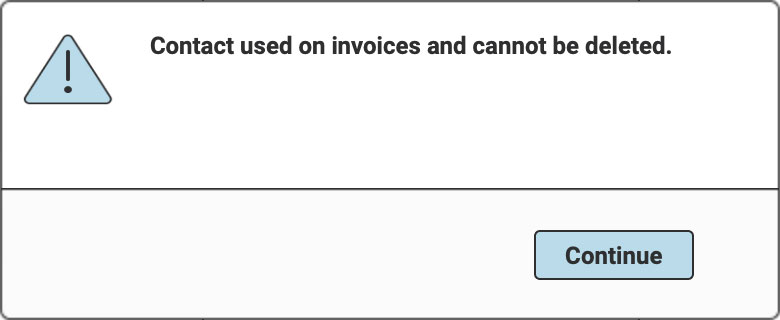
If the Contact is used on any Orders, check out Archiving or Merging Contacts.
Also check out the differences between Editing, Changing, or Deleting a Contact on an Order.
See Contacts Report for an export of all your Contacts.