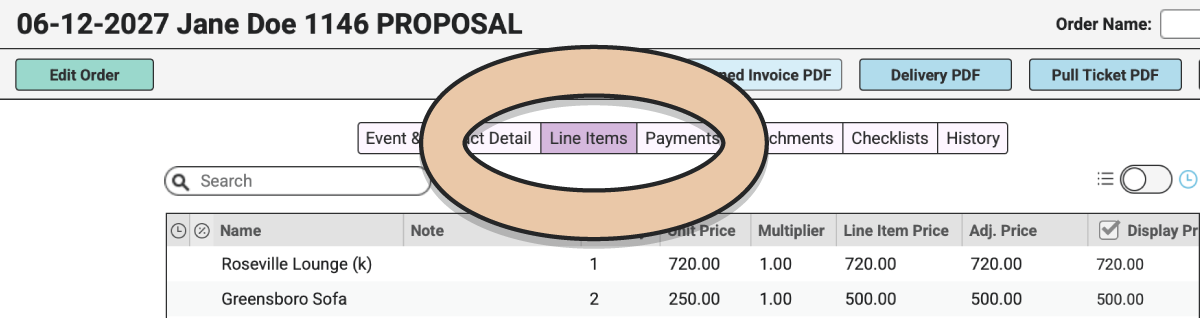
Once you’ve completed the Event & Contact Detail area of your Rental Order, select the “Line Items” tab for your Order.
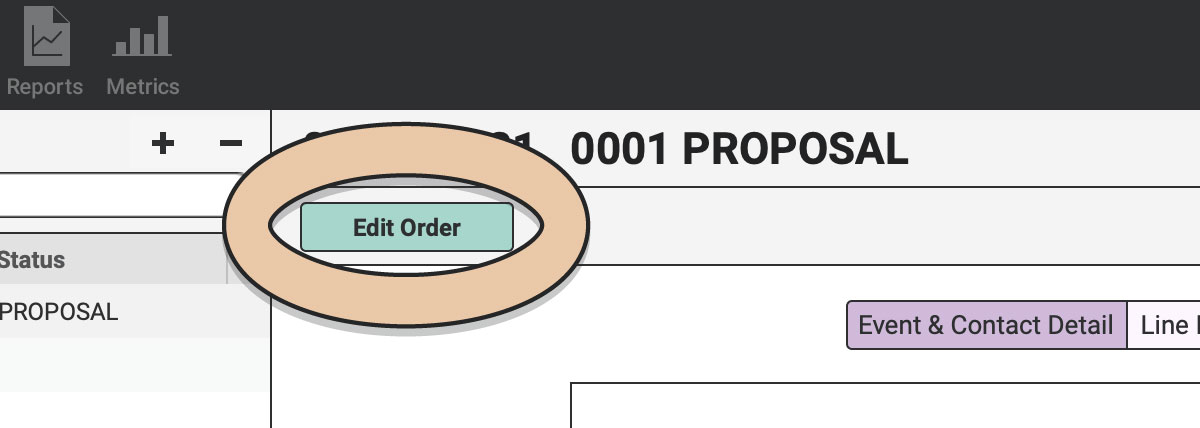
Click on the green “Edit Order” button to begin.
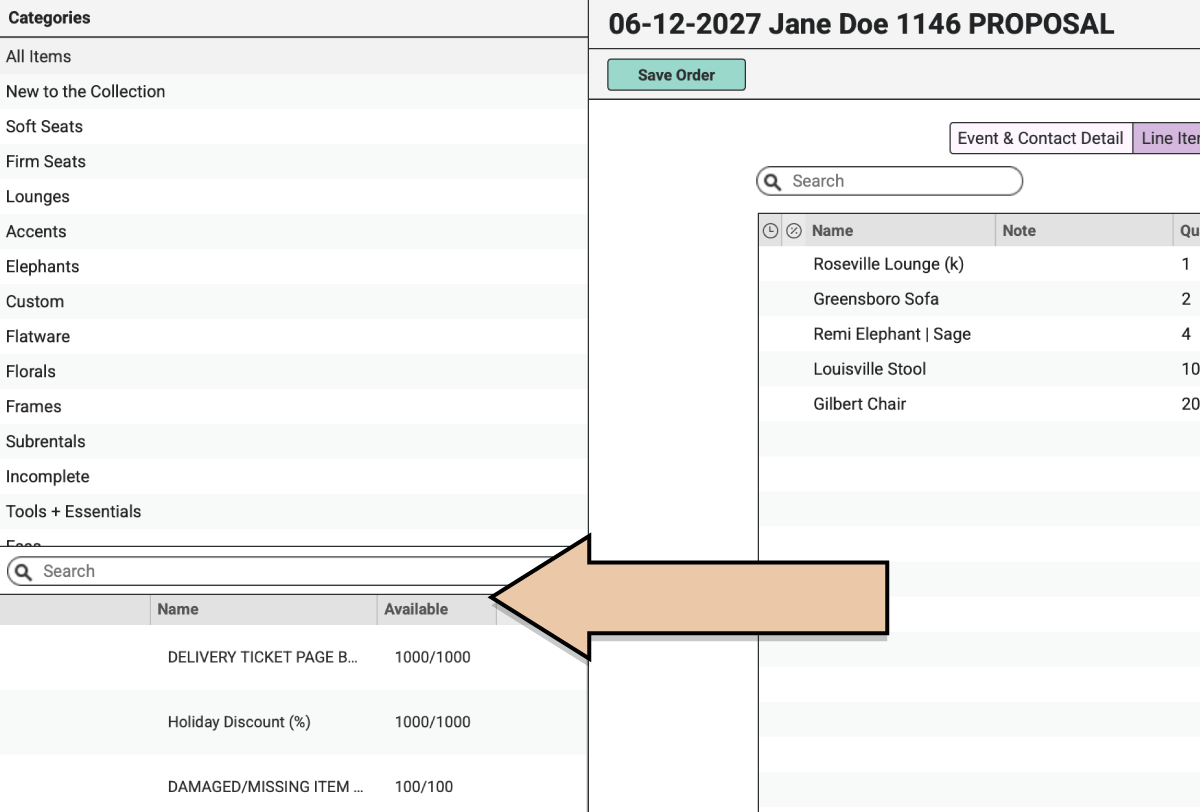
In the left column, choose “All Items” or a particular Category of Items.
All Items that exist within RW during the Off-the-Shelf & restock Time of this Order will display in the lower half of the column to the left.
Remember that Off-the-Shelf and Restock Times are the two most important times on any RW Order because RW checks those two times to determine your Item availability.
Click on a Category and scroll through the list of Items in the bottom half of the column, or use the search bar to find the first Item you’d like to add to this Order. You can choose “All Items” at the top of the Categories list to search through all Categories.
By the way, are you excited? You should be! This is good stuff happening right here!
In the lower half of the left column, hover your cursor over the Item image thumbnail to the left of the Item Name to see a bigger view of the image.
Select the Item you’d like to add to your Order and simply drag & drop it onto the Line Items table.

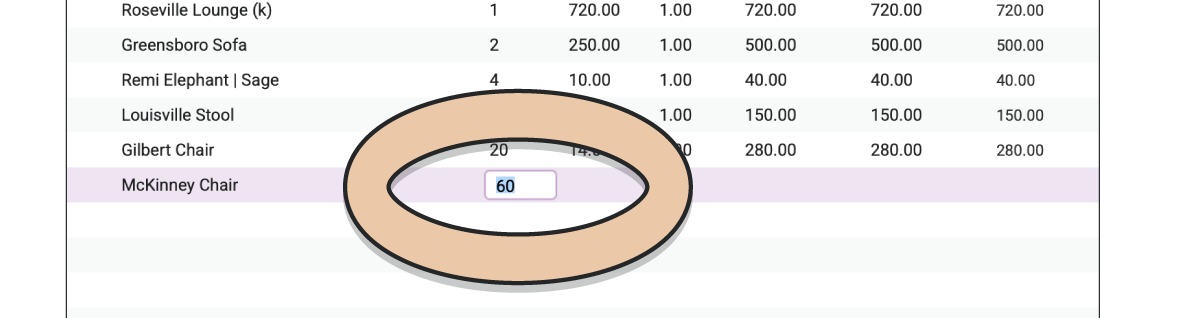
The quantity field will open automatically once an Item has been dropped onto the Order. Enter the quantity of this Item you would like to add to your Order. You can click your “Enter” key or click out of the field to add the total quantity available.
If you ever have trouble with Items not showing up or being unavailable, be sure to double check the Off-the-Shelf and Restock Times for your Order, and the Acquisition Date of the Item in question.
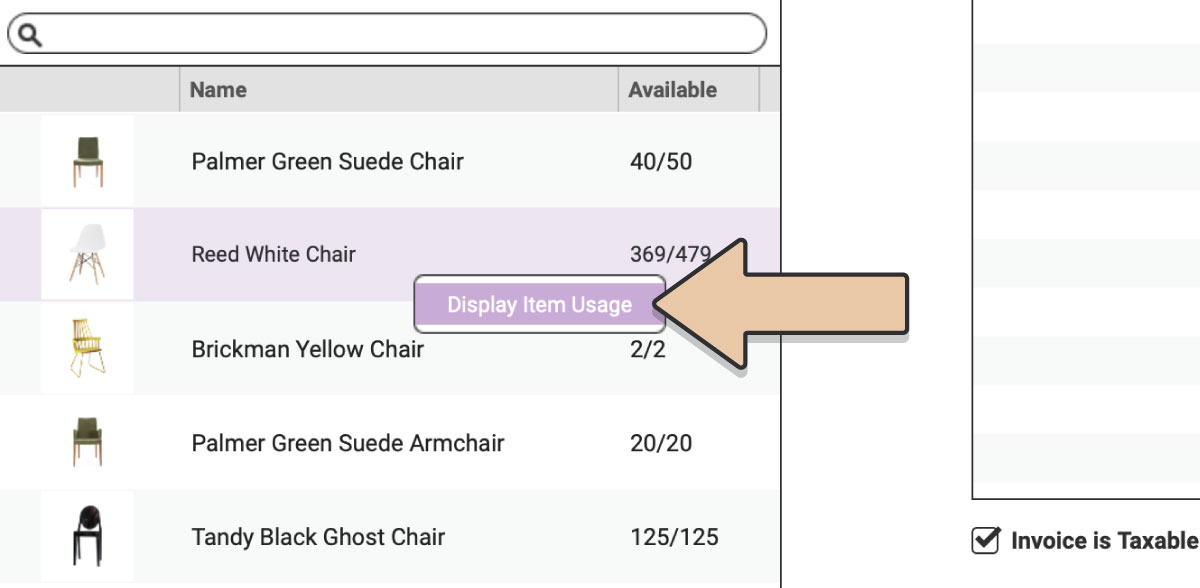
You can also right-click the Item and choose “Display Item Usage” to see the Item Usage Quick Display. This will show you where the Item is during this Order’s Off-the-Shelf and Restock Times.
Double-click on the Line Item Note field next to your Item’s name to add a note here that you want to appear on the Invoice PDF, Pull Ticket PDF, and Delivery Ticket PDF. Line Item Notes have a limit of 255 characters.
The default Rental Price you entered for the Item will appear as well. If you’d like to change the Rental Price just for this Order, double-click on the “Unit Price” and type the number you’d like to use.
Be sure to add any Fees and Discounts you’d like to appear on the Order as well. Adding Flat Fees and Discounts are pretty self explanatory. They will add to or subtract from the total.
Percentage Items are a little trickier. Percentages (both Fees and Discounts) are calculated based on everything above it in the Line Items list. For instance, a 10% Discount placed after your first Item will only subtract 10% from the first Item. But a 10% Discount at the bottom of the list will take 10% off all of the Items on the Order. But keep in mind that Percentages don’t compound so if you have a 10% Fee and a 10% Discount, they’ll be a wash.
When you do add Percentage Items, you’ll see the “Adjusted Line Item Price” change.
If you only-ever-always collect one Sales Tax Rate and you’ve already set that up in your Account section, you’re good to go.
For those of you who collect varying Sales Tax Rates, you’ll also need to add that to your Order. Find the right Sales Tax Item and drag & drop it onto your Line Items list. You can only have one Sales Tax Item on any given Order. Dragging & Dropping a new Sales Tax Rate will automatically replace any others already on your Order.
Once you have all of the Inventory Items, Conceptual Items, and Tax Items you need on your Order, at the right Quantities, at the right Prices, you’ll be all set.
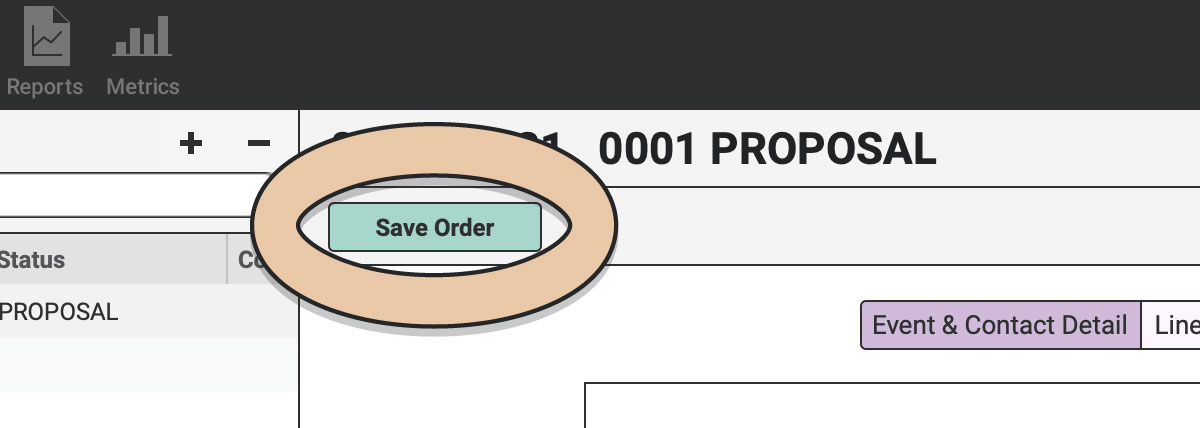
Click the green “Save Order” button in the top left corner of the Order page.
Now you’re ready to see all of those pretty little Items show up on an exciting PDF. Woohoo!