Before you make your first Order, let’s talk about the basics. Let’s get all of your defaults set just the way you’d like them. Navigate to the “Account” icon in the upper right corner of the browser window.
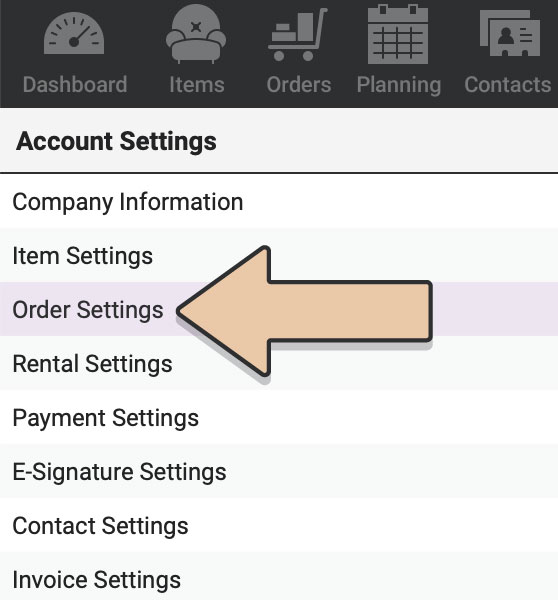
In the left column, click on “Order Settings.”
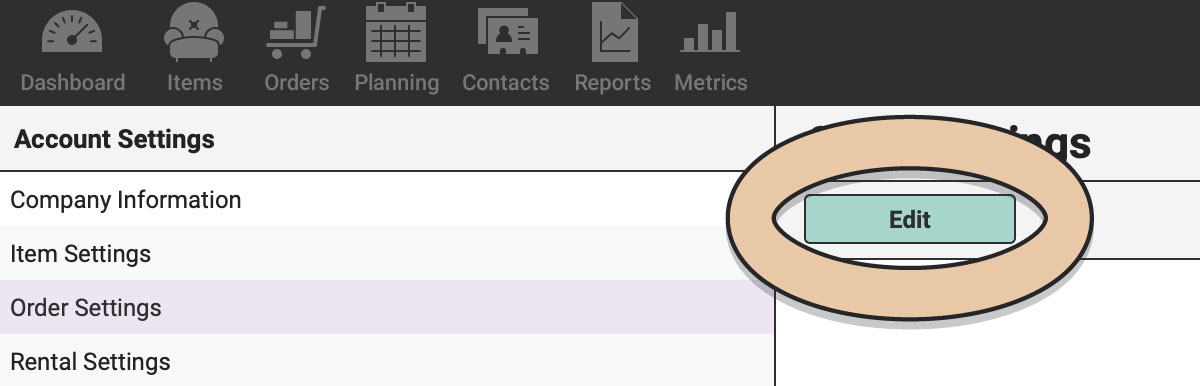
Click the green “Edit” button.
In RW Elephant, your Rental Orders will start out as Proposals and later become either Confirmed Orders or Cancelled.
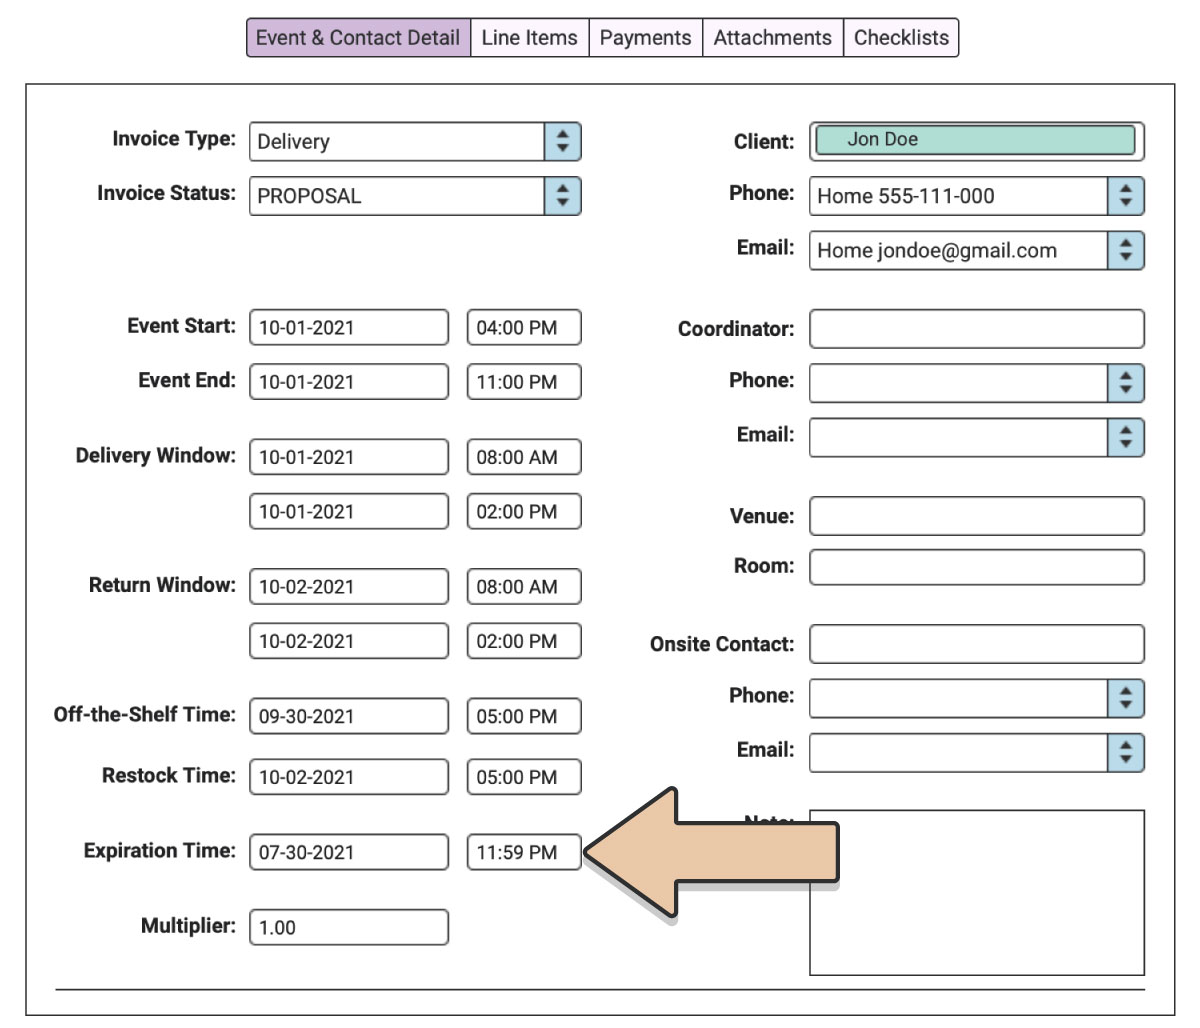
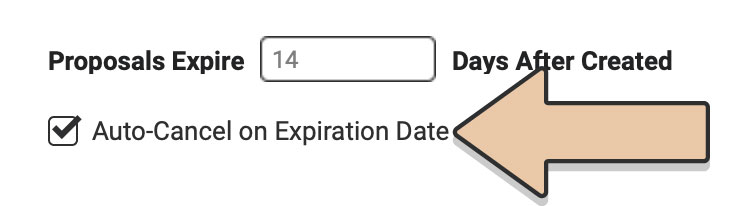
In this first field, you’ll set the number of days your Proposals have to live. Whether it is 1, 10, or 300, you can determine that here. Every Proposal has an Expiration Date.

You will be able to manually change the Proposal Expiration Date on an Order-by-Order basis but this setting will generate the default for your Orders.
In this second line, you can choose whether or not you’d like your Proposals to automatically become Cancelled Orders on the Expiration Date*. If you’d rather let the date pass, not have the Order automatically convert to Cancelled, and stay a Proposal until you manually change it, leave this box unticked.
This is a universal setting and cannot be changed on an Order-by-Order basis.
*Please Note: The Proposal Expiration Date & Time is based on UTC, not the Time Zone set within Company Information.
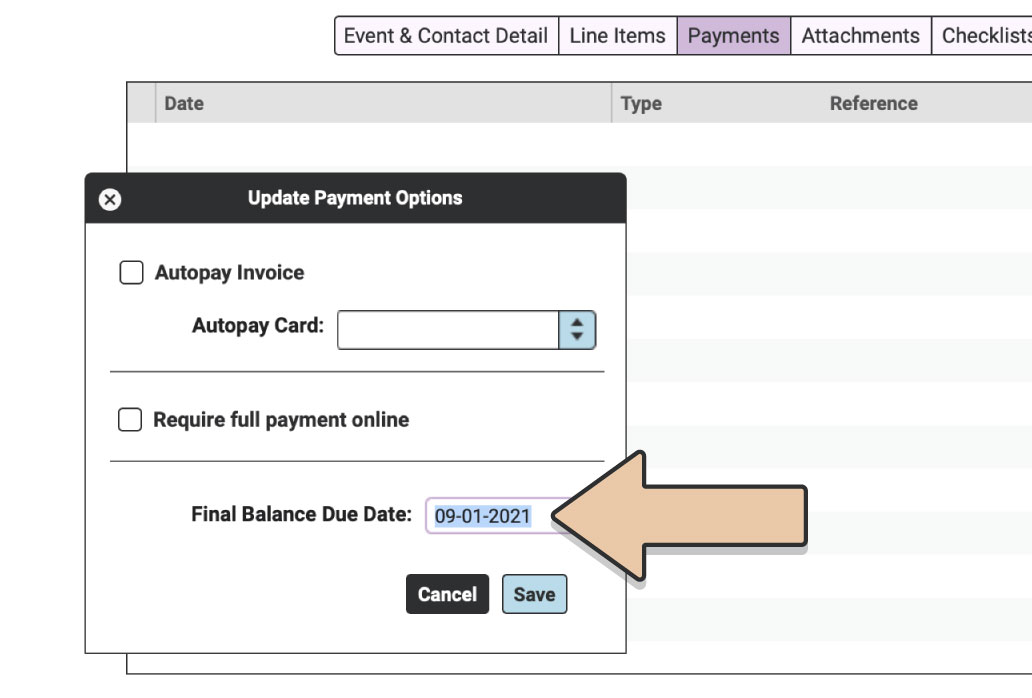
You can also enter the number days prior to the Event Date the Final Balance for the Orders will be due.

This setting will create the default Final Balance Due Date. It can also be changed on an Order-by-Order basis.
Keep in mind that once you determine these Settings, they will impact all future Orders. If you already have existing orders, changing the Order Settings will not change their Proposal Expiration Dates or Final Balance Due Dates. But if you tick the box to Auto-cancel expired Proposals, any existing Proposals past their Expiration Date will become Cancelled.
You’ll also notice a few more tick box options at the bottom of Order Settings. We’ll go over this more in the Tools for Power Users tutorial.
Click the green “Save” button to save these settings.
For now, select the “Payment Settings” in the left column.
Click the green “Edit” button.
You should have already set your Sales Tax Rate in a previous tutorial but if you haven’t do that now.
Also, enter the percentage you require for an initial deposit.
We’ll talk about integrated credit card processing within RW Elephant through our payment partner Stripe in a later tutorial but get excited. That is one of our favorite features!
Click the green “Save” button.
Like the Order Settings, these Payment settings will impact future Orders. Existing Orders will maintain the Sales Tax Rates and Required Deposits they had when they were created.
Now that you’ve got all these default settings taken care of, let’s take care of one more set of defaults to save you some time down the road.