RW Elephant loves images! We love pictures of babies. We love photos of serene nature scenes. But most of all, we love images of your Inventory Items. And we think your clients do too.
Within RW Elephant, you can include images with your Items that display on your Order PDFs and in your Online Gallery. These images can help you stay on the same page with your clients, sales staff, and warehouse team. Everyone will know exactly what’s on the order.
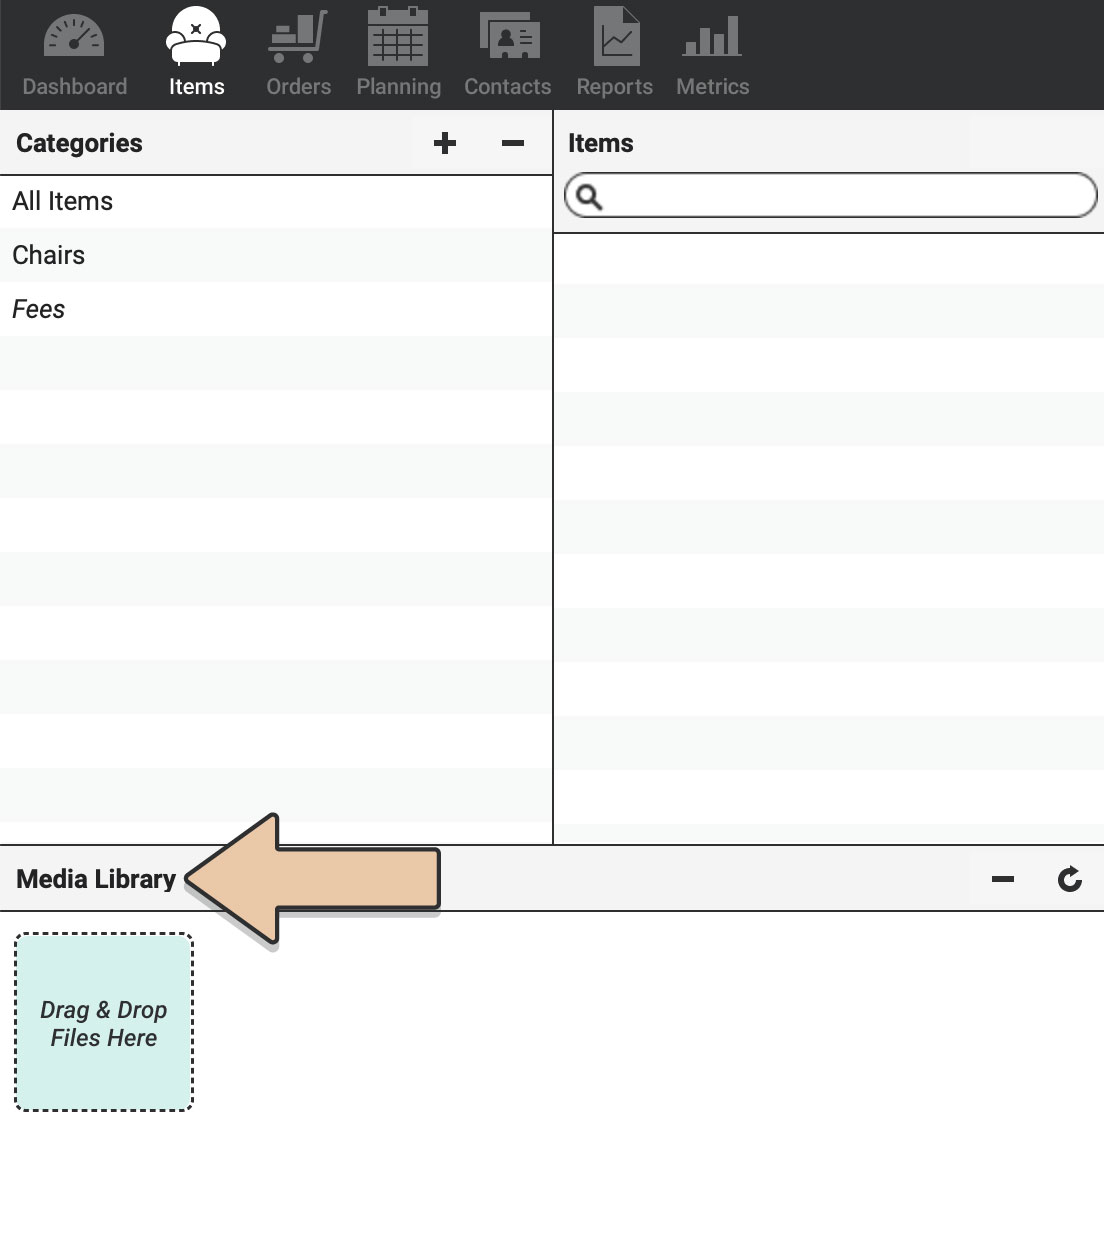
Start by uploading images to your Media Library.
Navigate to the “Items” icon in the upper left corner of your browser window.
First, find the photos on your computer.
We suggest images that are about 1000×1000 pixels or less and the sweet spot for file size is between 100 and 250 KB. Anything larger than that is just overkill.
From your computer drag and drop the photos onto the target in the Media Library in the lower left area of your browser screen.
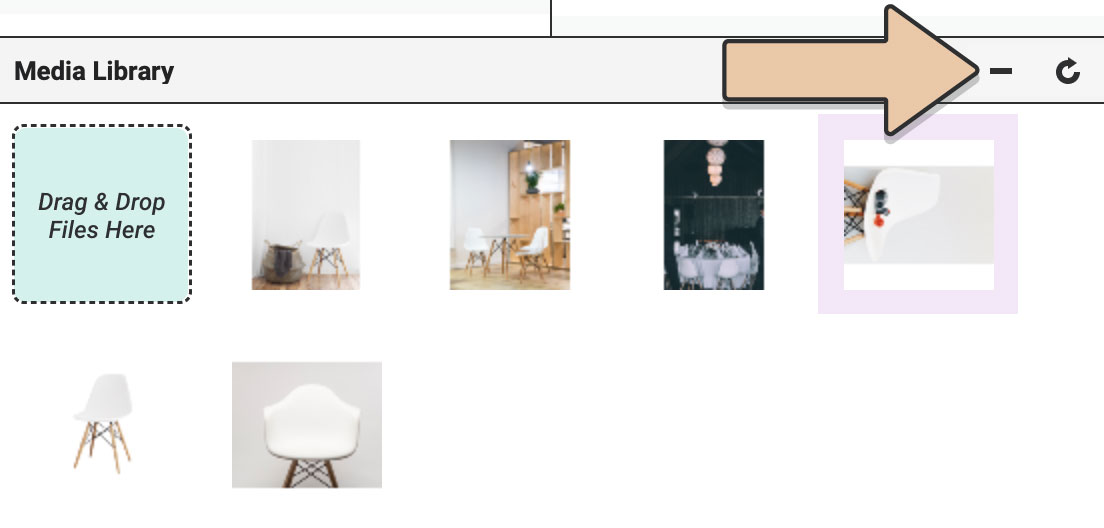
Your photos will start showing up here. You can rotate or delete photos using the buttons at the top of the Media Library.
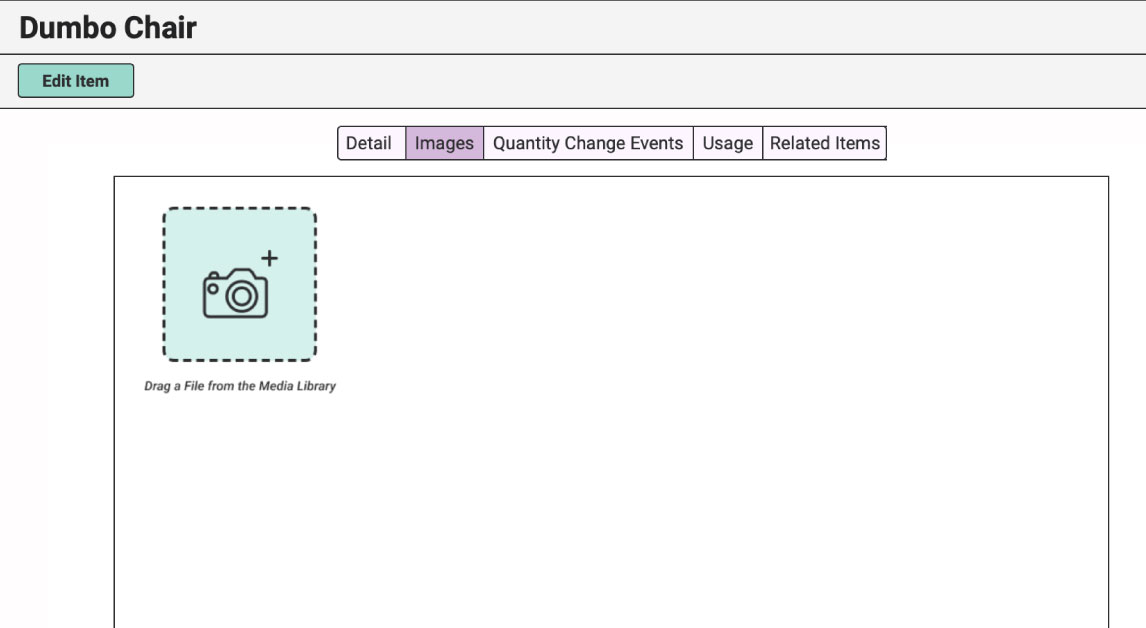
Once your images are in the Media Library, select the Inventory Item you’d like to add a photo to.
Click the green “Edit” button and navigate to the “Images” tab. Then, simply drag and drop them into the images field. The upper left image will be the main image that will appear on your Orders.
Use the “x” button in the upper right corner of the photo to remove it from the Item. It will go back to the Media Library and wait to be assigned to another Item.
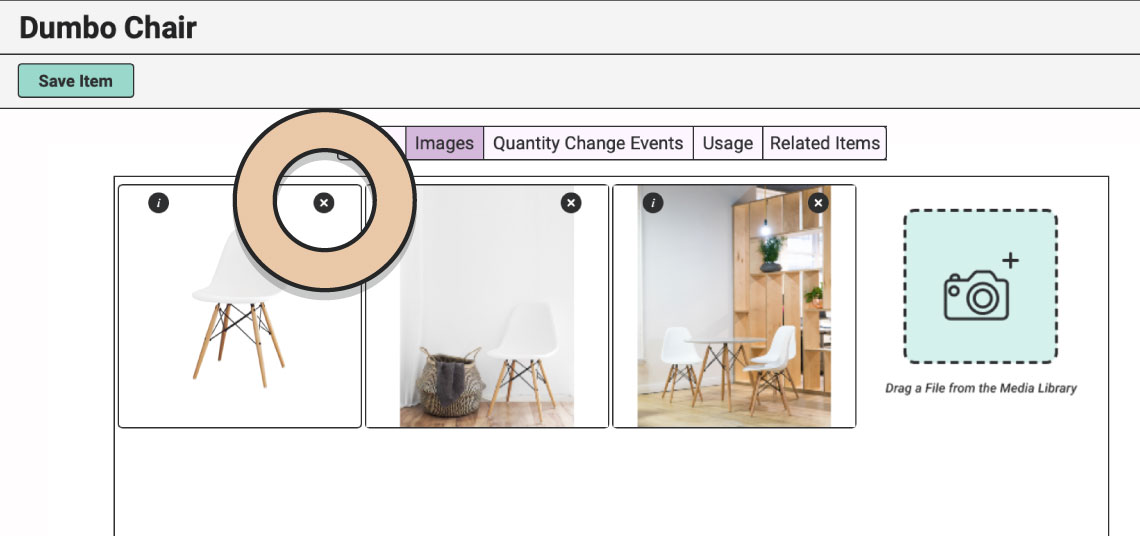
You can also drag photos from one position to another to rearrange the order.
NOTE:
Half-Ton users don’t have online galleries so they’ll only ever display one Image. Pachyderm users can add up to four Images per Item. Herd-Leaders can add Unlimited Images to each of their Items.
We’ve given advice about images in a few blog posts here, here, and here. Check them out to see how to optimize your shiny new Item images.