Once you’ve received a Wishlist from a customer through your Online Gallery, you’ve created one via the iOS app, or you’ve created one in your Orders column, you’ll want to convert it to a Proposal so that you can send it off to your customer.
Begin by selecting the “Orders” icon in the top left corner.
Select the applicable Wishlist from the Orders column on the left.
Click on the green “Edit Order” button.

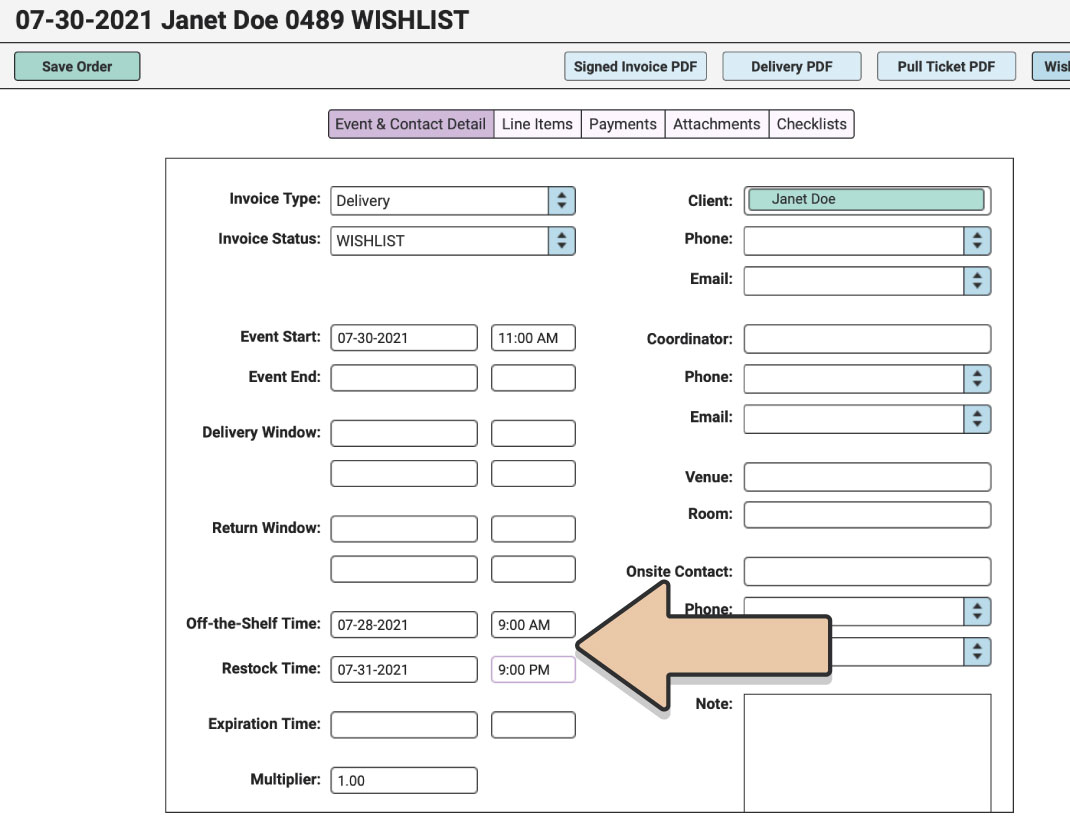
Fill in any of the Event Date and Times fields that you have information for. Pay close attention to those most critical Off-the-Shelf and Restock times that will prevent double-bookings.
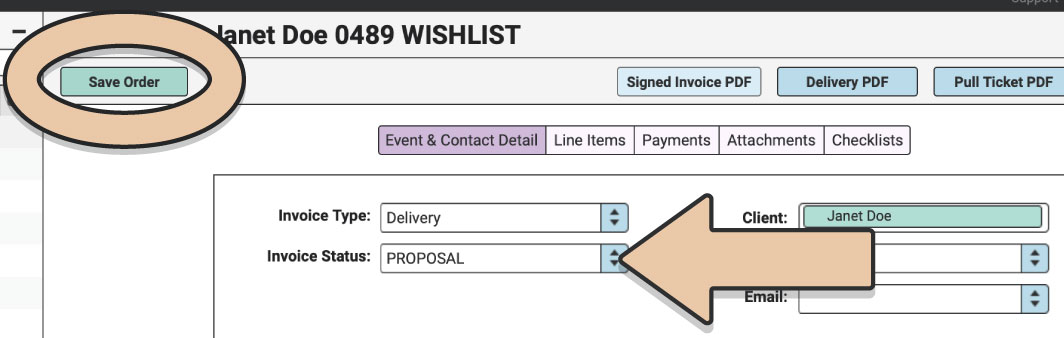
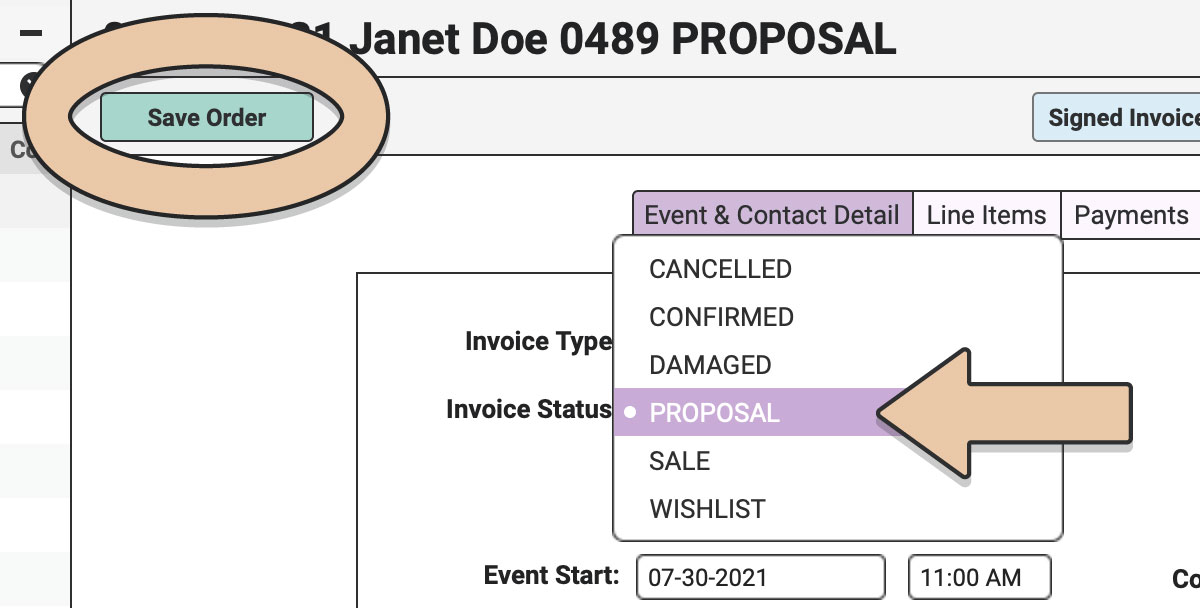
Click on the Invoice Status drop-down menu and select “Proposal.”
Click on the green “Save Order” button.
If none of the Items on the Wishlist conflict with other Orders, you’re free to click on the Line Items tab, click “Edit Order,” and add Items, Fees, Taxes or any other Line Items you need to complete the Proposal. Also, enter any additional Contact info that you need to.
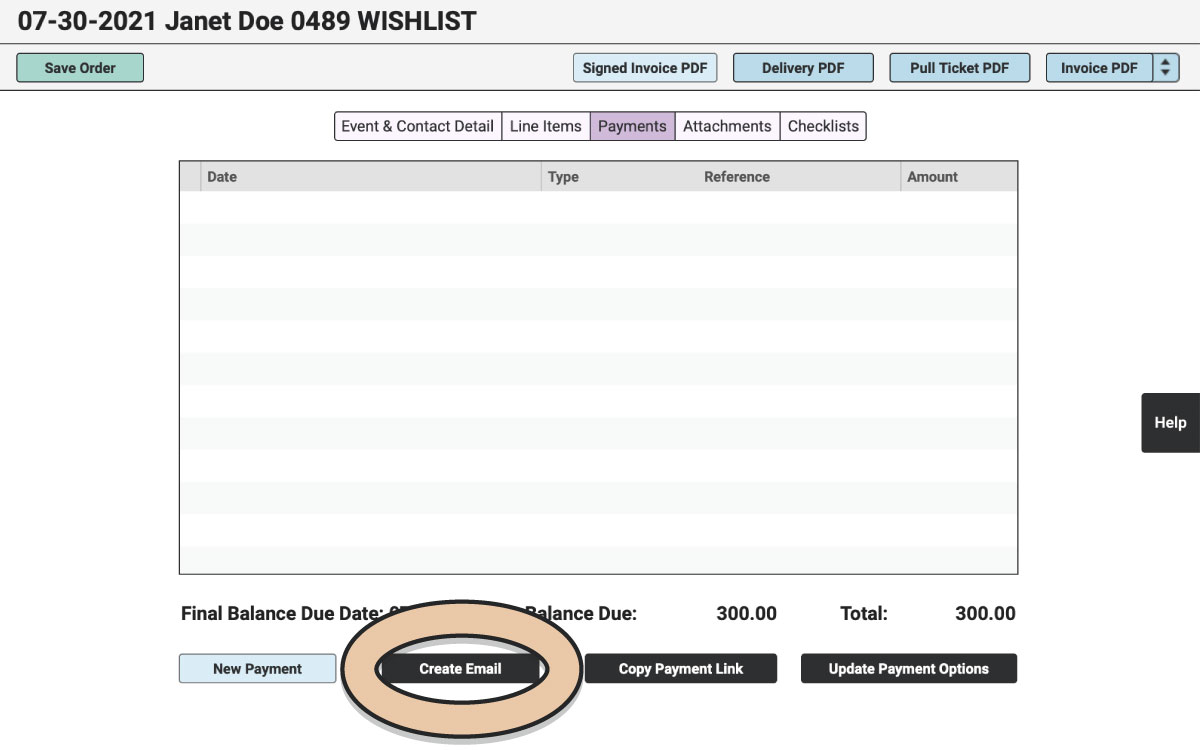
When you’re ready to send the Invoice PDF of the Proposal off to the customer, go to the Payments tab and click the “Create Email” button at the bottom of the screen. Be sure that you’ve set up your Email Templates in your Account Settings.
Item Conflicts on the Wishlist.
When you try to save the Wishlist as a Proposal, a pop-up will appear if there are any conflicts. This means that one or more Items are on other Orders during the Off-the-Shelf and Restock period for this Order.
The pop-up window will state which Items need to be addressed.

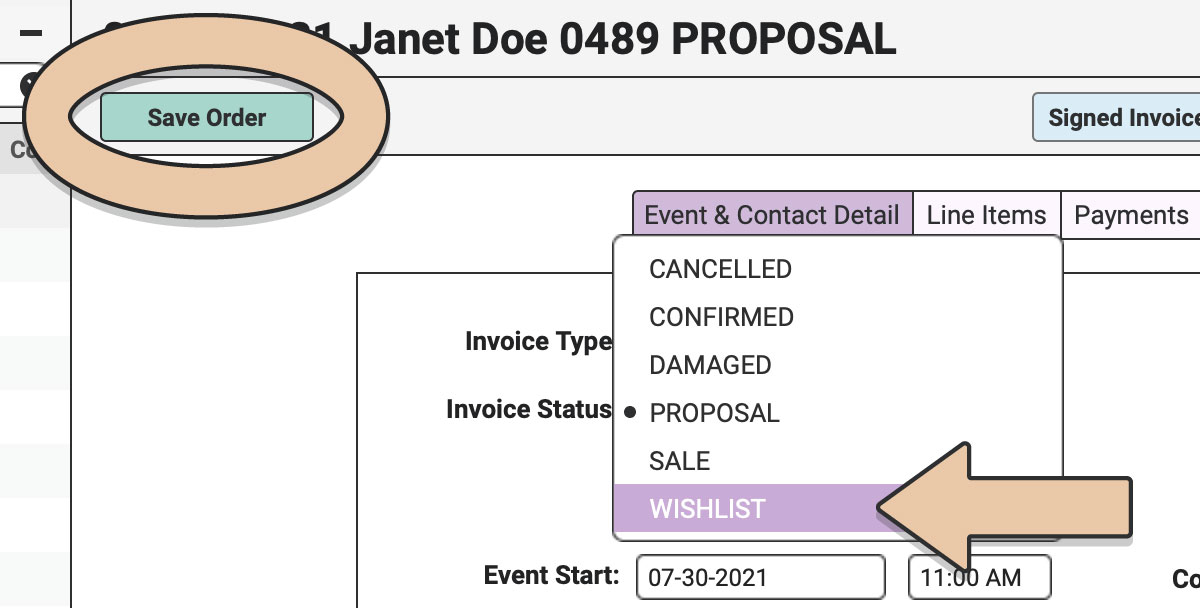
Change the Invoice Status back to “Wishlist” and click the green “Save Order” button.
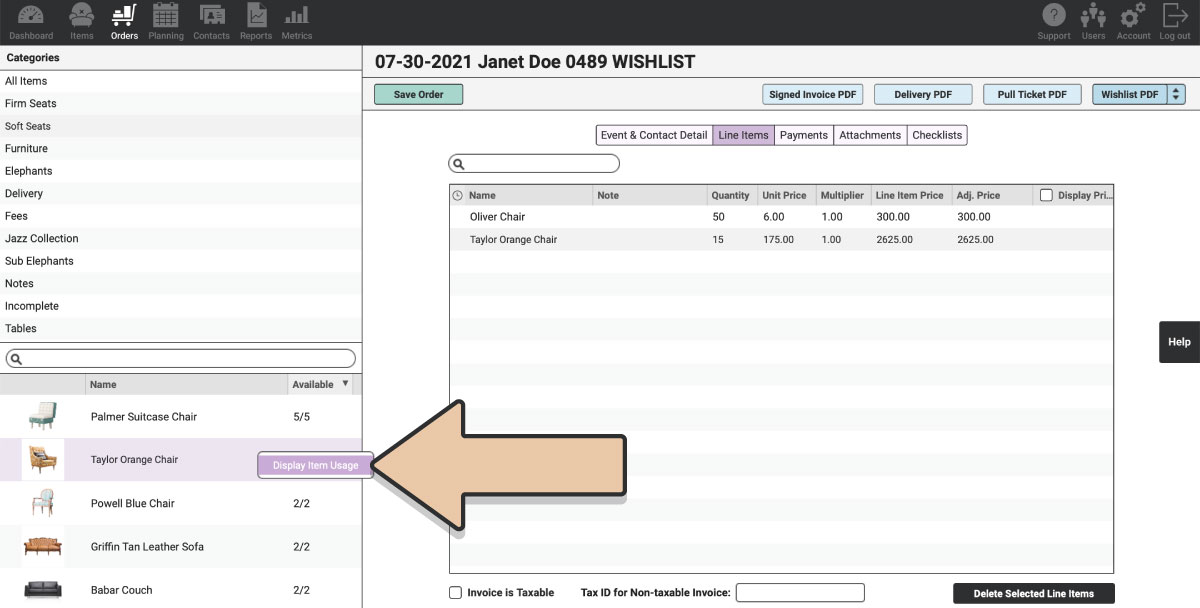
Now go to the Line Items tab on the Order and click the green “Edit Order” button. From here, you can search for the conflicting Items in the bottom left corner. Right-click on the Item, then click on “Display Item Usage.”
You’ll see a pop-up window that shows all the Orders that the Item is on that take place during the Off-the-Shelf and Restock period of your current Order.
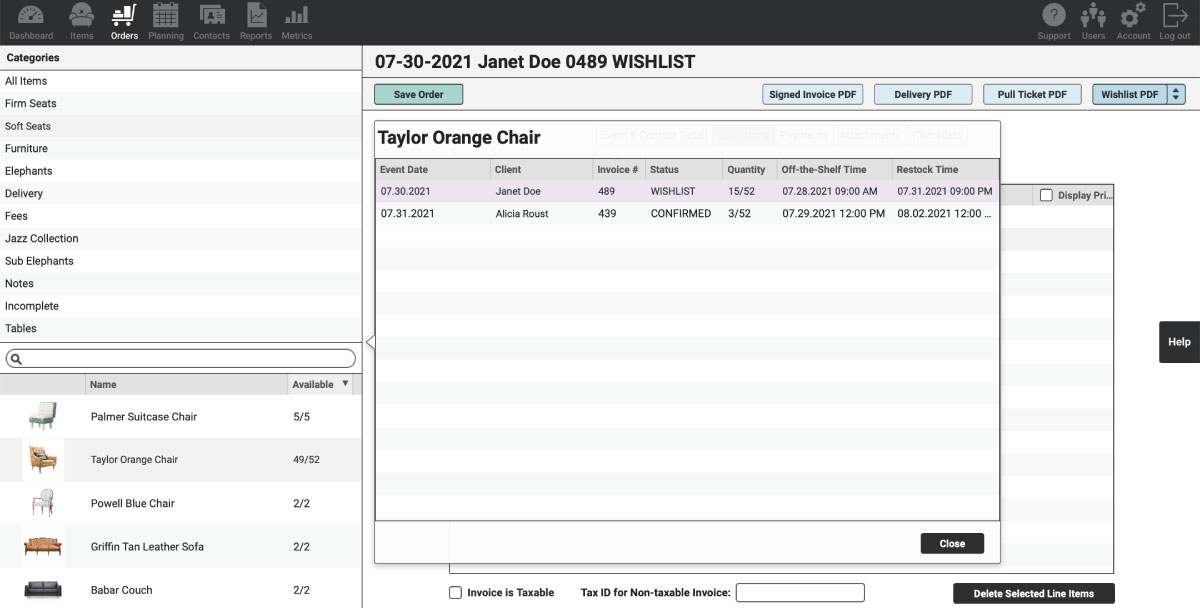
From here you may add a different but similar Item to the Order to recommend to the customer. You can also make an Internal Note on the Order to check back on the Item if the other Order that it’s on doesn’t become Confirmed or cancels. Then you could add it back later if it becomes available.
Remove the conflicting Item(s) and decide if you want to substitute them with another Item(s). Add any additional Items, Fees, Taxes or any other Line Items you need to complete the Proposal. Also, enter any additional Contact info that you need to.
Change the Invoice Status to “Proposal” and click the green “Save Order” button.
Once you’re ready to send the Proposal Invoice PDF of the Proposal off to the customer, go to the Payments tab and click the “Create Email” button at the bottom of the screen.
