The ShowIt Advanced Blog service allows users to host a WordPress blog and additional WordPress based Pages which can then be used to display the Inventory Gallery and Wishlist pages of the RW Plugin.
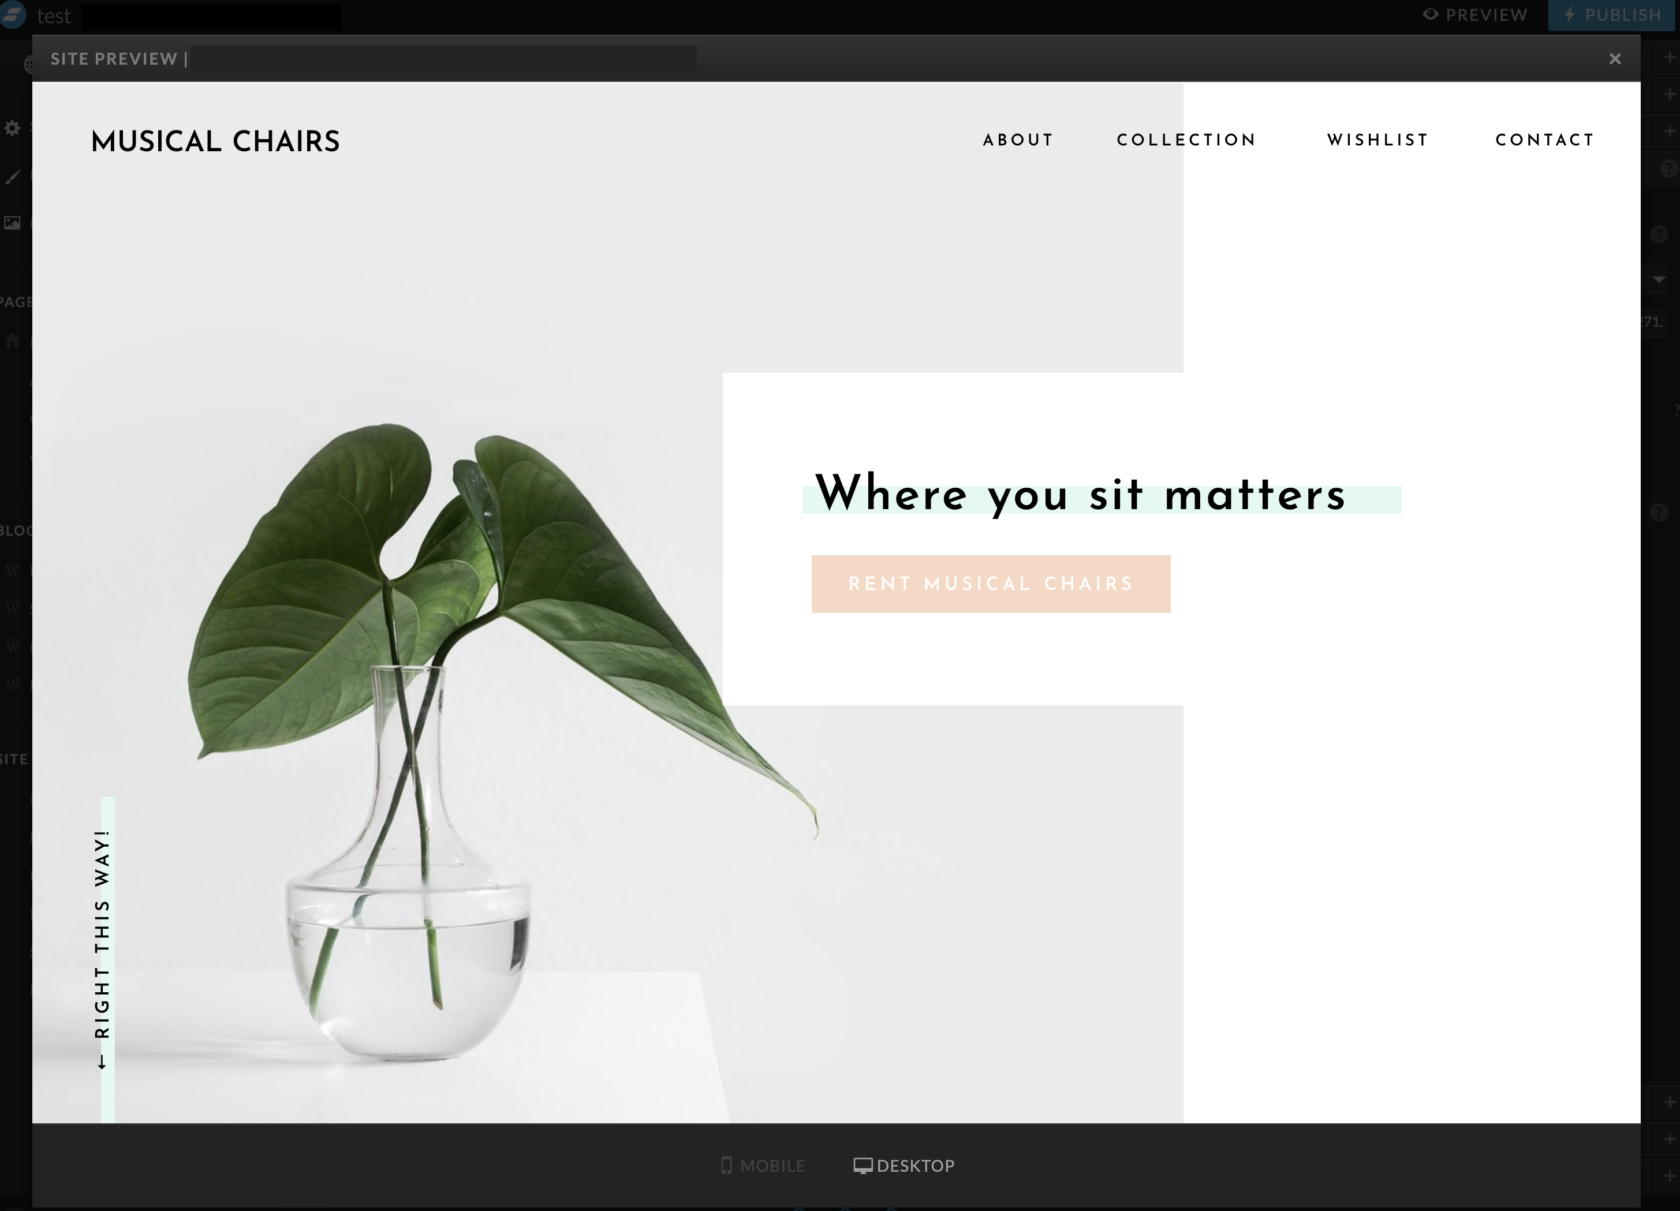
This setup guide will walk you through how to configure the RW WordPress Plugin on your ShowIt website. But first, check out our demo Showit site with the Plugin in action!
Setup
You can get started by signing up for the ShowIt Advanced Blog Plan (https://showit.co/pricing) and setting up a new design using the ShowIt Builder, choose from a range of pre-made designs that can be customized to your requirements.
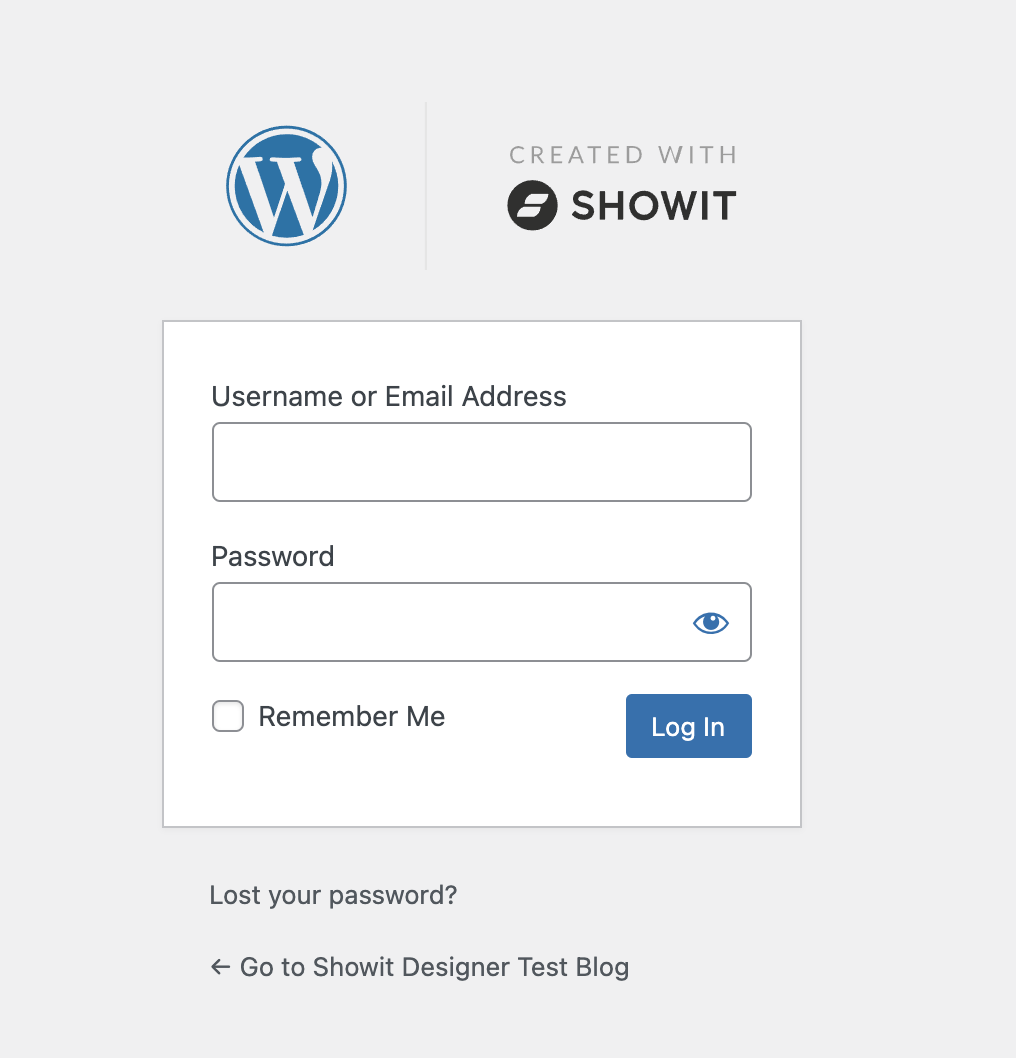
Once you have received confirmation of the Advanced Blog setup, you should be able to log in to the WordPress Admin:
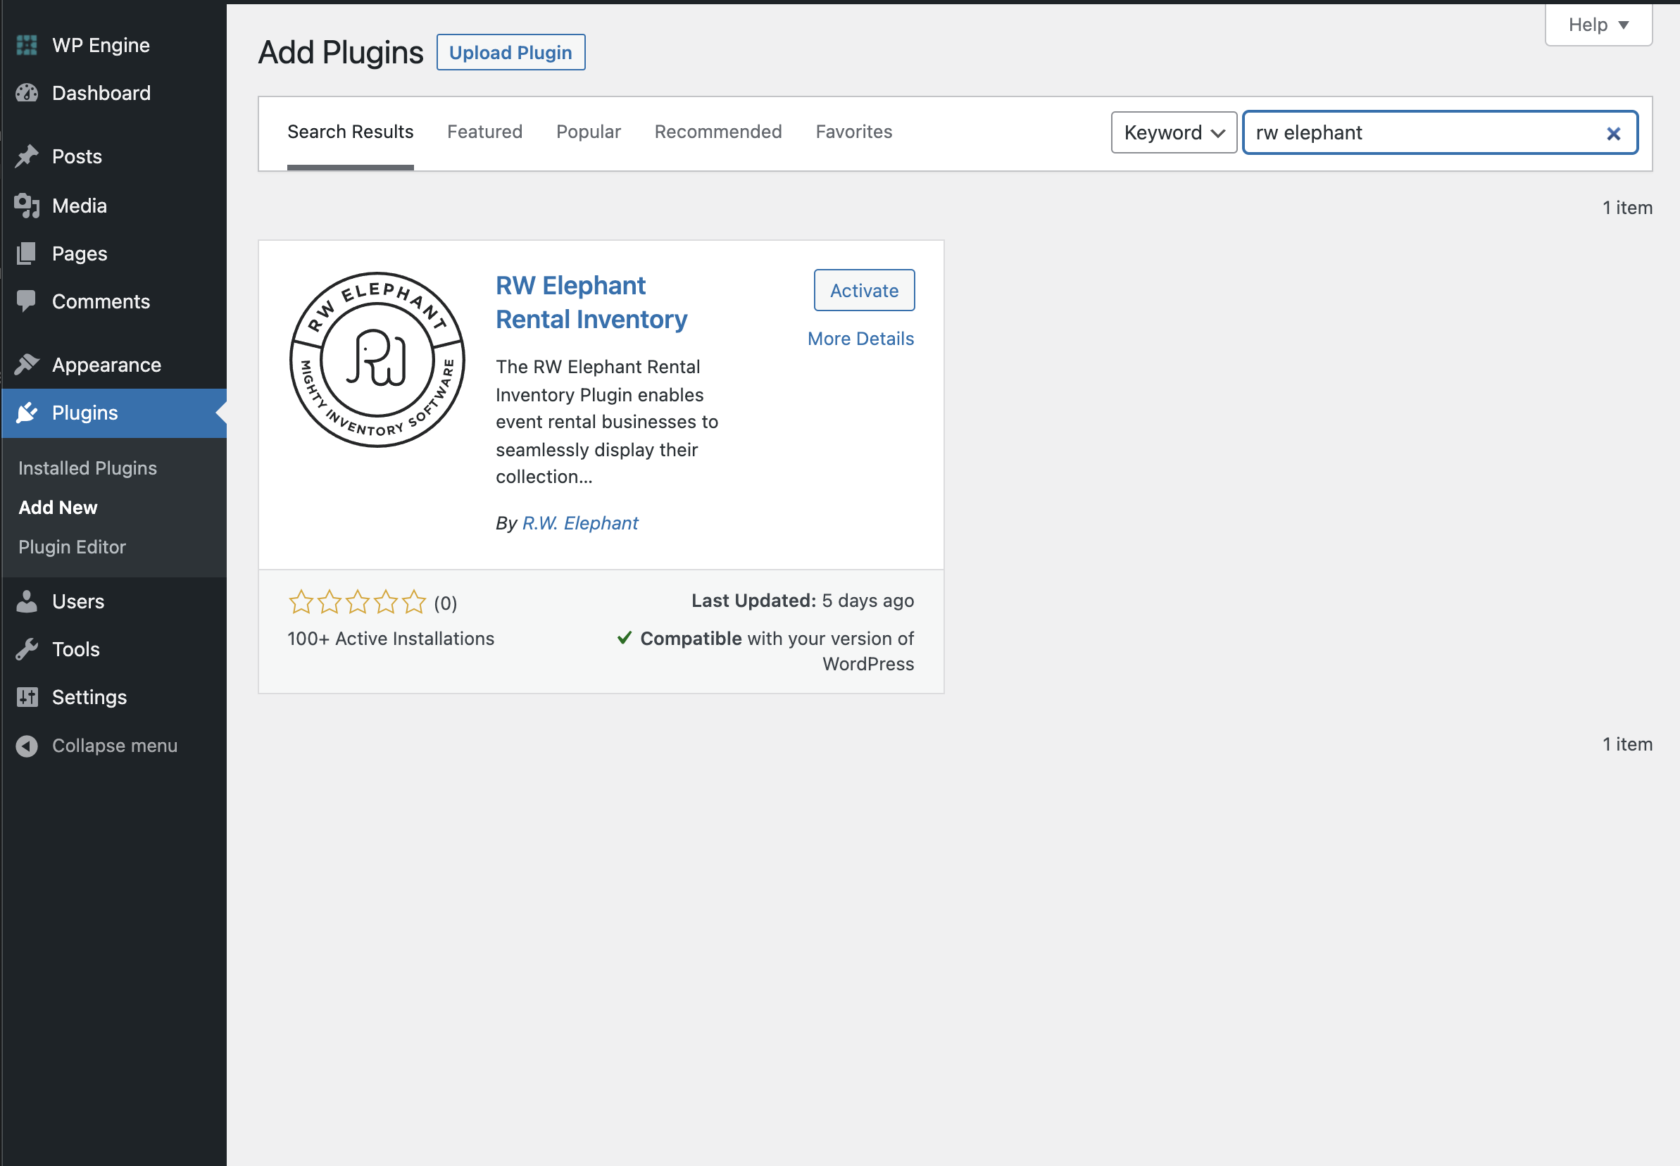
Install the RW Elephant WordPress Plugin using the standard WordPress Plugin Installation & Configuration.
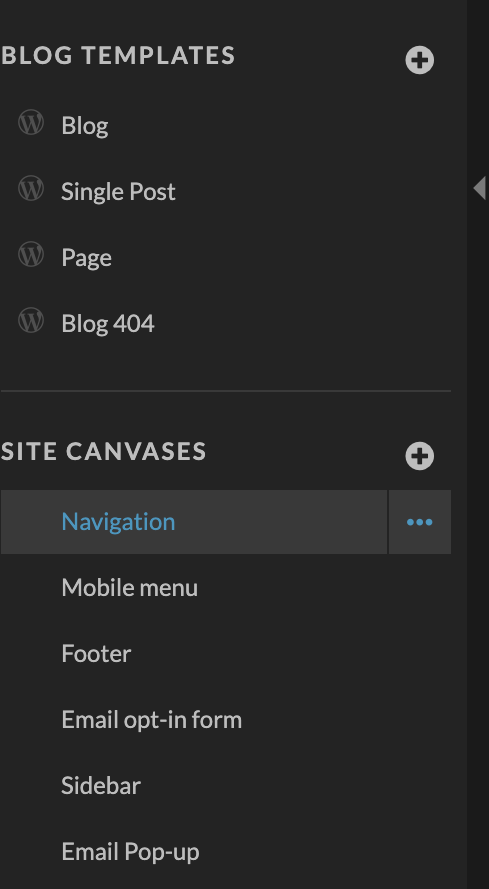
Note: When activating your Showit WordPress Blog, Showit will create the basic templates that WordPress requires in order to display pages and posts. These default page templates are automatically assigned to each corresponding Page or Post type in WordPress.
When you create a new page on your WordPress website the default page template is used for layout:
- Blog (template for the Blog List Page)
- Single Post (template for Blog Articles)
- Page (template for Pages)
- Blog 404 (template for 404 Error Pages)
By default the RW plugin will use the “Page” template to display the Gallery and Wishlist on the selected pages (within the RW Plugin Settings).

Editing these default templates will affect all pages or post that use the template type. Removing the “postContent” region will prevent WordPress content from being output to the page.
If you wish to create custom layouts for different pages, you will need to create a copy of the relevant default page template, and make customisations to this template. You will then need to assign the template to the relevant WordPress page using the options in the Showit Admin.
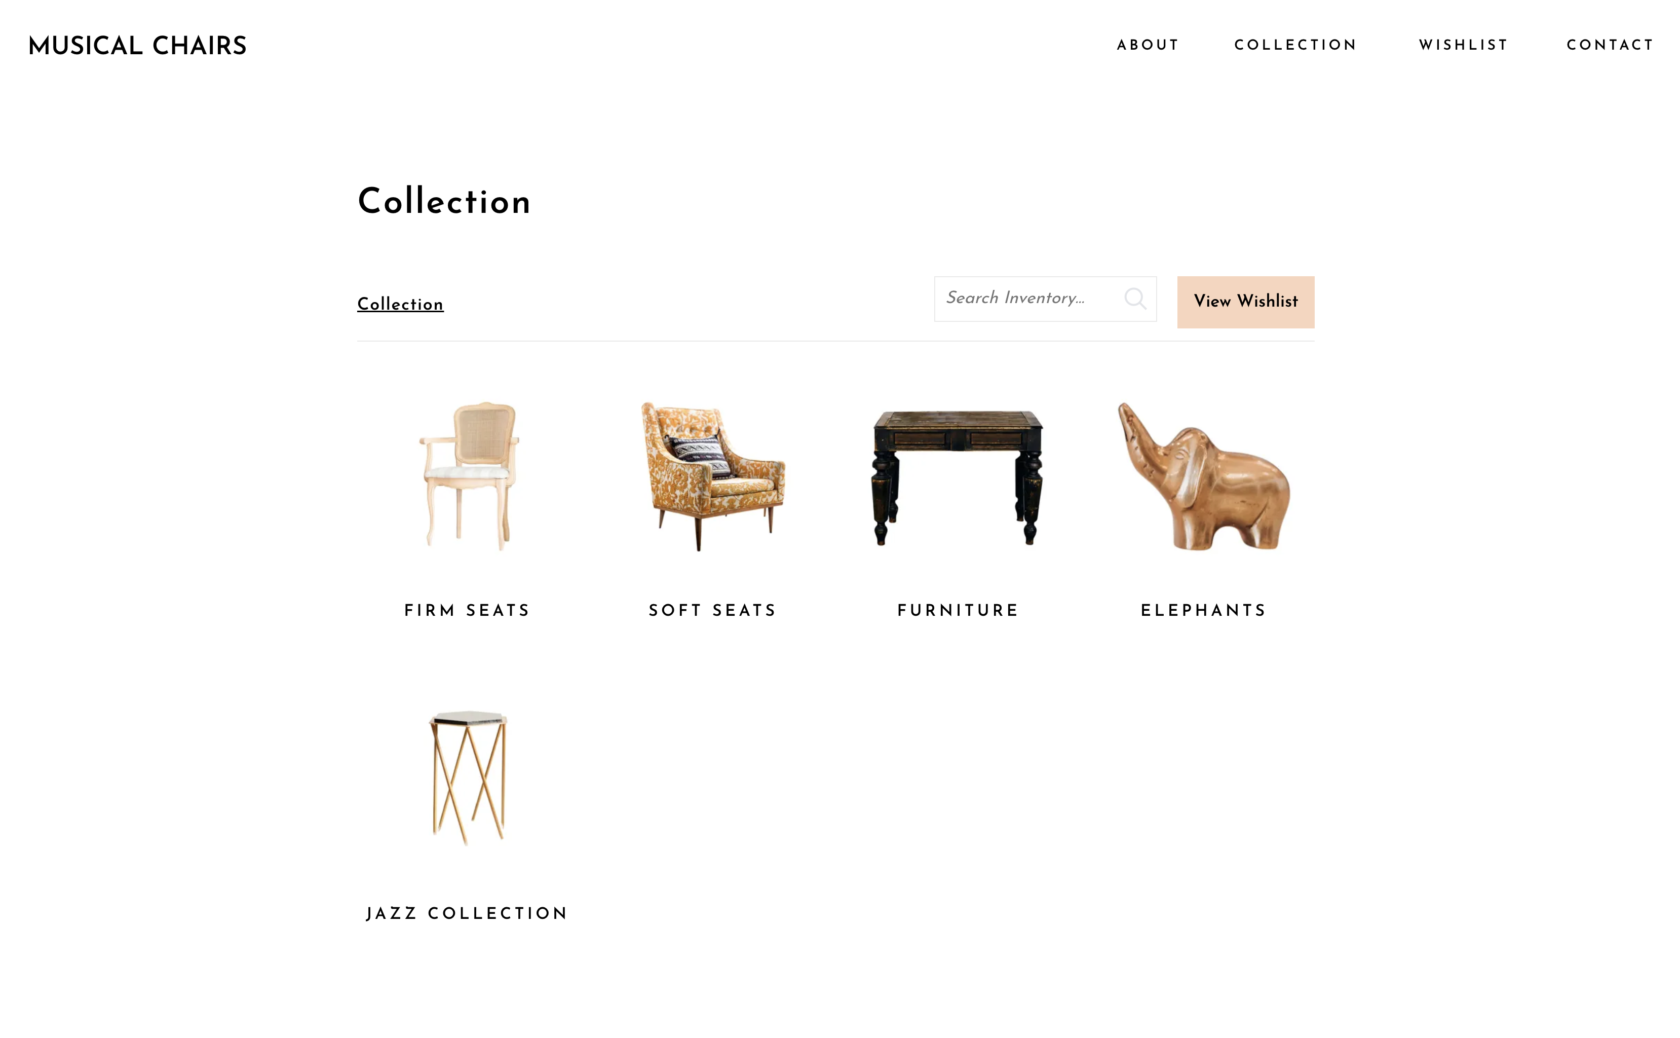
Collection Page Example:
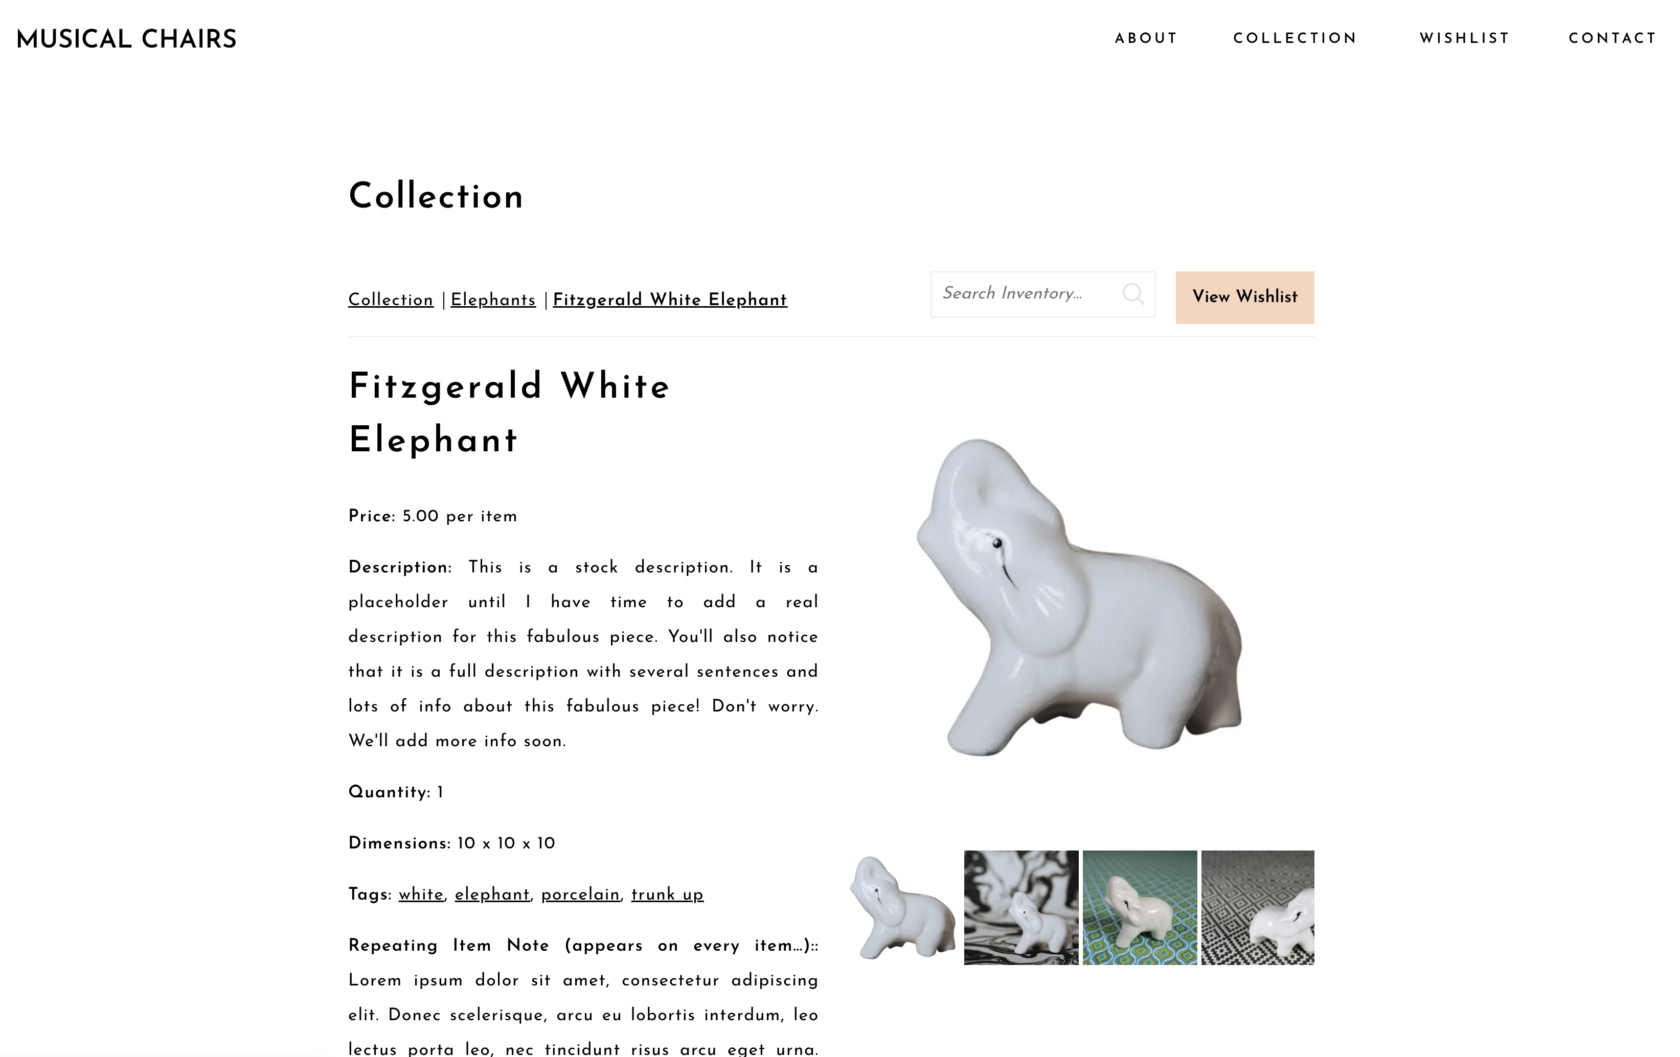
Detail Page Example:
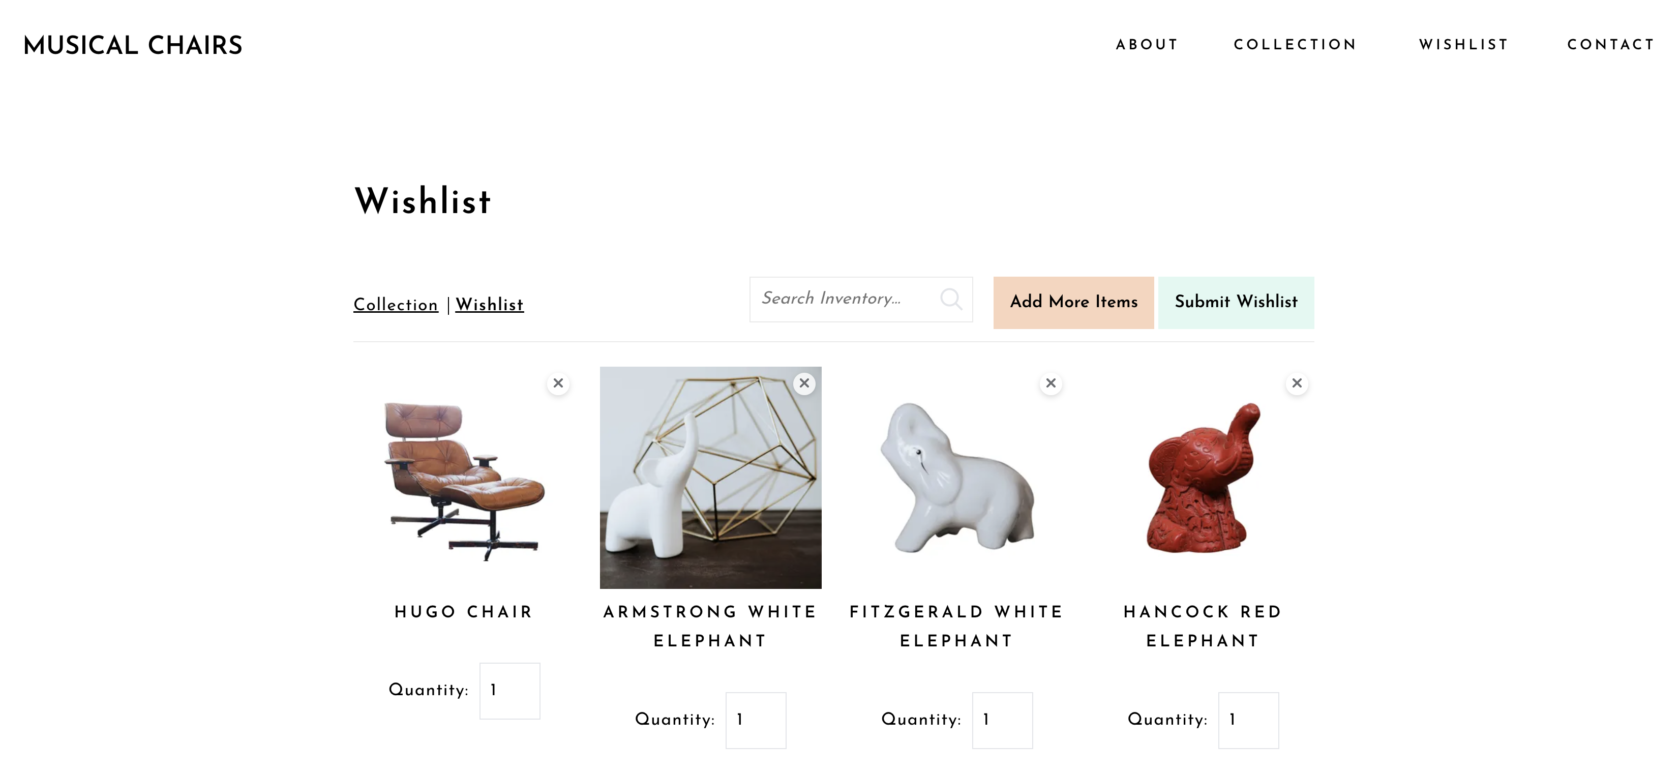
Wishlist Page Example:
Add the Gallery and Wishlist pages to the Site Navigation
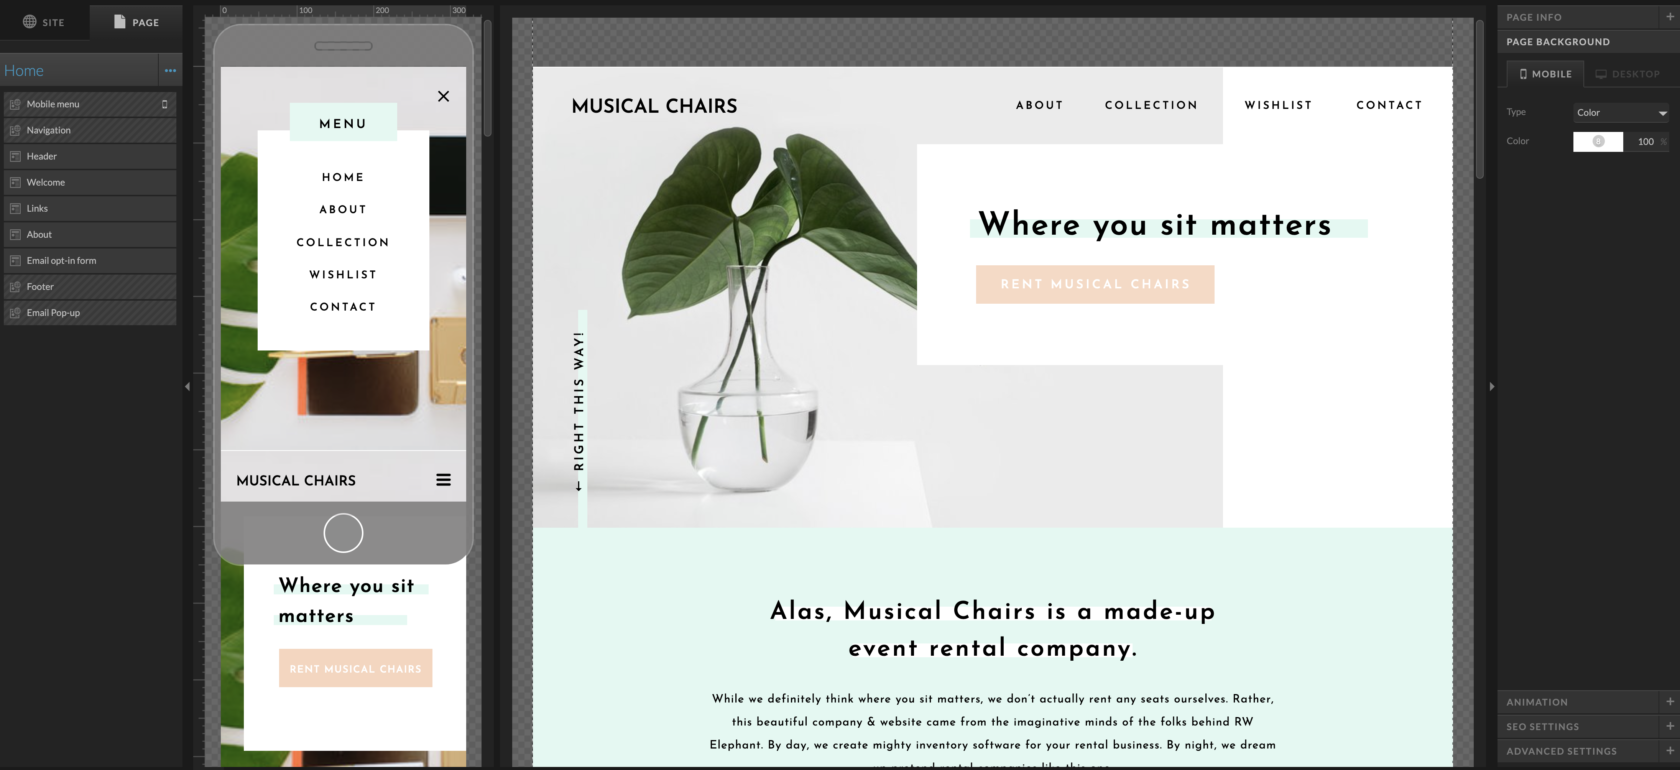
The Navigation for your Website will be controlled by the ShowIt Builder, you can now amend your current Site Navigation within the Builder to add the new pages created by WordPress that will host the Inventory Gallery and Wishlist Pages.
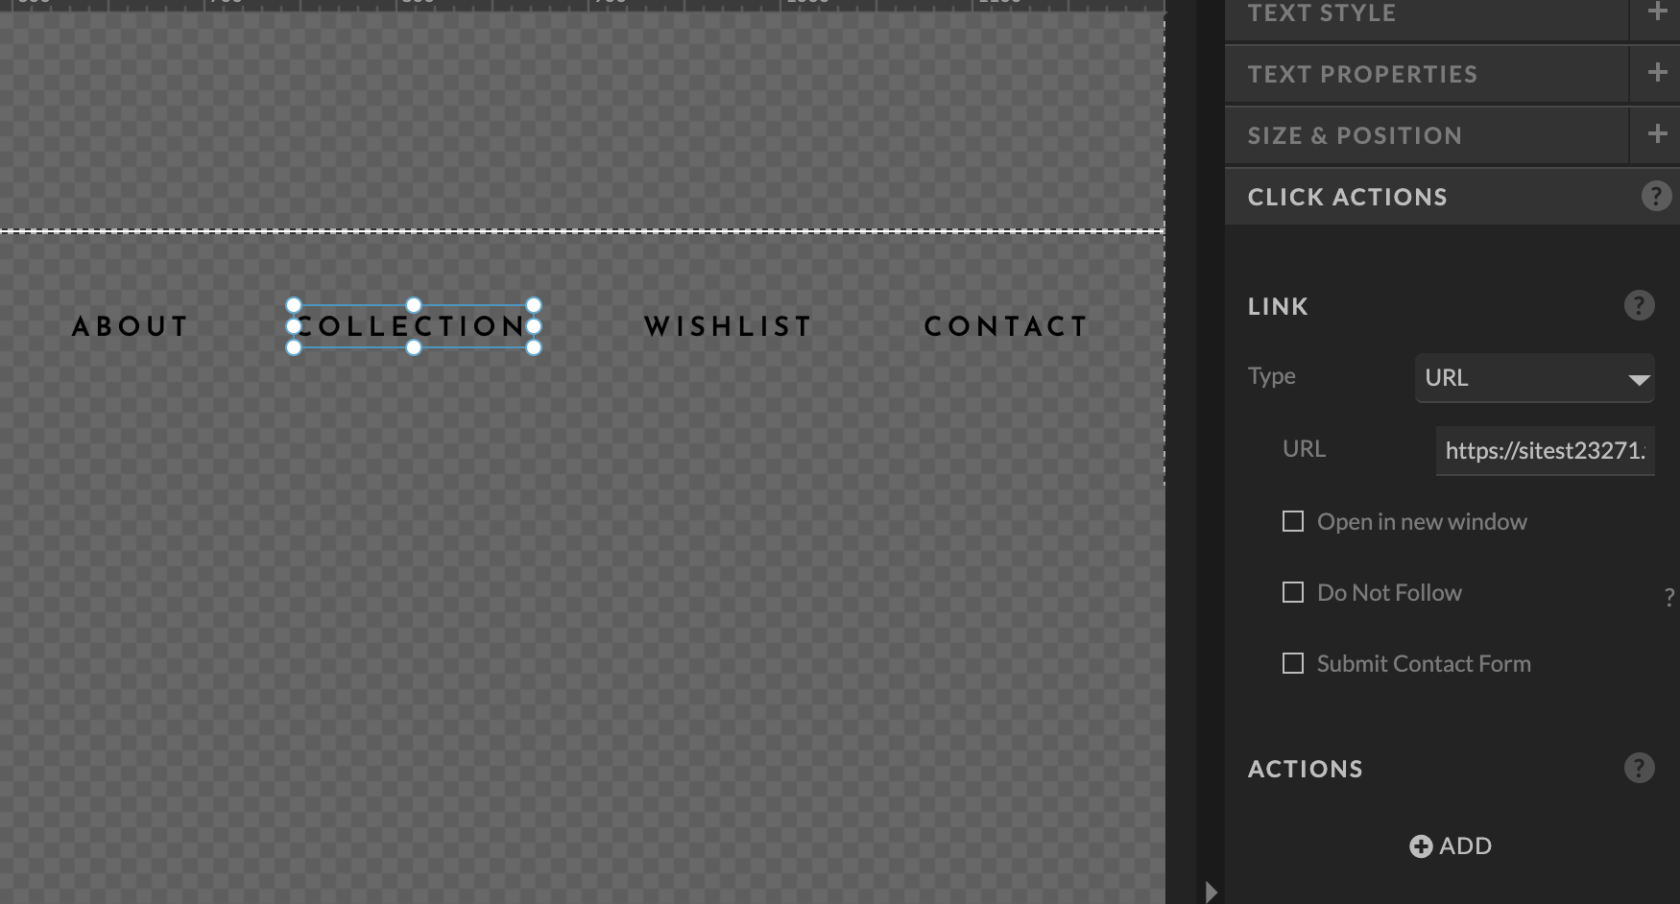
Add the new Pages to the Navigation if required by selecting the Main Navigation Canvas (follow these steps for Mobile Navigation also if needed):
Add the new Page items to the Main Navigation (“Collection” and “Wishlist” in our example) and set the “Click Actions” to the location of your designated page by selecting the Page or setting the page URL (“domain-name-example.com/collection” and “domain-name-example.com/wishlist” in our example):
You can also repeat the navigation process to add the pages to the Footer canvas also if required.
Publish the new changes to your Website, and you should now see the Navigation update reflected on the live site!