Default Due Dates
First, setup the number of days prior to the event that you want to collect the final balance.
Click on the “Account” icon in the upper right corner of your browser window.

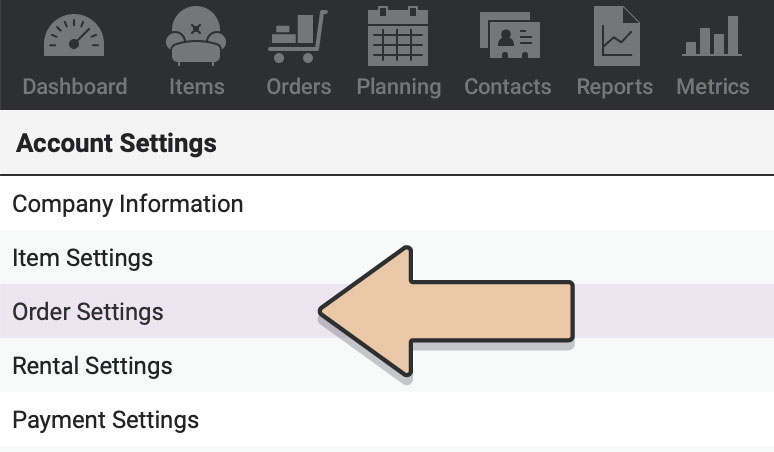
Select “Order Settings” from the column on the left.

Click the green “Edit” button.

In the second field type the number of days you want the Final Balance Due prior to the event date.

Click the green “Save” button.
When you create a new order and enter the Event Date, RW will automatically set the Final Balance Due Date for the order based on what you entered in your Order Settings.
*Please note that if you change the Event Date for an Order the Final Balance Due Date will NOT update automatically. This must be done manually. Manage the Final Balance Due Date under the “Payments” Tab on your orders.
Manually Set Final Balance Due Date
You can also manually change the Final Balance Due Date on each of your orders.
Go to the applicable order.
Select the “Payments” tab.
Click the green “Edit Order” button.
You’ll see your current Final Balance Due Date.
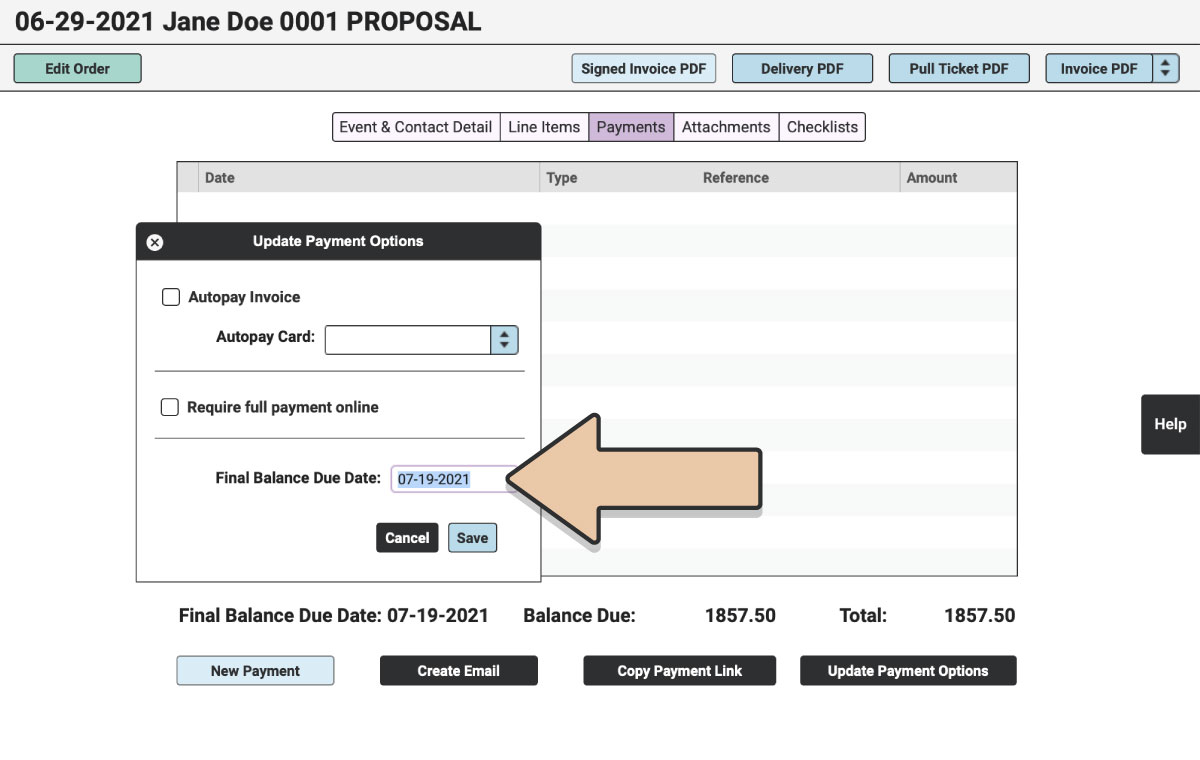
Click the “Update Payment Options” button in the bottom right corner.
Enter the new Final Balance Due Date in the date field.

Click the blue “Save” button.
You won’t see the change to the date immediately.
Click the green “Save Order” button.
The Final Balance Due Date will be updated to the new date within the Order, on the Invoice PDF, as well as on the Payment Page.
See our article on Order Gauges to see how RW can help you keep track of where your orders stand with their payments.