Whether it’s a floor plan, an important company document, or special delivery instructions, this Attachments feature allows you to add additional PDFs to the end of your Confirmed Orders, Proposals, Delivery Tickets, and Pull Tickets.
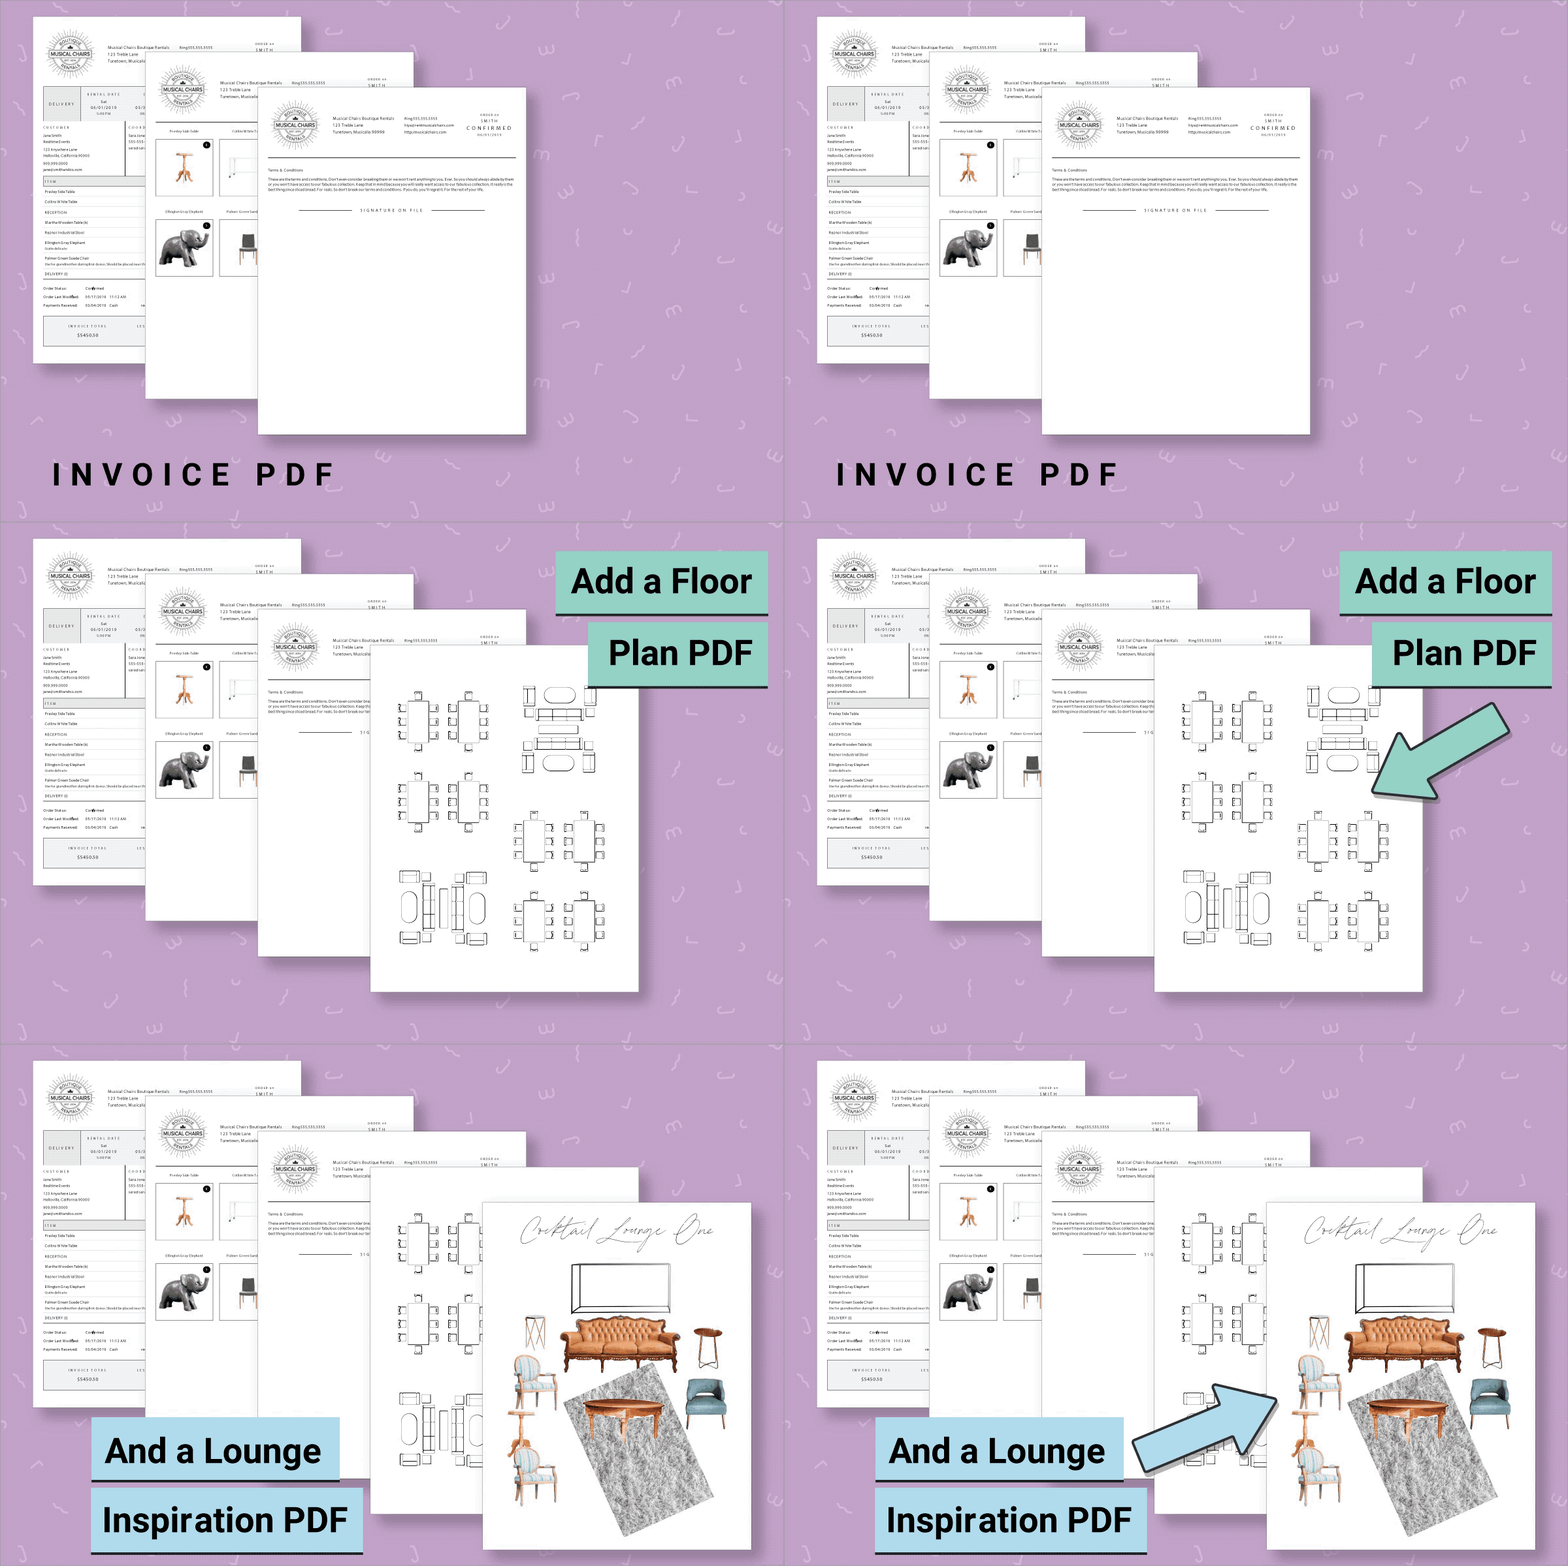
Attachments can be added to Orders in one of two ways:
- As default Attachments to all Orders
- On an Order-by-Order basis
Default Attachments
When uploading Attachments, we recommend keeping the file size below 15 MB.
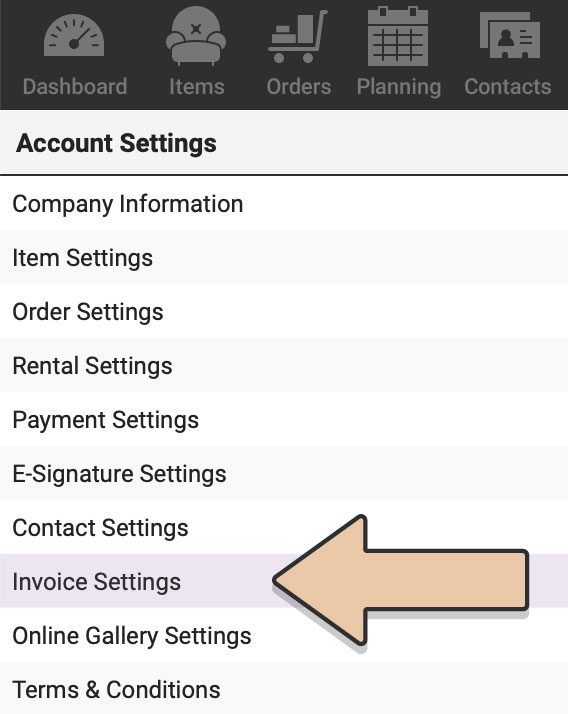
Navigate to the Account icon in the upper right corner of your browser window.

Select “Invoice Settings” in the column on the left.
Select the “Attachments” tab.

Here you can upload Attachments that will be added to all new Orders selected by Status.
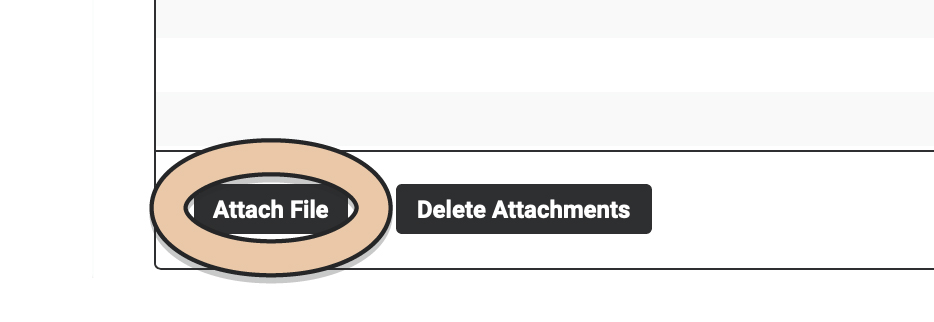
Select the “Attach File” button or just drag and drop the file into this field.
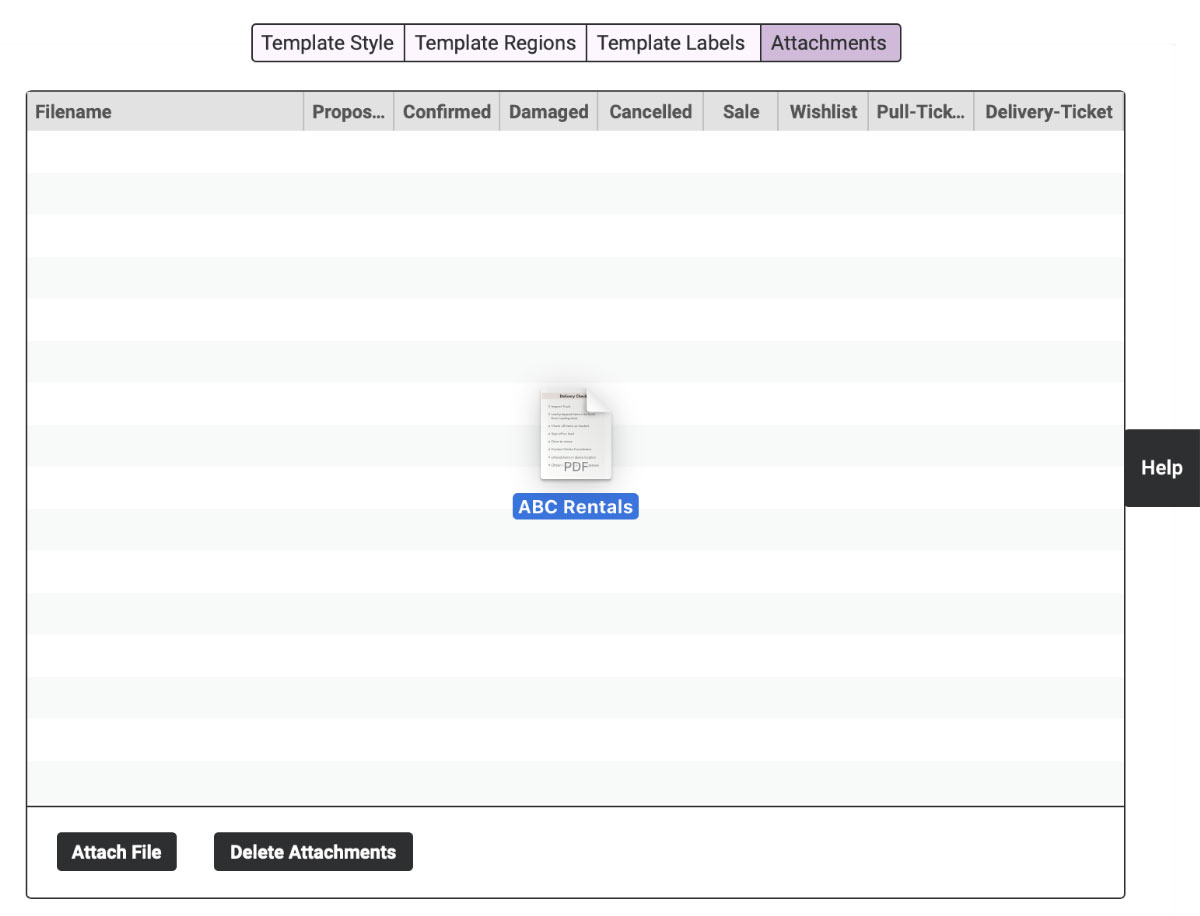
Choose which Orders you’d like to always include this attachment on by ticking the box for each Order Status.

For example, say you want to always include an important company form to the end of your Proposals or a delivery checklist for your crew to Delivery Tickets.
Now any NEW Orders generated, with the selected Status, will include these attachments at the end of the Order PDF. Any existing Orders will not include these attachments but will need to be manually added.
Add Attachments to an Individual Order
Within each Order, you can add attachments that are unique to that Order. For example, let’s say you have a tailored floor plan for a specific event, here you can add that floor plan to that individual Order.
Remember to keep the file size below 15 MB for each Attachment.
Navigate to the Orders icon in the upper left corner.

From the list on the left, select the Order to add the attachment to.
Select the “Attachments” tab within the Order.

Click the green “Edit Order” button.
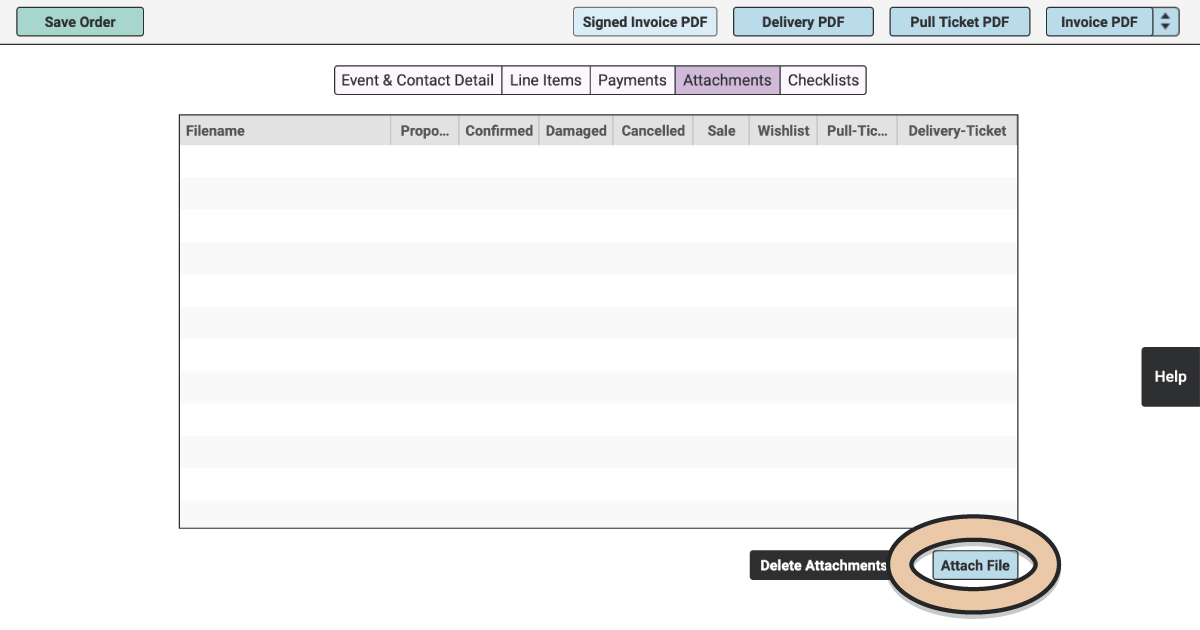
Add attachments by selecting “Attach File” in the bottom right or simply drag and drop files into this section.
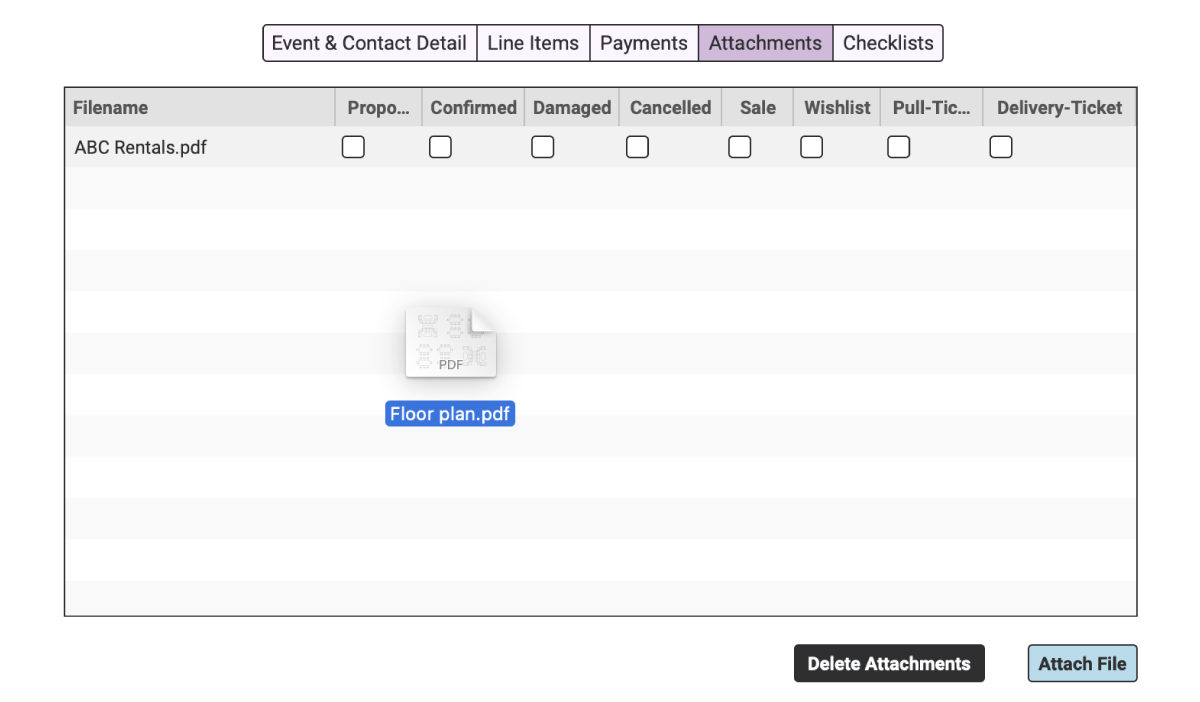
Once your attachment uploads, select which PDFs you’d like to include the Attachment on by selecting the individual tick boxes.
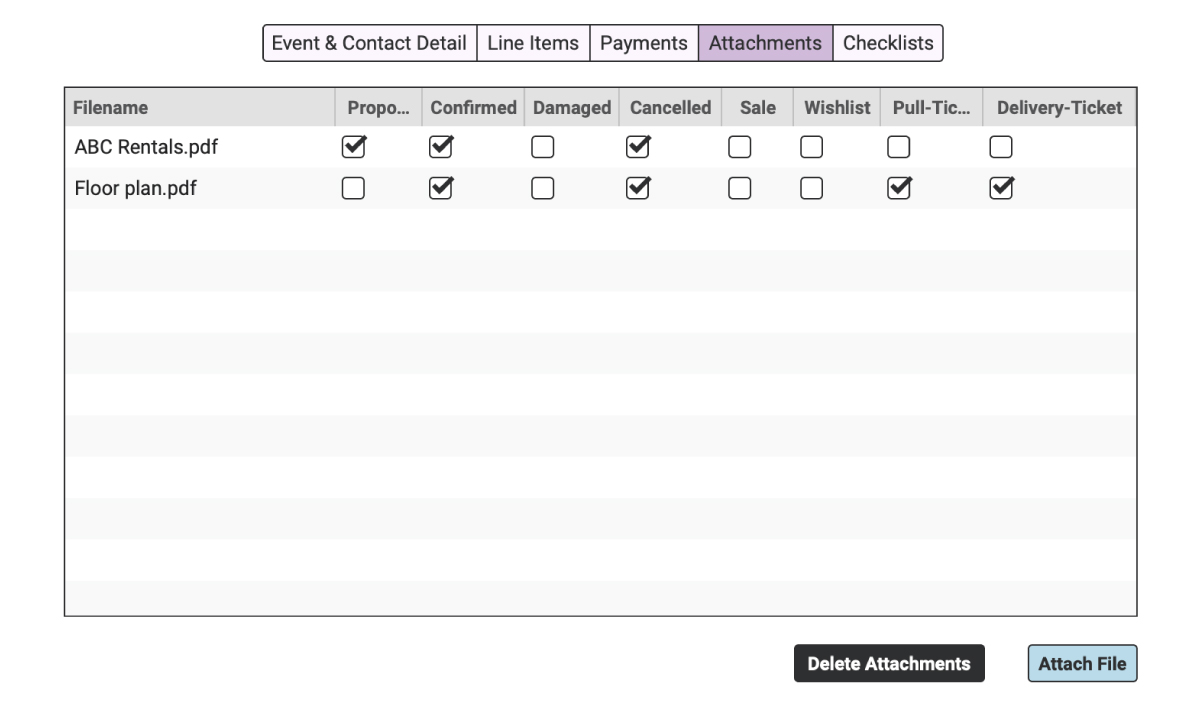
For example, you can use this attachment feature to add a floorplan to just the Invoice PDF & Delivery Ticket.
On the same Order, you can include a venue map as an internal attachment for your crew on the Pull Ticket.
When you’ve finished attaching the PDFs, click the green “Save Order” button.
Now select an Order PDF to view.
Just like that, the selected attachments will appear at the end of the generated Order PDF.
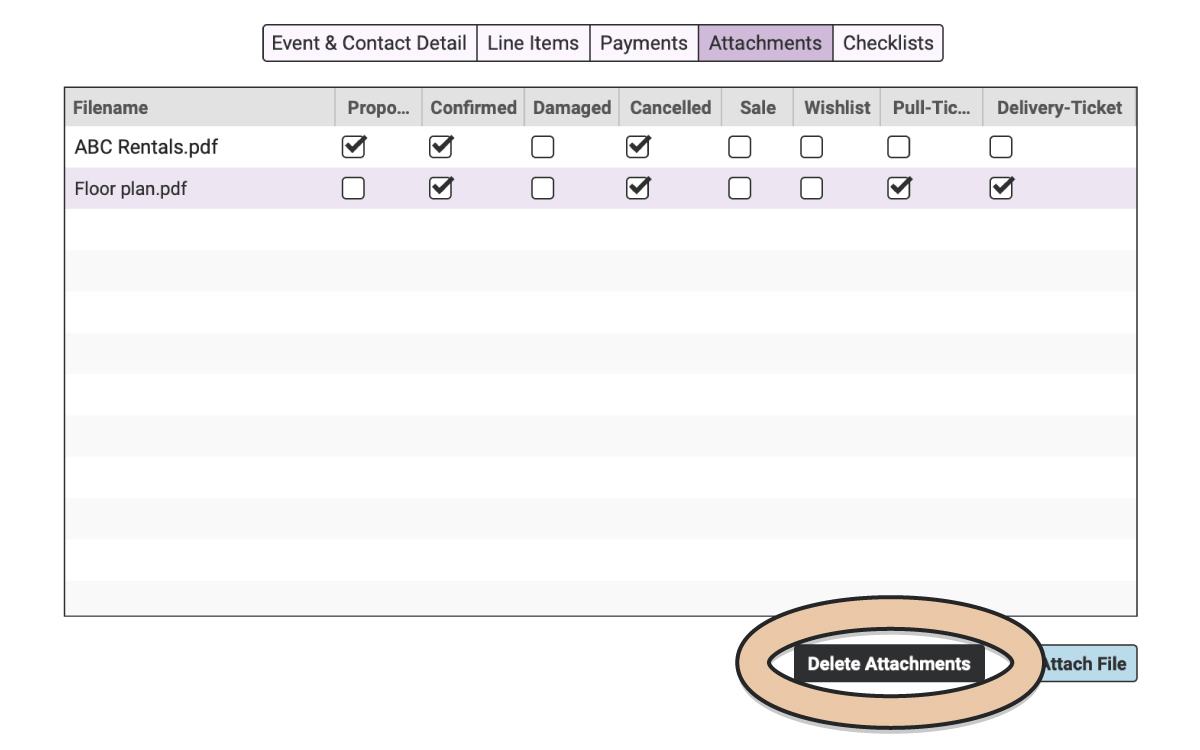
To remove an attachment, select the PDF and click the “Delete Attachments” button.
Attachment Errors
If an attachment is unable to be uploaded, you will receive an error alert to the right of the attachment.
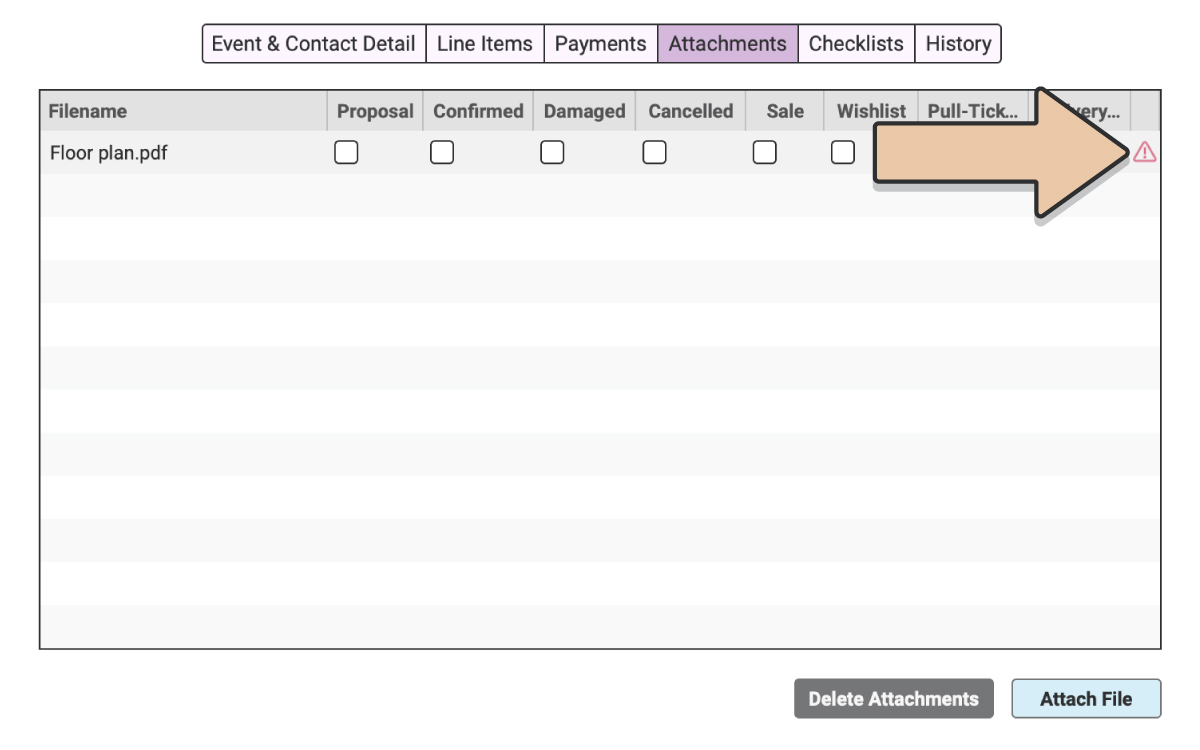
If you receive an error, check your file type and size. We suggest uploading attachments that are below 15 MB and are either PDF, JPEG, or PNG file types.
Viewing Attachments via iOS App
If your crew uses the RW Elephant iOS App for Deliveries, they’ll also be able to digitally view any attachments you’ve included for the Order.
To view attachments within the App, log into the iOS App and select “Deliveries.”
Select an Order from the list.
Select a Checklist.
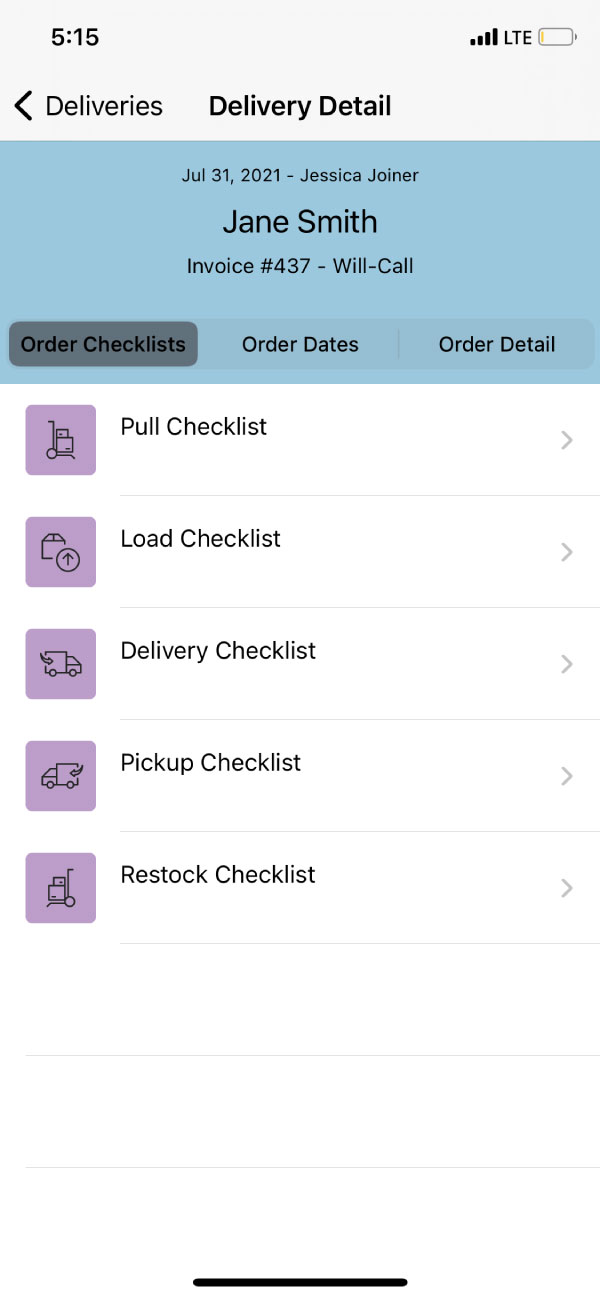
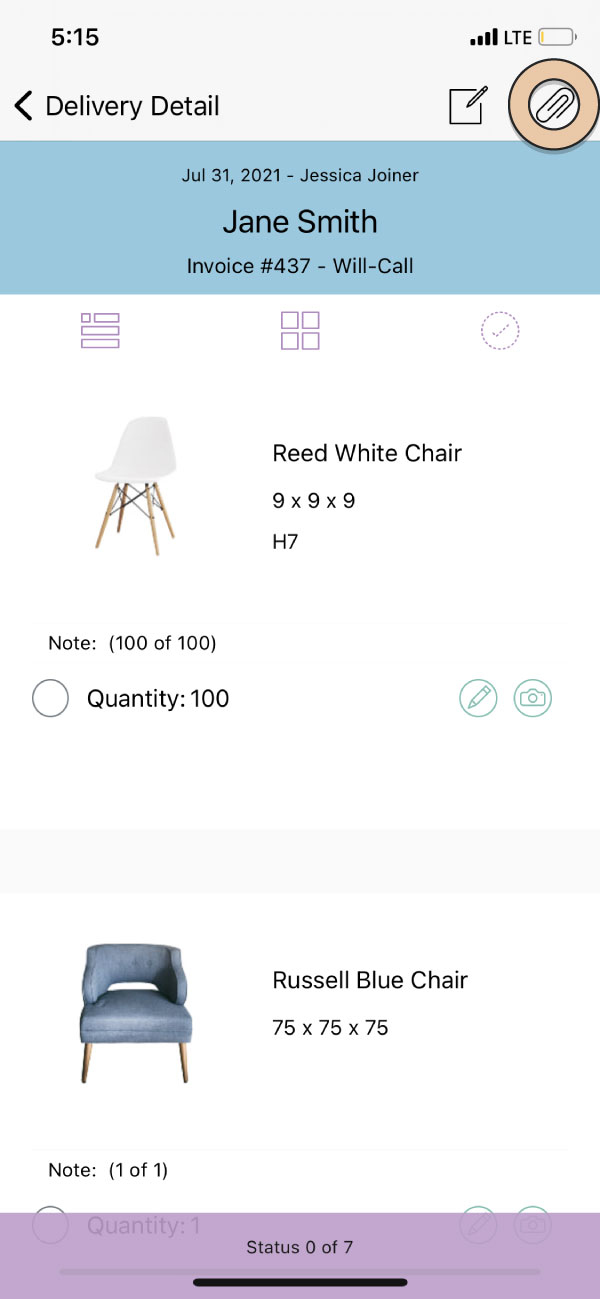
If there is an attachment on the Order, a paper clip icon will appear within the specified Checklist in the upper right-hand corner.
Click on the paper clip icon to view the attachment(s).
Select an attachment to open the file.
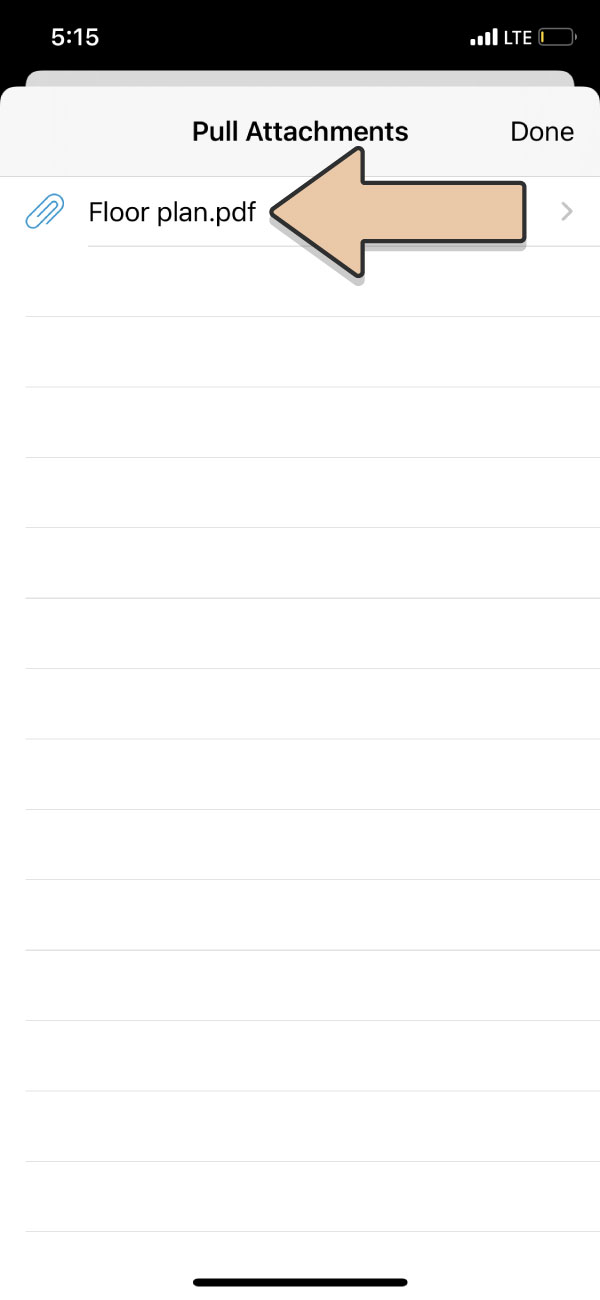
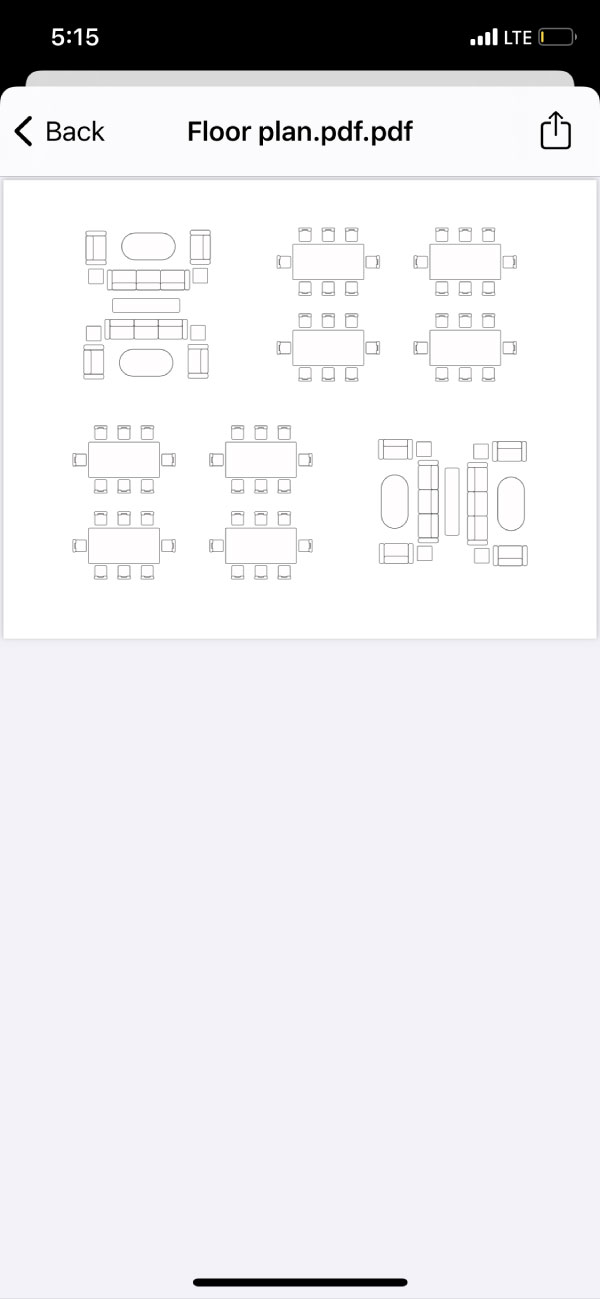
Attachments that were ticked to display on “Pull Tickets” will appear on the Pull Checklist, Load Checklist, & Restock Checklist within the App.
Attachments that were ticked to display on “Delivery Tickets” will appear on the Delivery Checklist & Pickup Checklist within the App.