Begin by navigating to the “Account” icon in the upper right corner of your browser window.
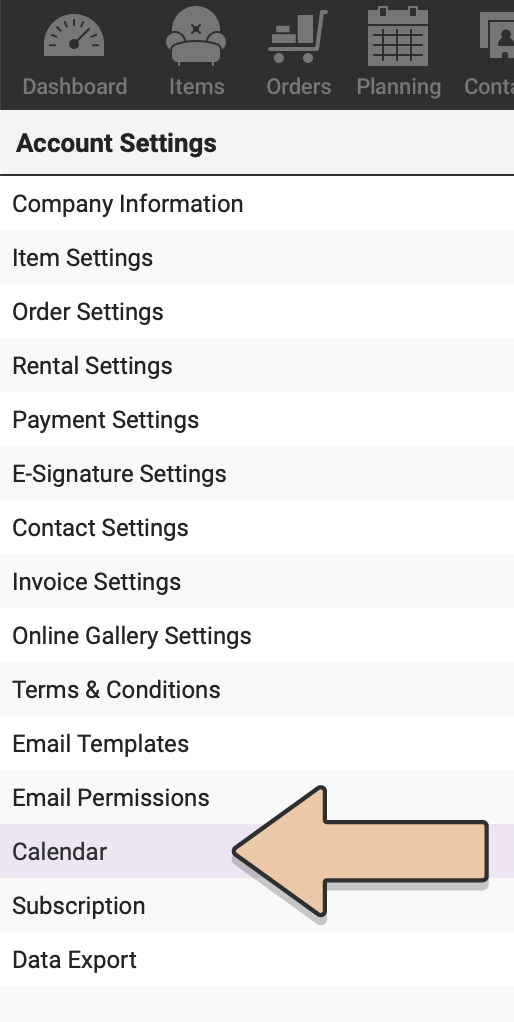
Once in your Account, select “Calendar” from the left column.
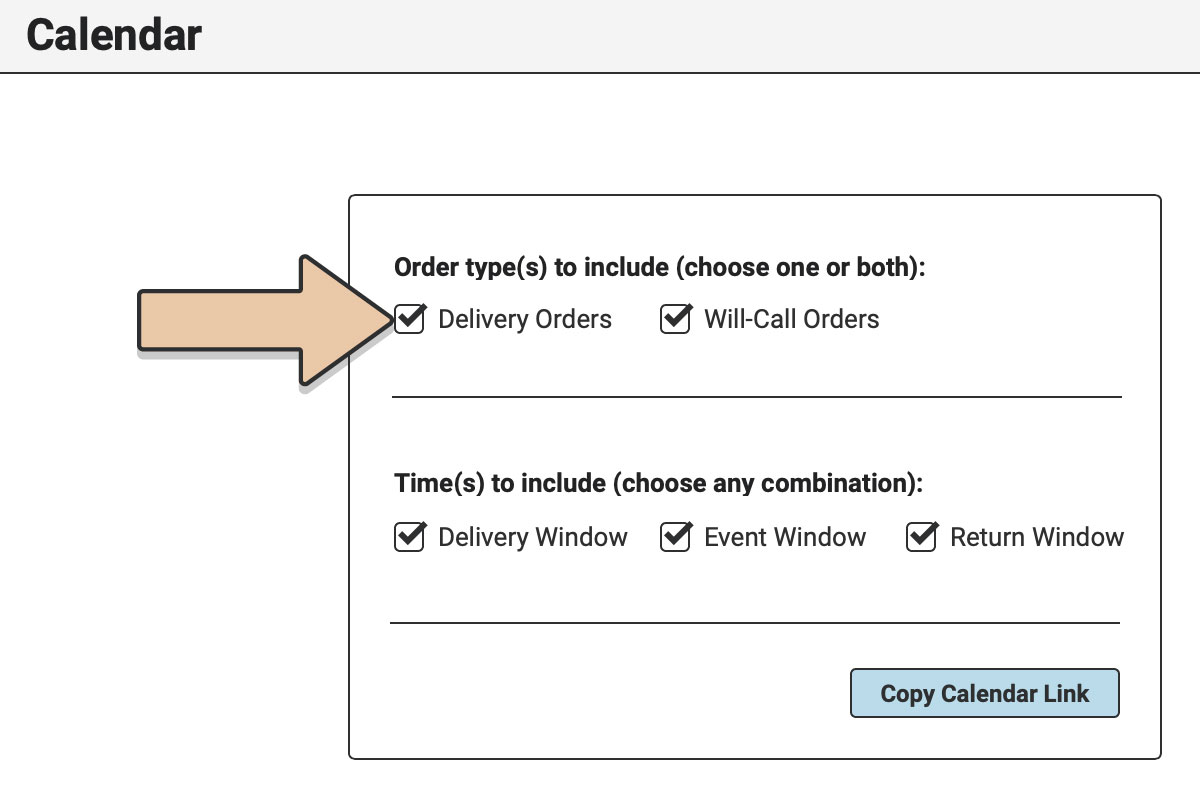
Use the tick boxes to choose Delivery Orders and/or Will-Call Orders in your calendar. You must include at least one.
Select the Times to include in your calendar subscription. Choose the Event Window, the Delivery Window, and/or the Return Window depending on what works best for you.
Please note that if you would like these different time windows to appear as different calendars, you can choose particular combinations and have multiple links. For instance, if you want your Will-Call Return Windows to be green, you’d choose “Will-Call Invoices” and “Return Window” but nothing else. Once you’ve finished subscribing you can return and create a new calendar for a different combination.
Click the “Copy Calendar Link” button.
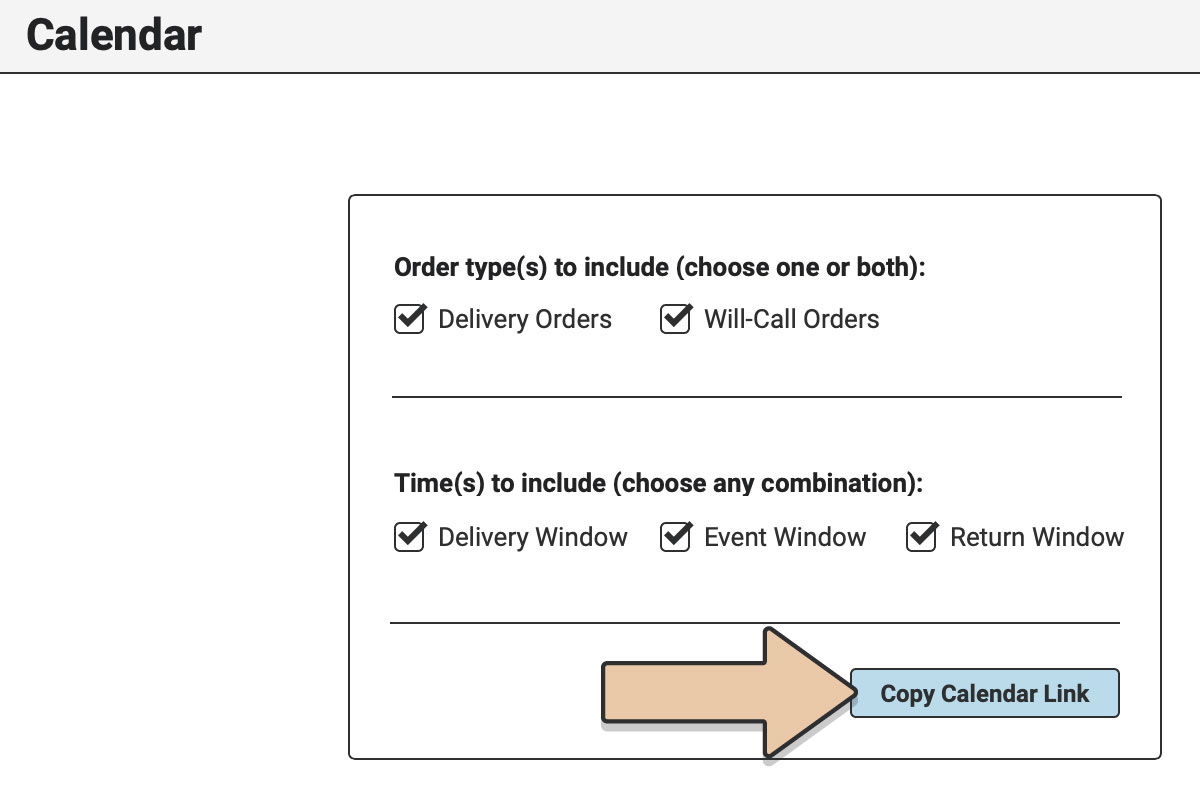
Depending on which browser you’re using, the link will then be copied to your clipboard or appear in a pop-up window for you to copy.
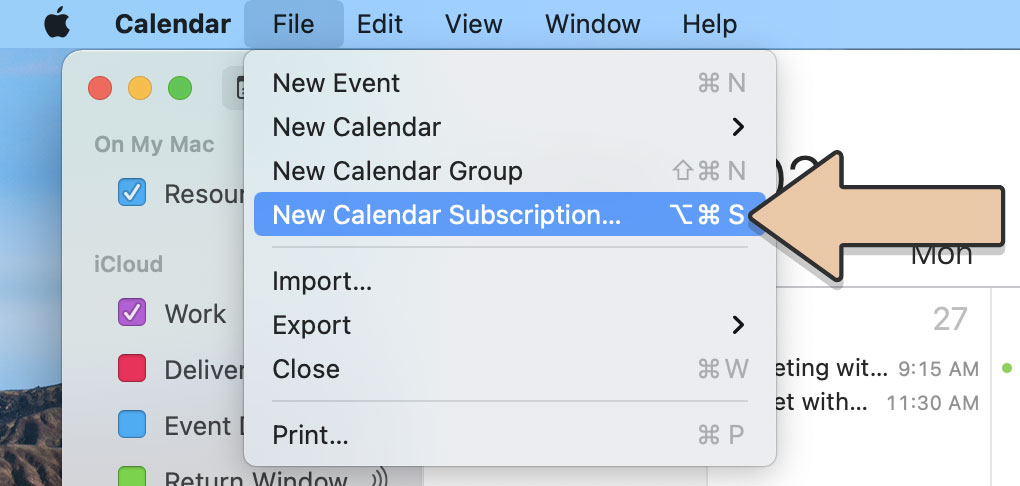
Open Apple Calendar.
Click on the File menu at the top of the screen.
Select “New Calendar Subscription.”
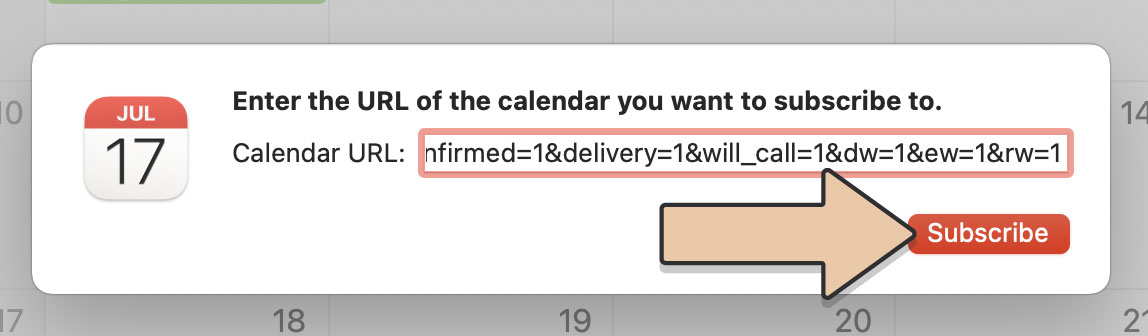
Paste the copied link in the box and click “Subscribe”.
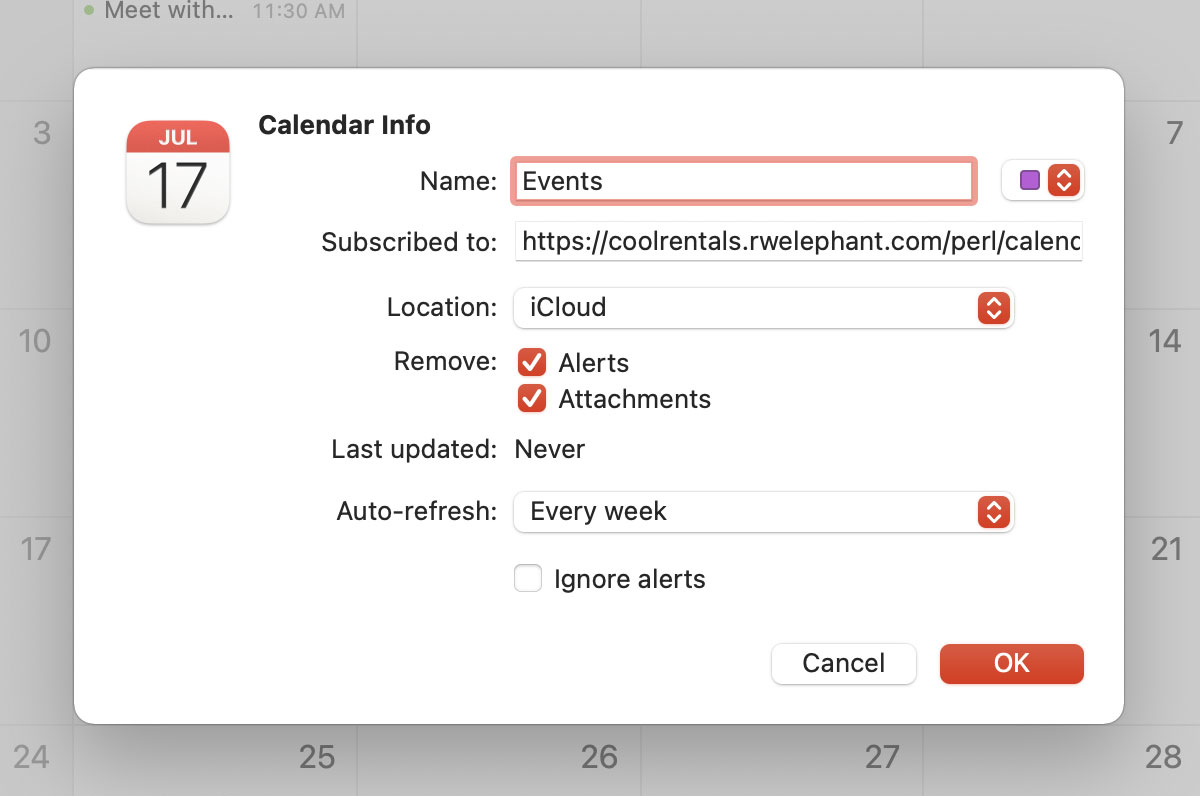
Select the options you want for your RW calendar, including naming your calendar, colors, alerts, etc.
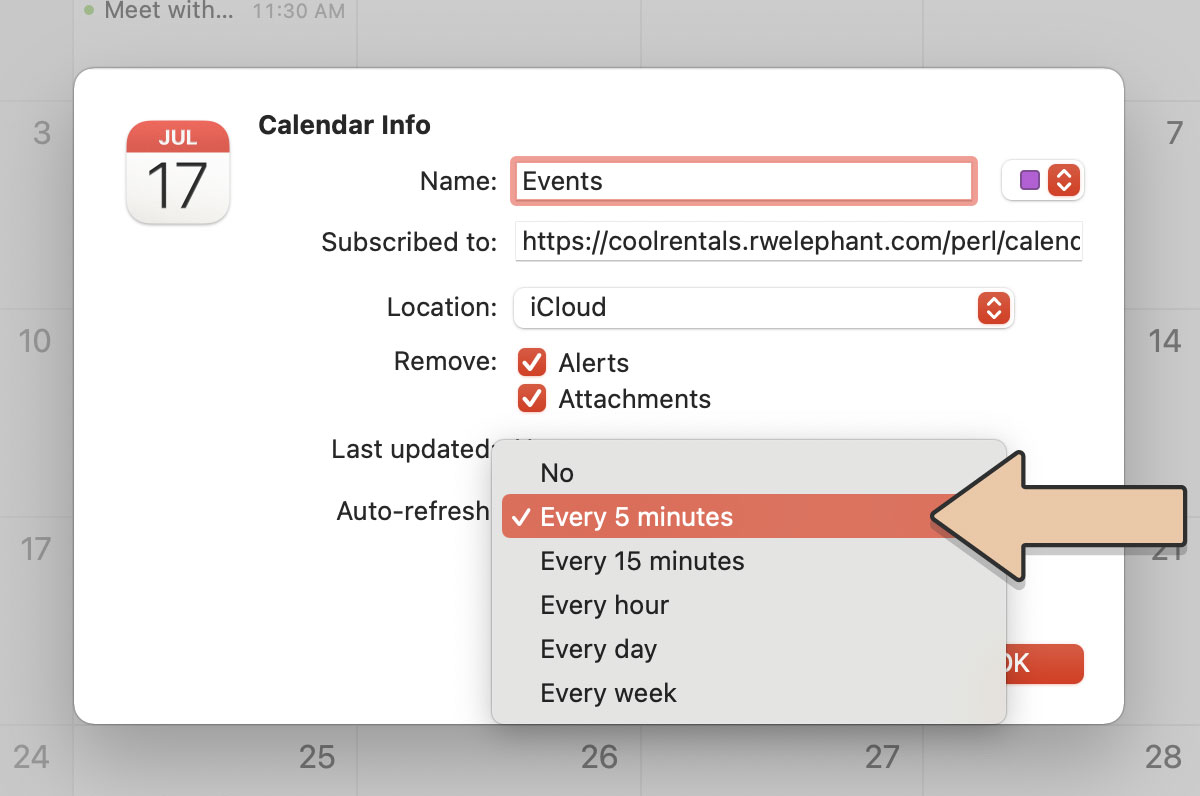
Be sure to have the calendar auto-refresh “Every 5 minutes” so you can stay up-to-date with changes from your RW Elephant orders.
Please note that only Confirmed Orders will appear on your calendar (not Proposals or Cancelled Orders).
You’re all set. I bet you’re feeling way more organized already. Sweet!
Repeat for additional calendars you’d like to subscribe to.
Also check out RW Planning to see your Orders visually right within your RW Account.