If you haven’t already, go ahead and login to your RW Elephant account.
We’ll start with branding to help your Account feel a little more like home.
Branding
Navigate to Account settings by clicking the “Account” icon in the upper right corner of your browser window.

In the far-left column, select “Company Information.”
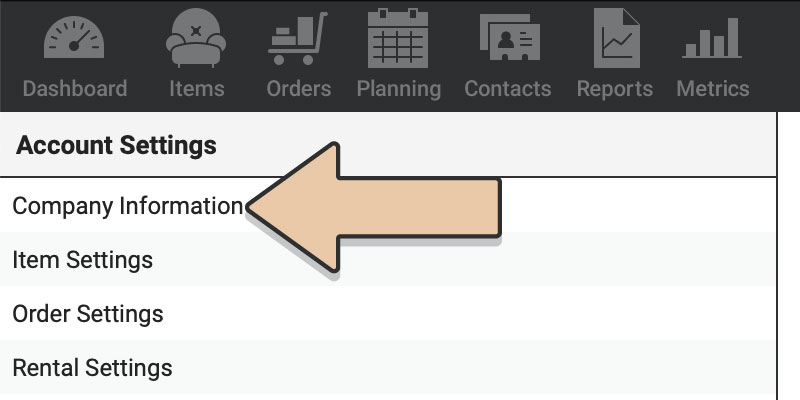
Here you’ll see some pre-populated information from your sign-up form. This Company Info will display on your customer-facing Invoices. But let’s put a face to the name.
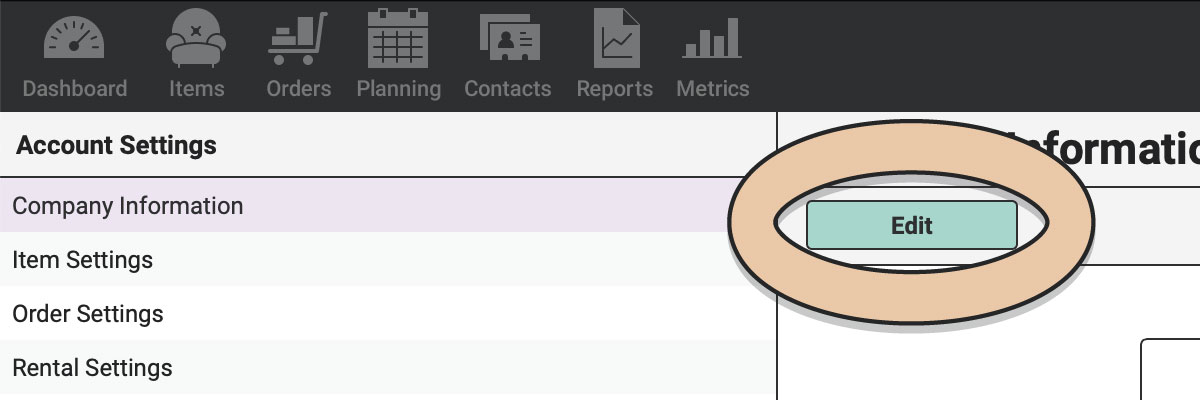
Click the green “Edit” button.
Find your logo on your computer and drag and drop it onto the logo target.
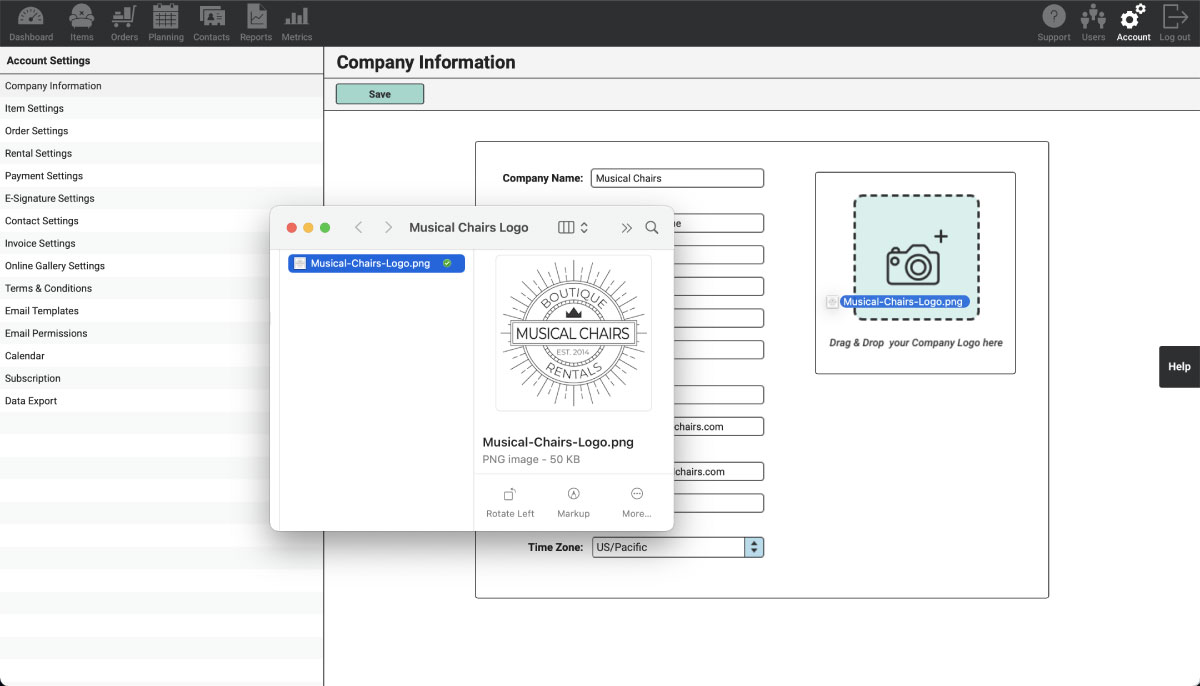
Enter any other Company Information you’d like to display on your Invoices.
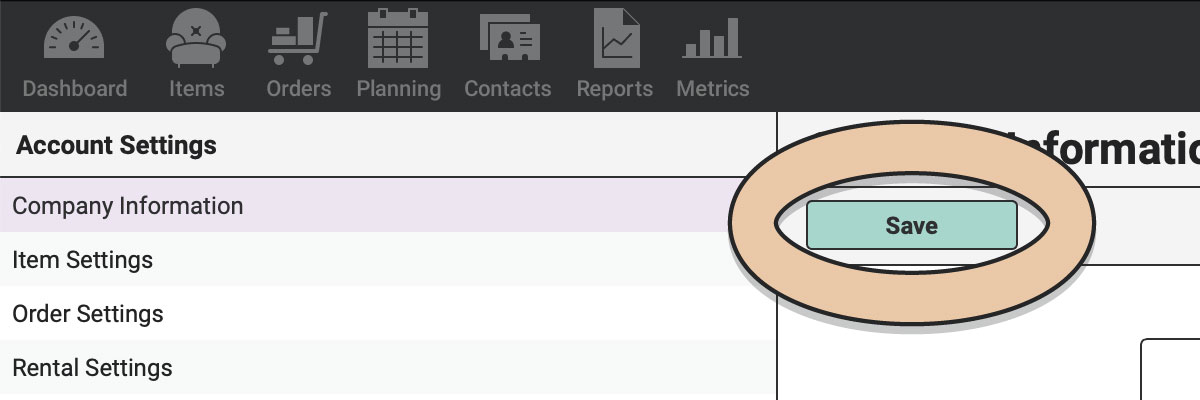
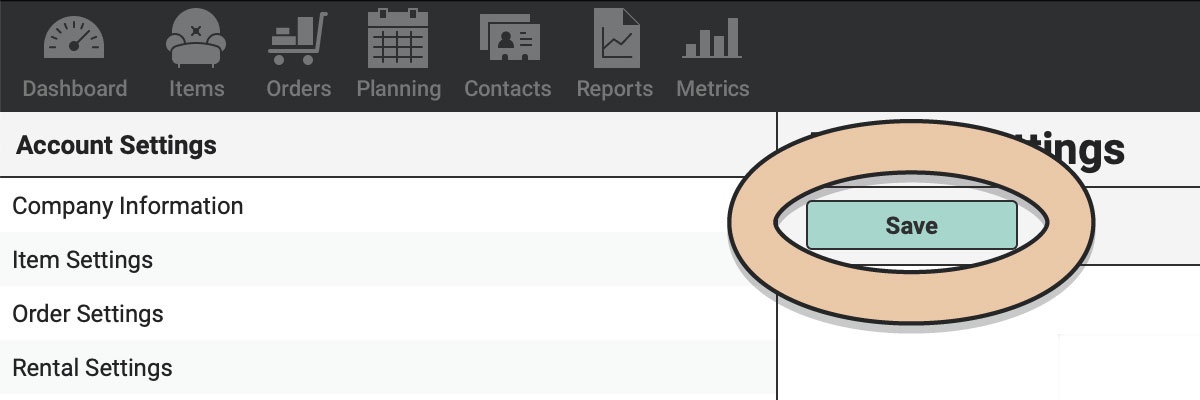
Be sure to click the green “Save” button.
Speaking of Invoices, let’s get you paired with one of our beautiful Invoice styles to wow your customers.
Head over to “Invoice Settings” in the column on the left.
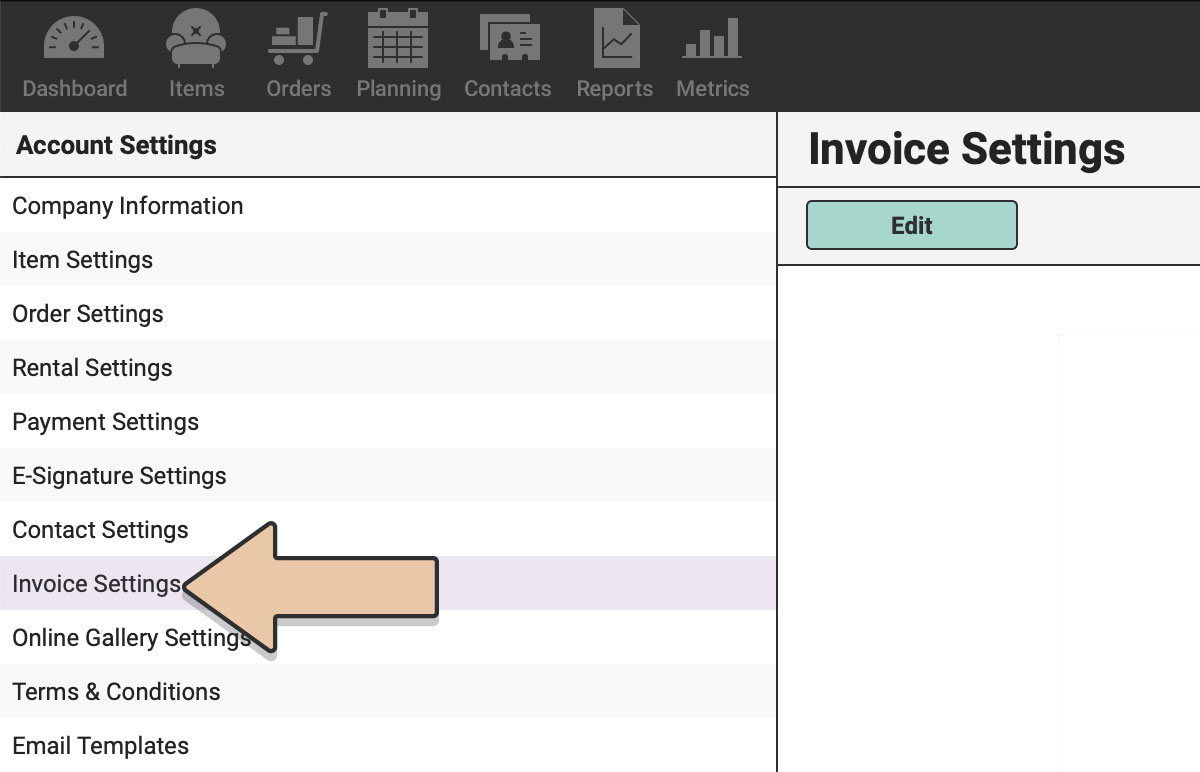
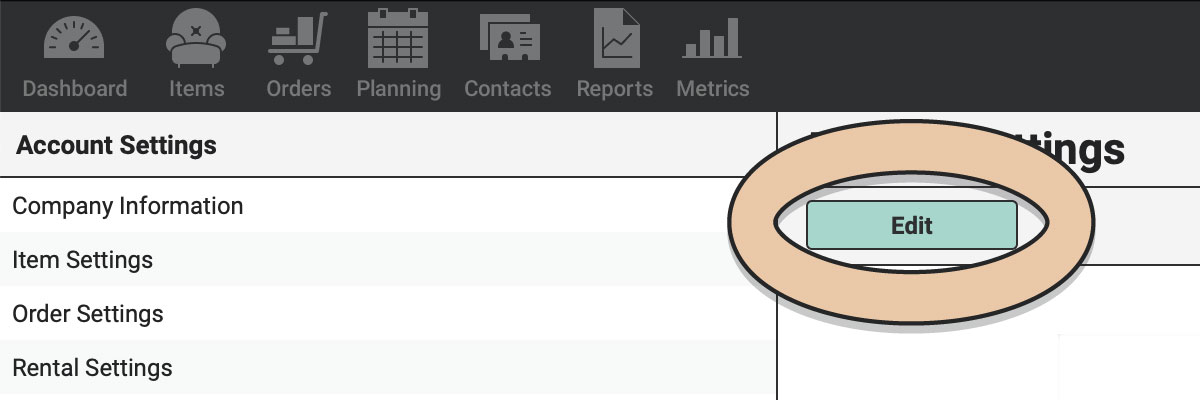
Click the green “Edit” button.
Choose one of the six Invoice styles that best matches your unique brand.
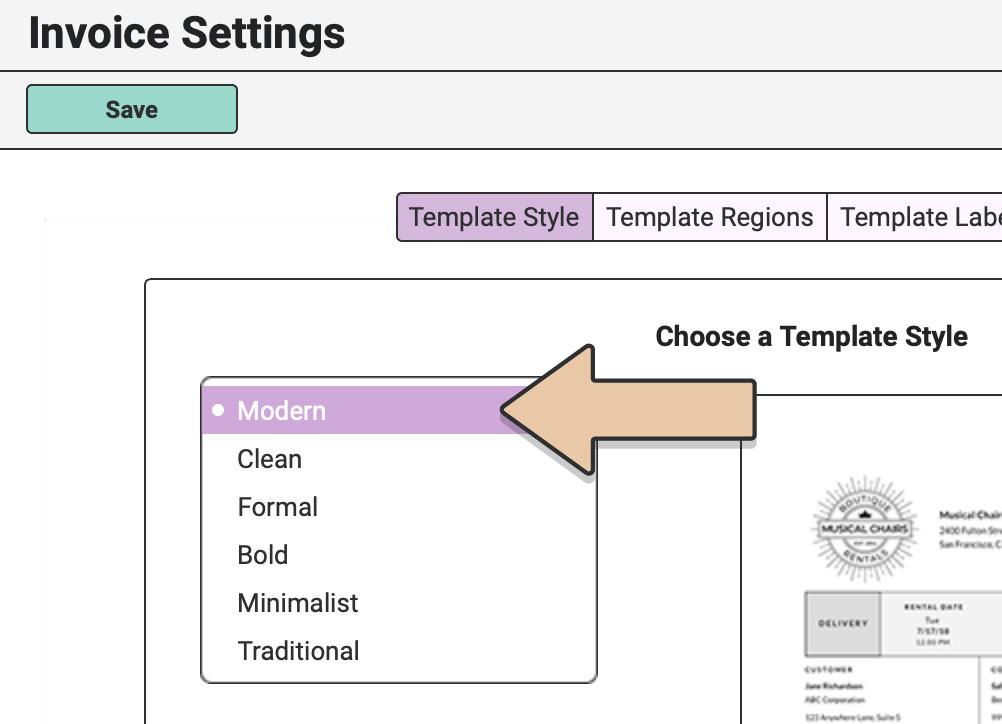
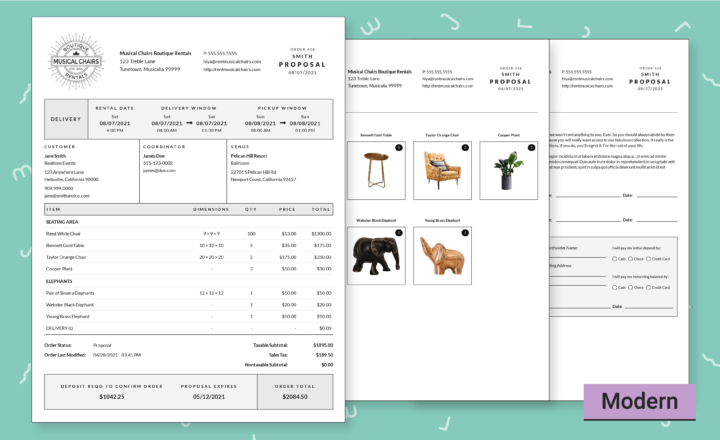
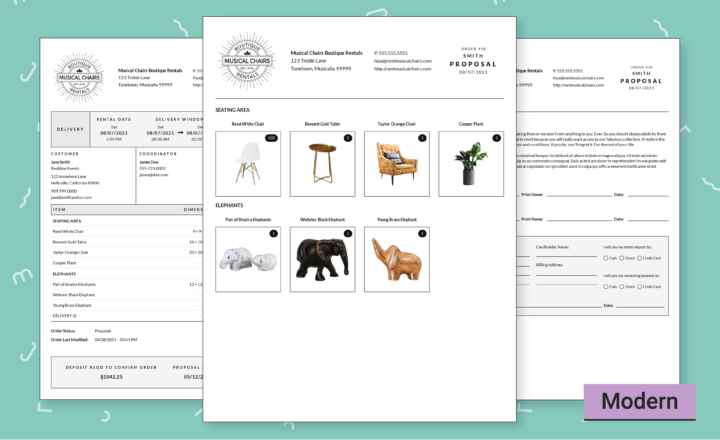
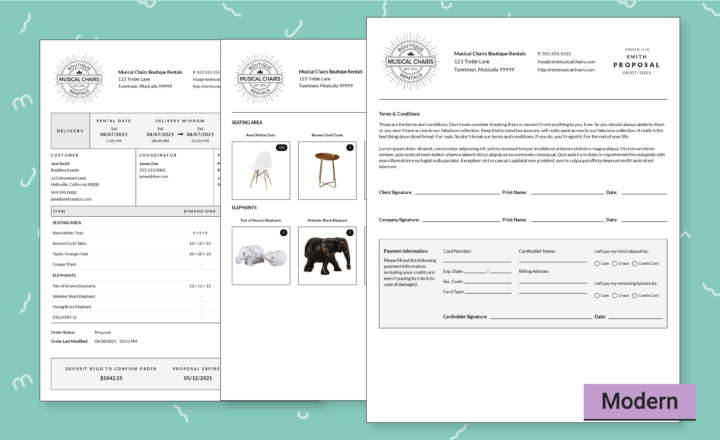
Our Modern Style has a contemporary look and feel.
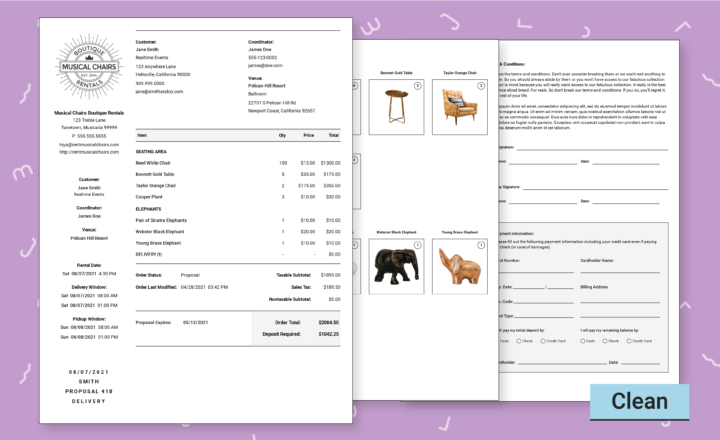
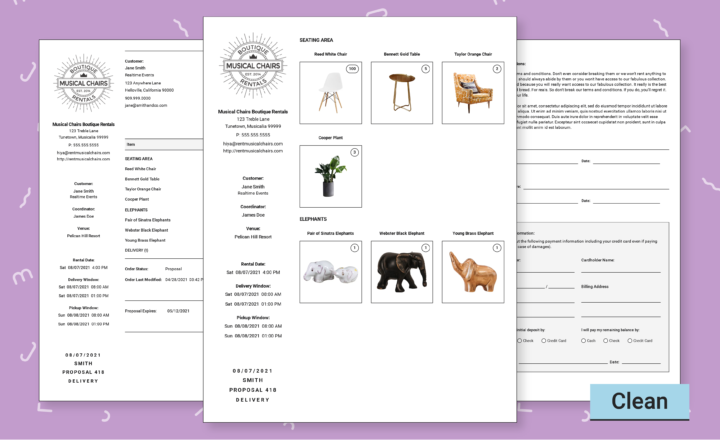
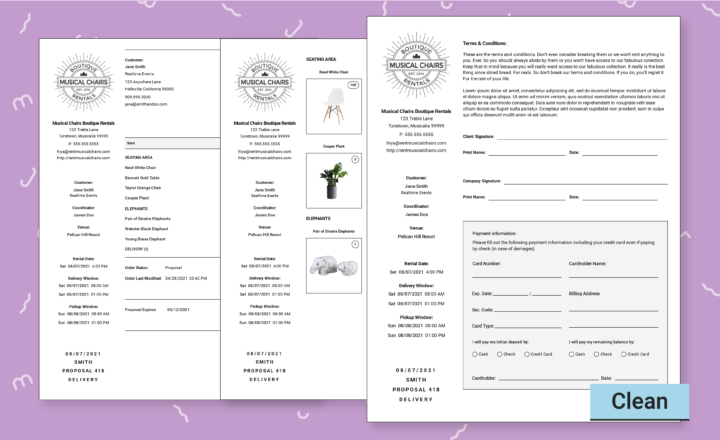
Or maybe you’ll like the Clean Style that’s more condensed with repeating Order detail along the side of the page.
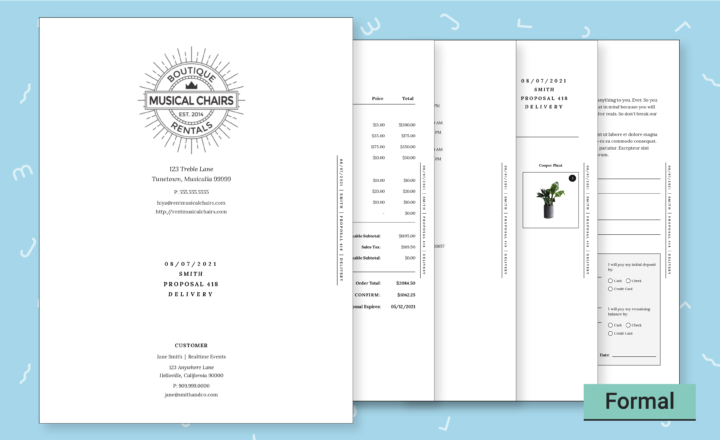
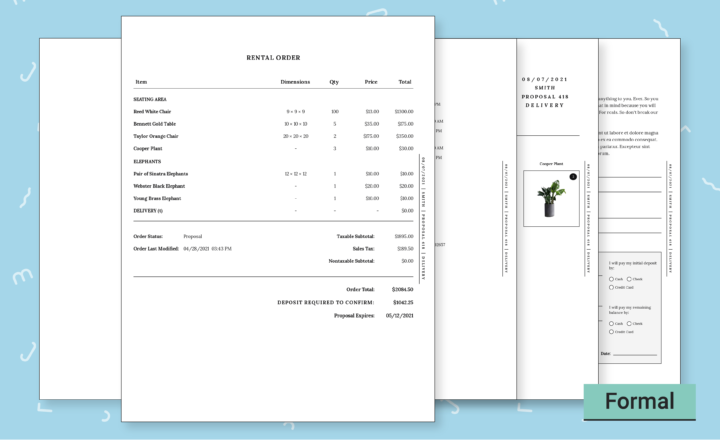
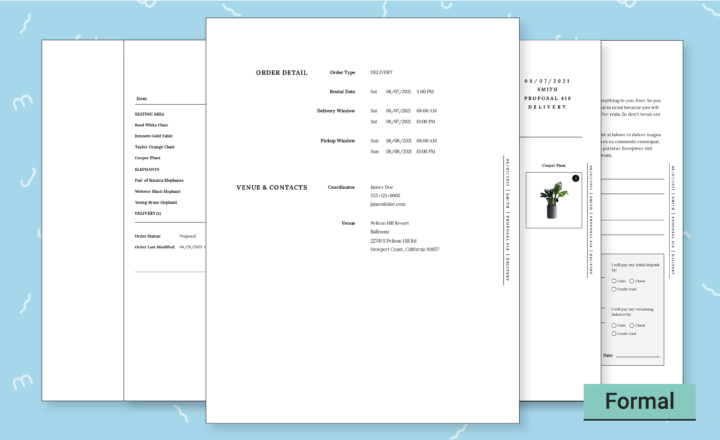
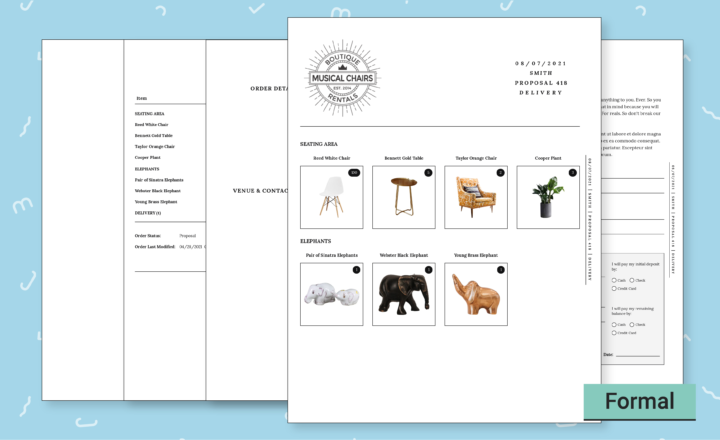
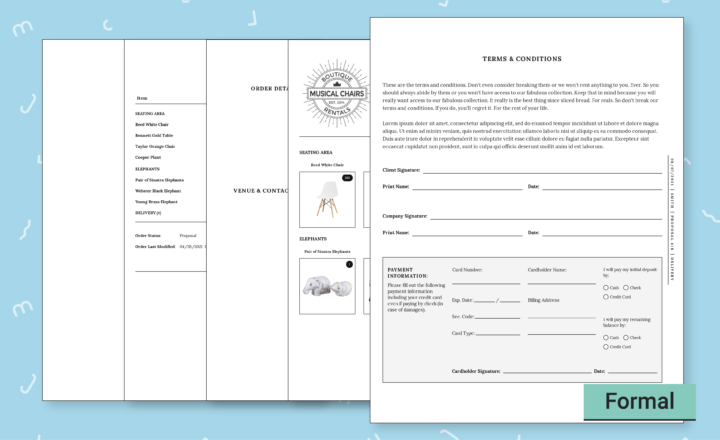
If you’re looking for something even more professional, check out our Formal Style which includes a company cover page.
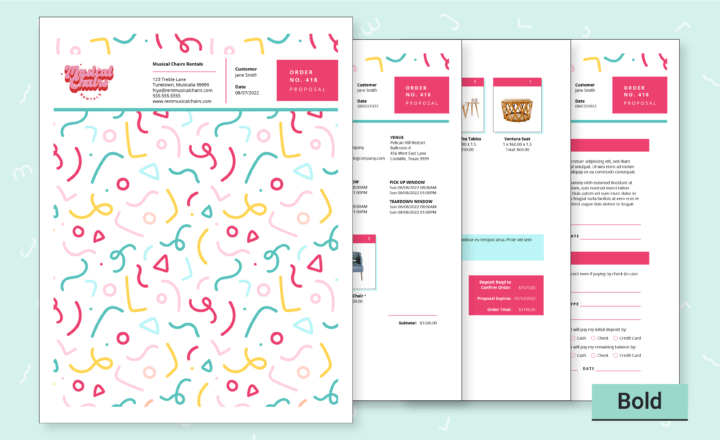
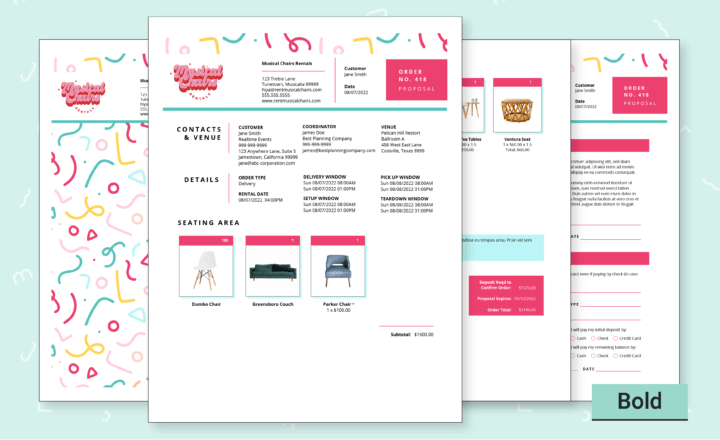
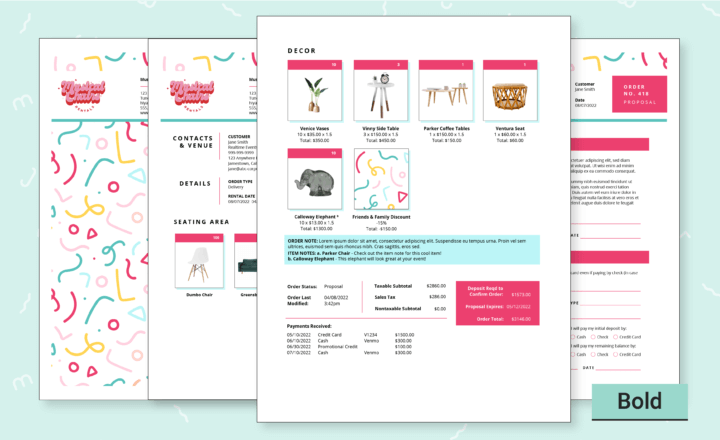
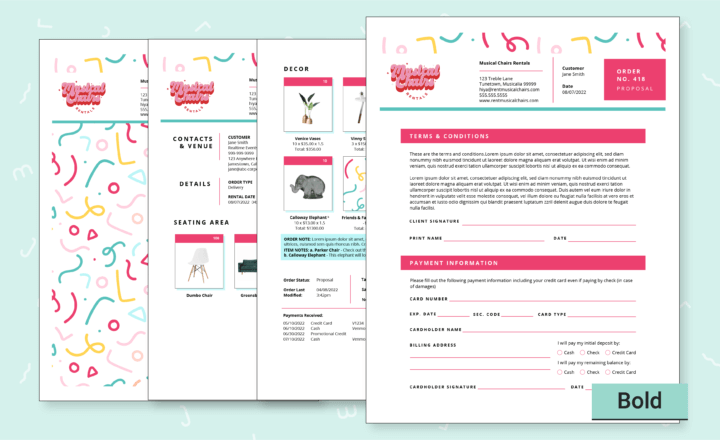
Our Bold Style is our brightest of the bunch which offers fun splashes of color with playful details and a confetti cover page.
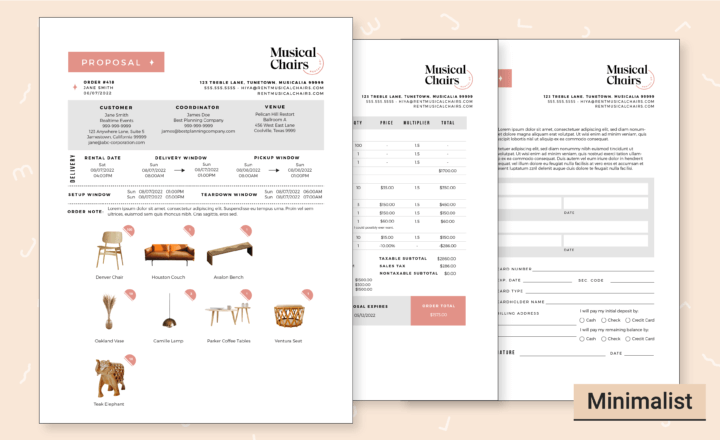
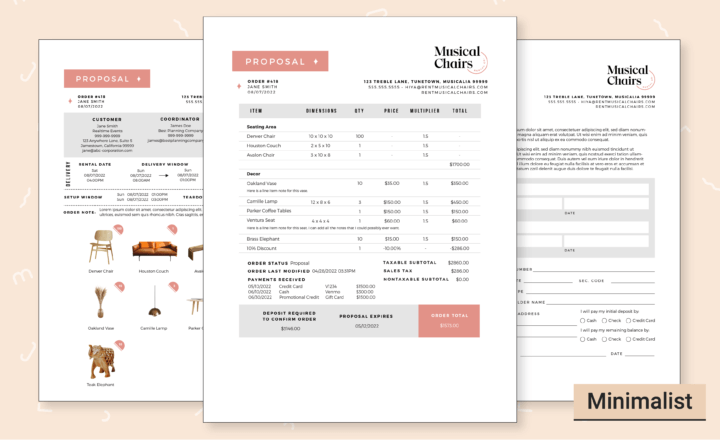
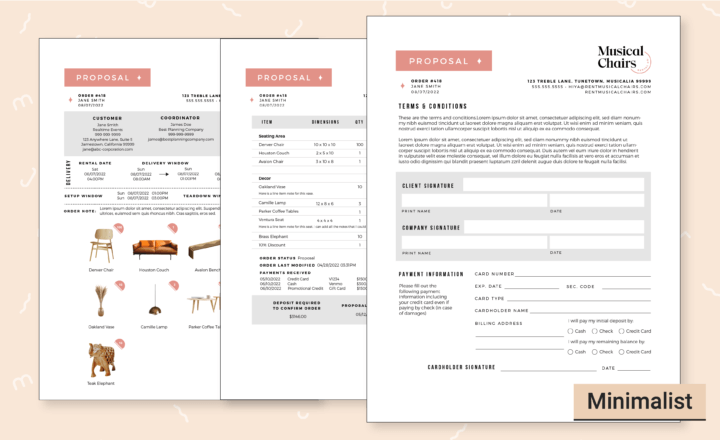
Check out the Minimalist Style which favors lots of white space with intentional pops of color.
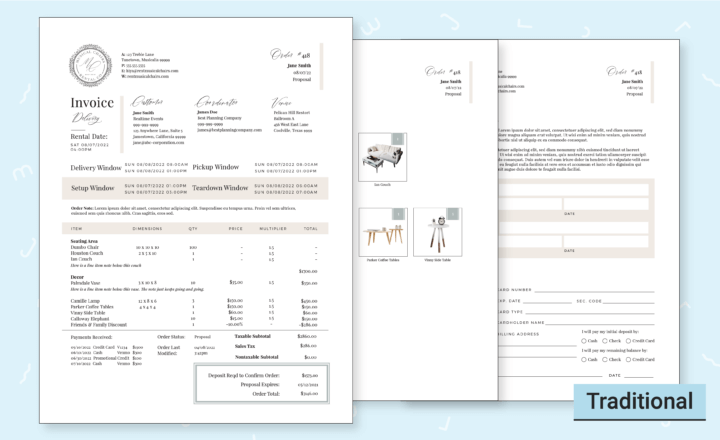
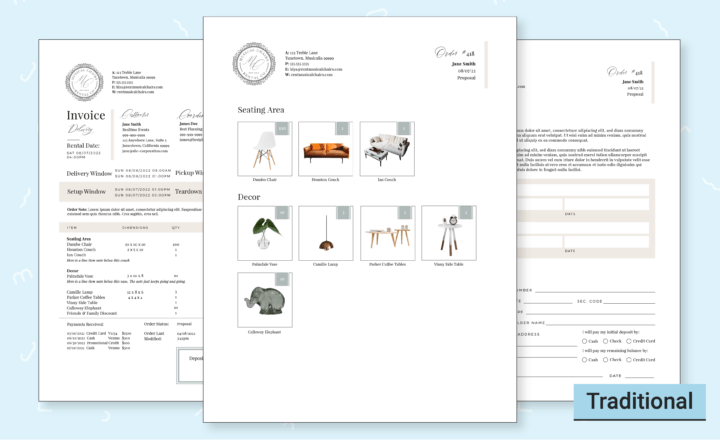
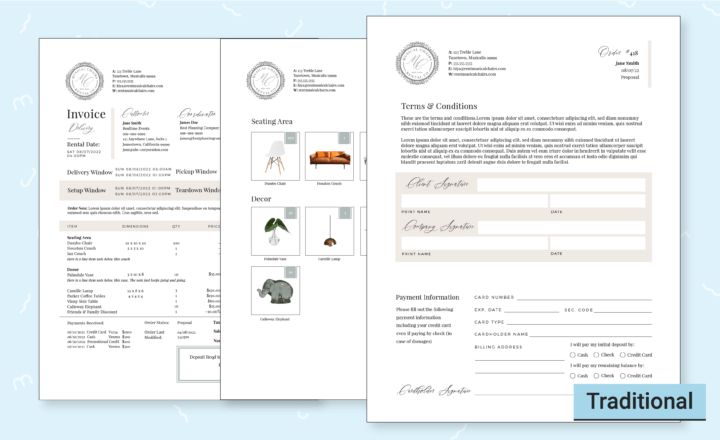
Or choose the Traditional Style for a classic look with subtle color accents.
Pick the style that best vibes with your brand identity.
Don’t forget to save your choice by clicking the green “Save” button.
Add an Item
Now that we’ve established our Branding, let’s get to the star of the show — your collection!
Navigate to the Items section of your Account by clicking on the “Items” icon in the upper left corner of your browser window.

At RW Elephant, we love images so let’s jump to our favorite part first—the pictures.
Over in the lower left corner, you’ll see the Photo Library. This is where you’ll add your images.
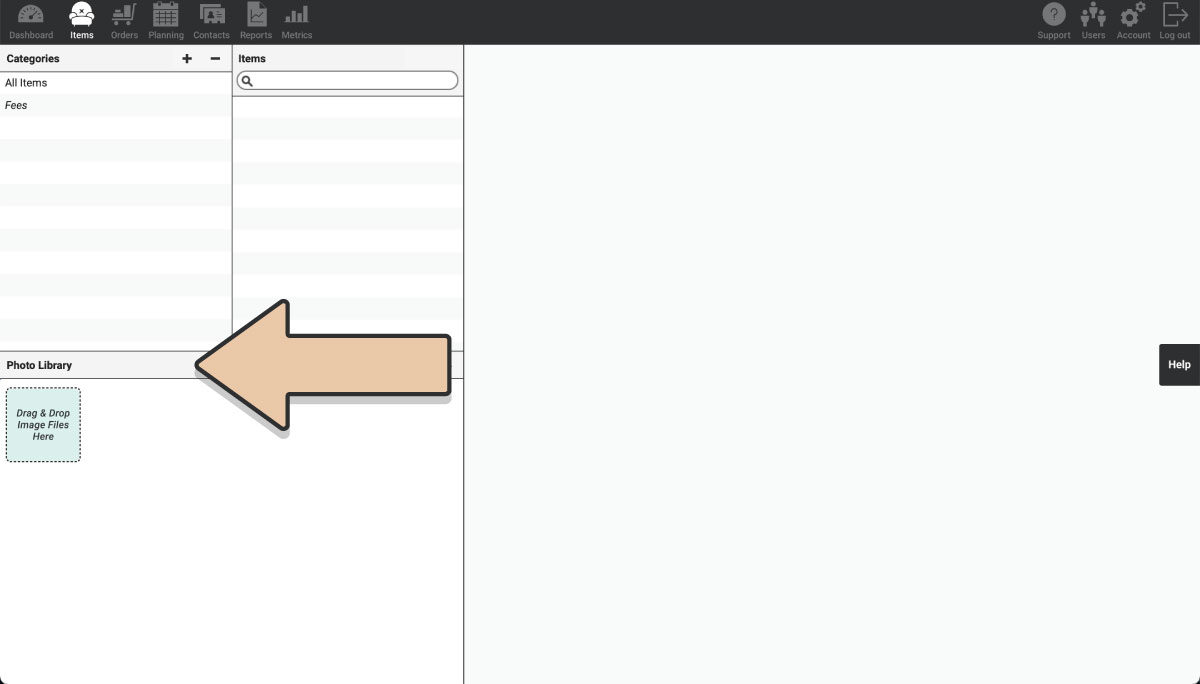
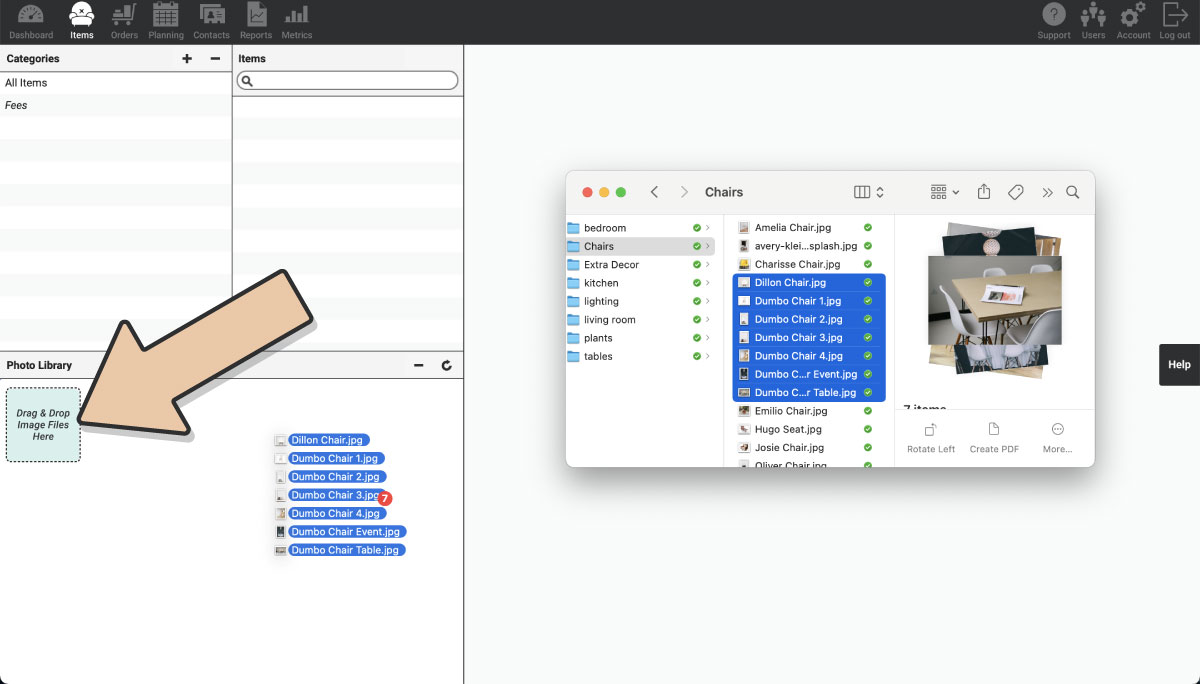
Simply drag image files from your computer onto this “Drag & Drop Files Here” target.
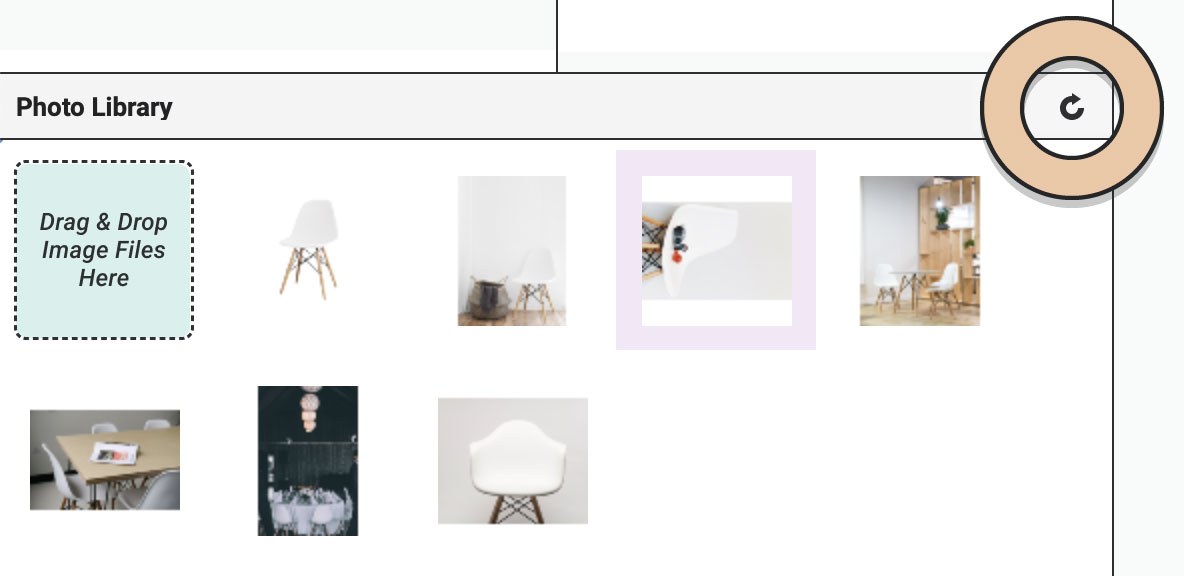
Once they’ve uploaded, you can rotate or delete them using the buttons at the top of the Photo Library.
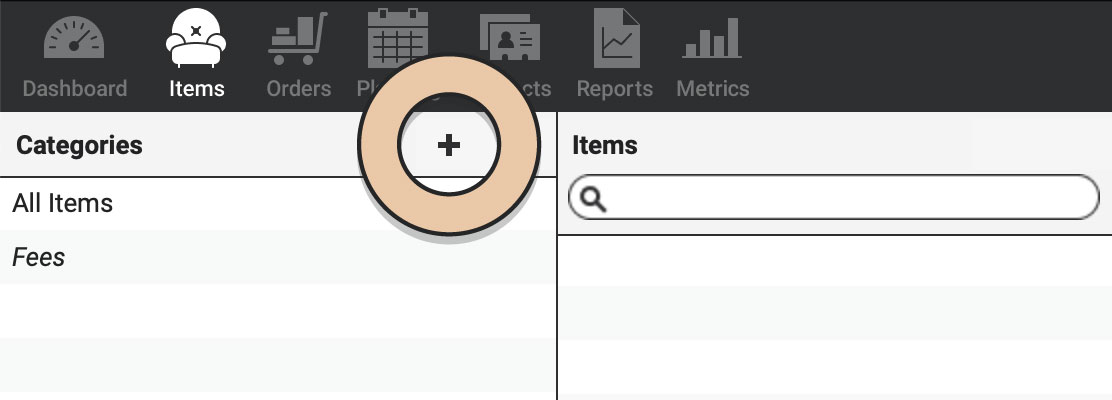
Before we get to the Item, we’re going to create a Category. In the upper right corner of this first column, click the “+” button.
Then double-click on the New Category and type the name you’d like to give it.
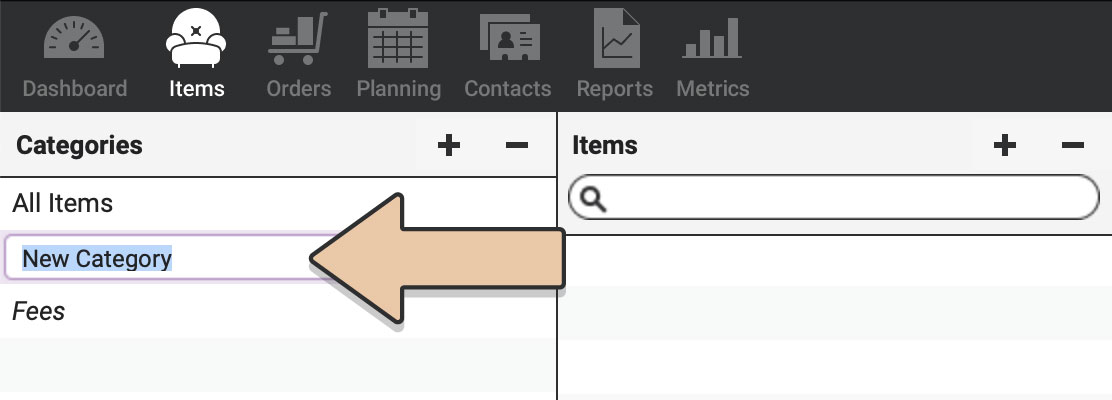
For this exercise, we’ll use “Chairs.”
Great! Now that you’ve got a Category, you’re ready to create your very first Item.
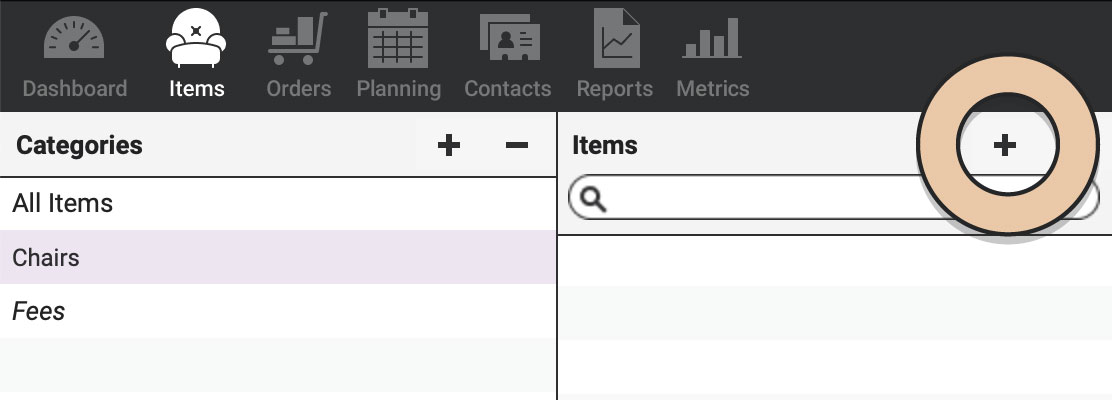
In the second column, click on the “+” button.
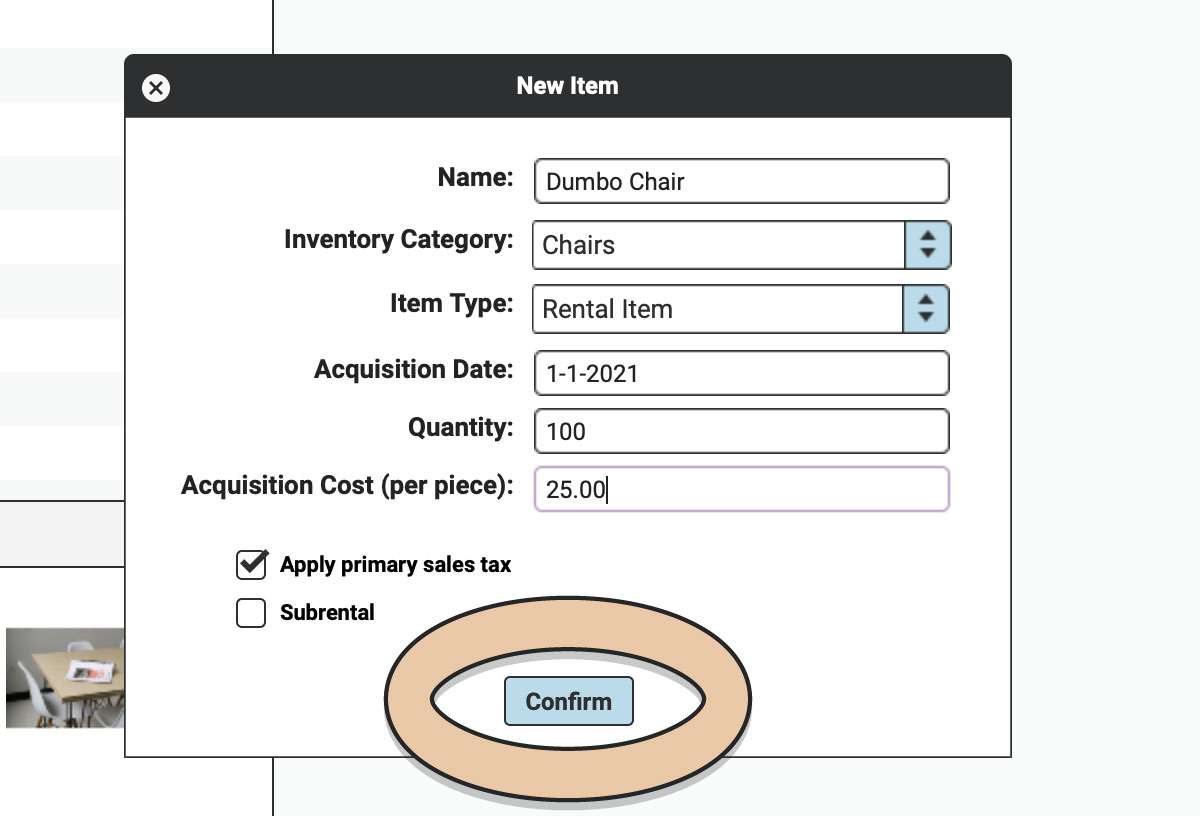
A pop-up will appear to gather the required Item detail first.
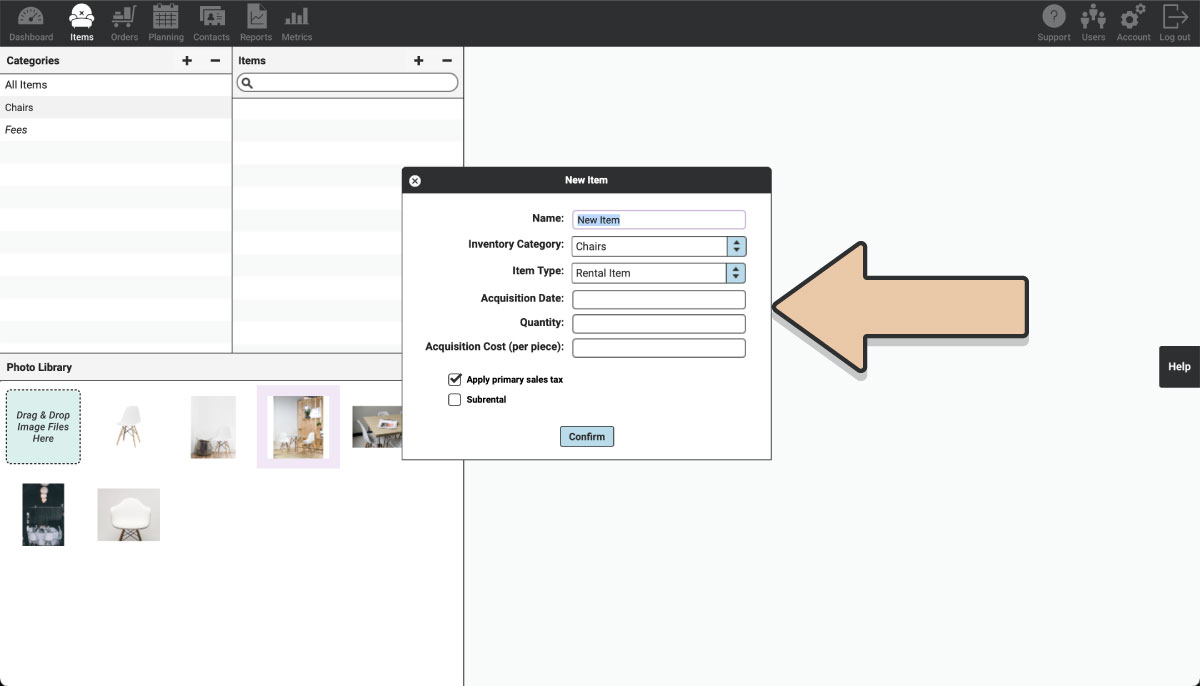
Type the name of your Item. We’ll call ours “Dumbo Chair.”
Our Category is already selected, and we’re creating a Rental Item so those default selections are good to go.
Next, add the Acquisition Date (we’ll say it was January 1st, 2021), the Quantity you purchased (we bought 100), and the Cost per Piece (let’s say $25).
Our Item is taxable so we’ll leave “Apply primary sales tax” ticked.
Now click the blue “Confirm” button.
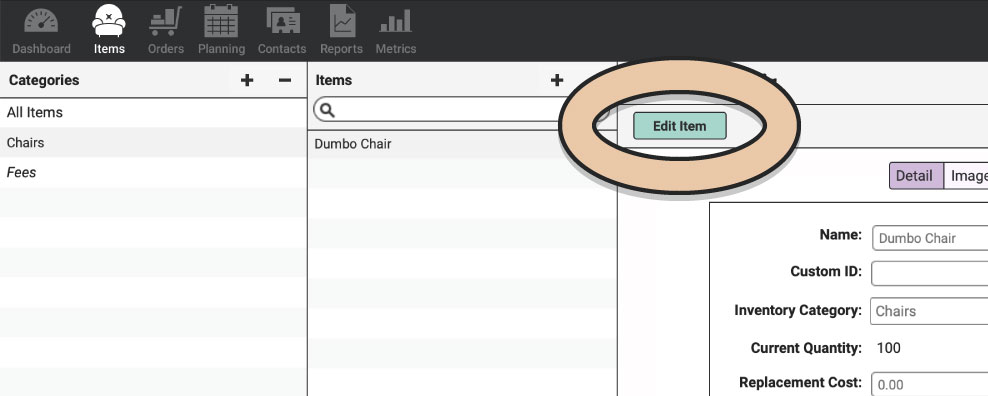
Click on the green “Edit Item” button.
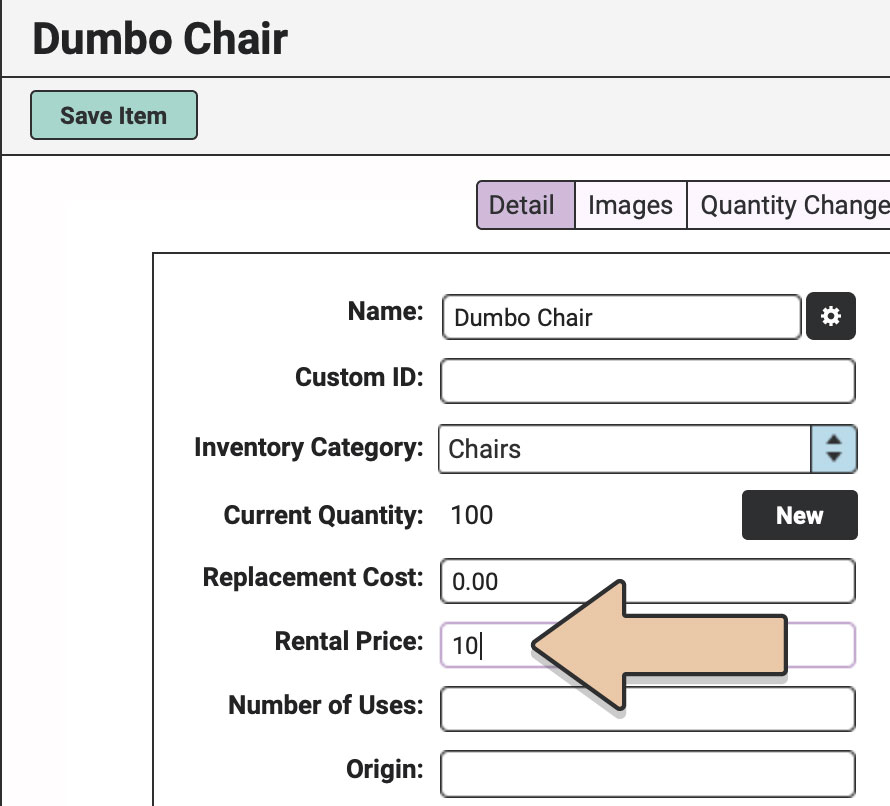
Let RW know how much you’ll be renting the Item for under Rental Price (let’s say $10).
Head over to the Photo Library and grab the main image you want for this Item. Drag & drop it on the large camera target in the upper right corner of the Item screen.
Click the green “Save Item” button.

Now you have an Item. Hooray!
As you can see, there are lots of other fields and tick-boxes for your Items. We will explain all of those in our Super Simple Step-by-Step Set-up System. But for now, let’s move on to our first Order.
Create an Order

In the upper left corner of your browser window, click on the “Orders” icon.
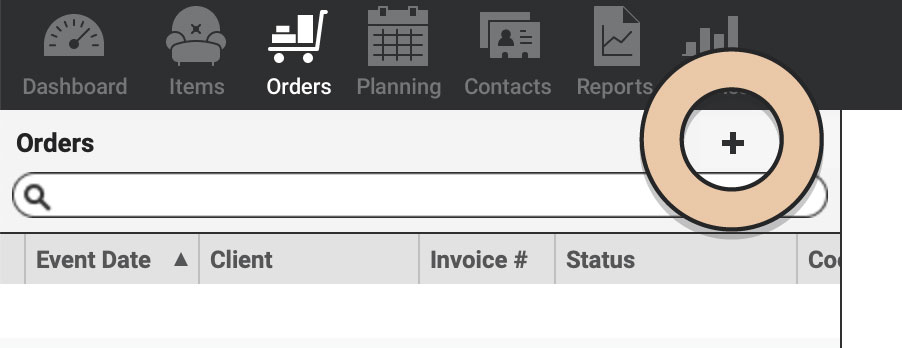
Click on the “+” button in the upper right corner of the left column.
Click on the green “Edit Order” button and we’re ready to begin.
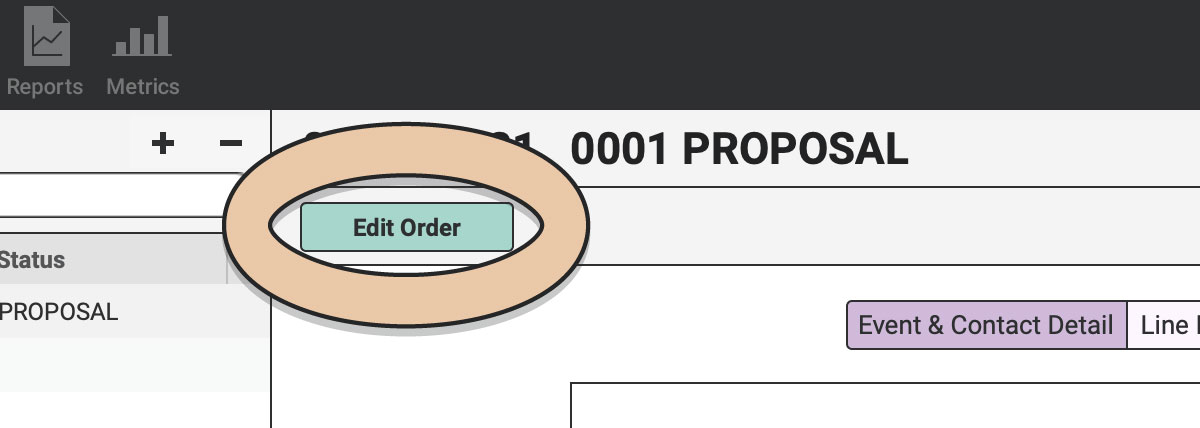
To keep things simple for this first order, we’ll keep the Type of Invoice and Invoice Status as the defaults and jump right on in with the Event Date.
For our first Order, we’ll use the Event Date of August 1, 2021. Type the Date or use the Date Picker.
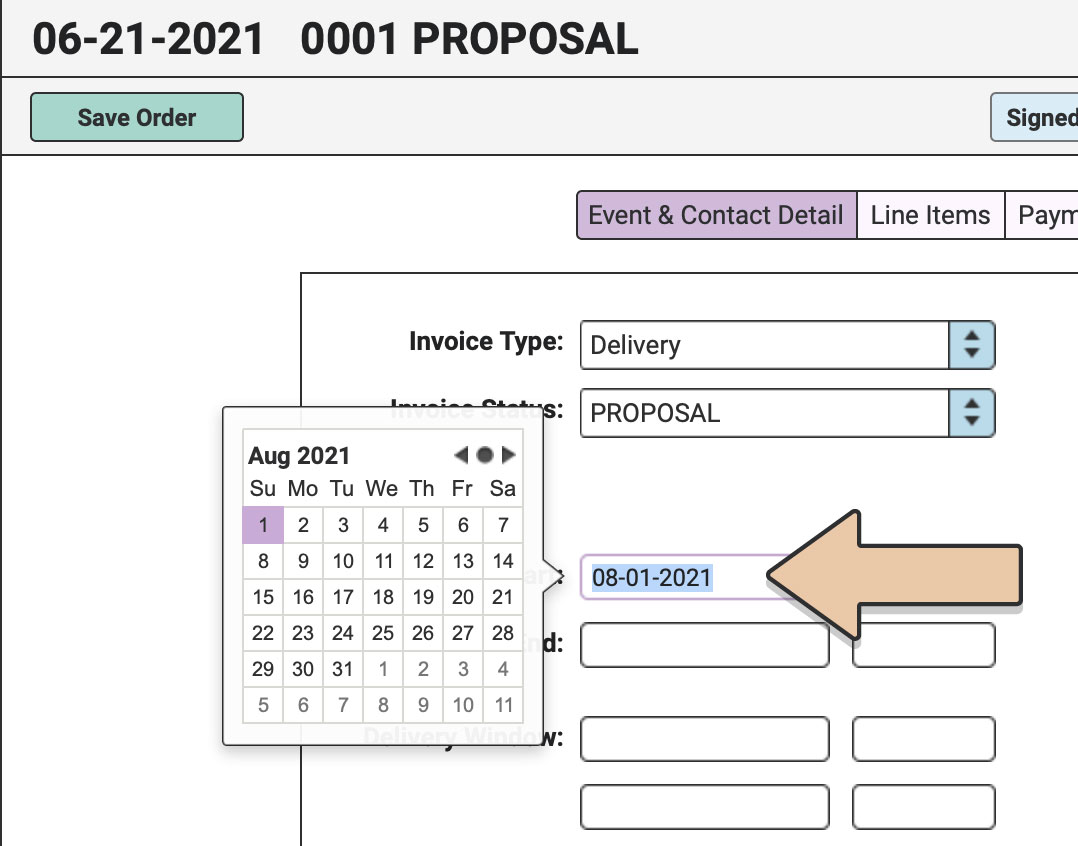
Then enter the start time of the Event. We’ll say 5 pm.
The rest of the date and time fields will auto-fill with that same info to give you a head start. You can then go through and adjust them as necessary.
Our event will end at 10 pm.
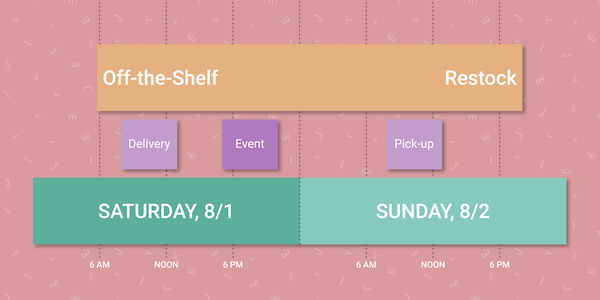
The Delivery Window will be from 8 am to 1 pm on the day of the Event.
The Pick-up will happen the next day between 8 am and 1 pm.
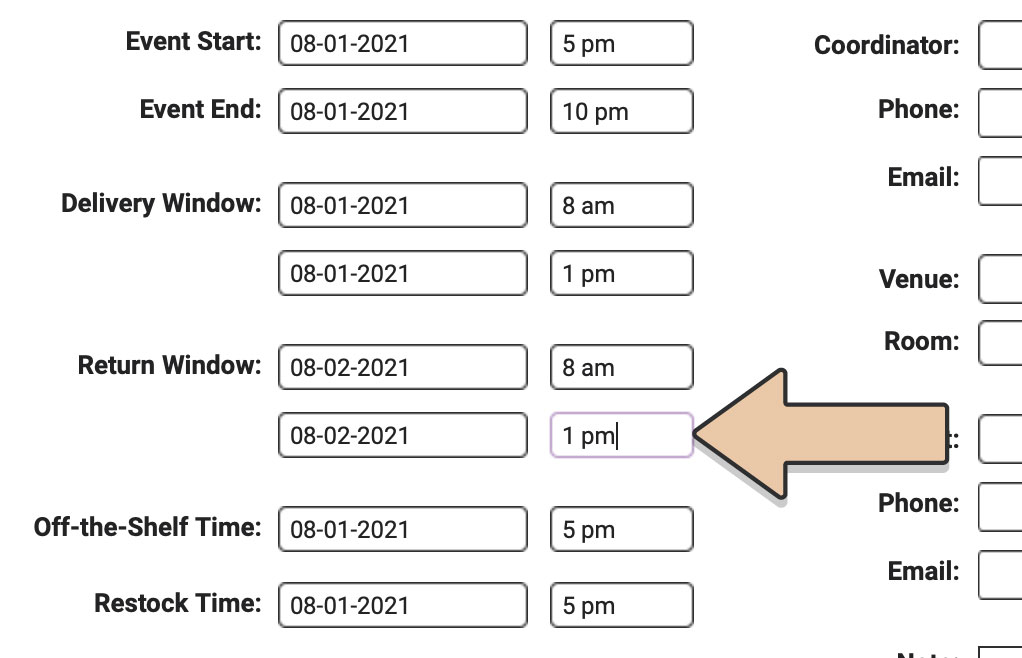
Now we get to the Off-the-Shelf and Restock times.
These are the MOST IMPORTANT anti-double-booking tools within RW Elephant. All of the Item Availability is determined by these two times.
Since we’re delivering the Order between 8 am and 1 pm on the 1st, we’ll actually need to pull the Items off the shelf and load the truck at 6 that morning.
We won’t be picking them up until the next day, the 2nd, between 8 and 1. By the time we get them back to the warehouse, clean them, and have them ready to rent again, it will be 8 pm.
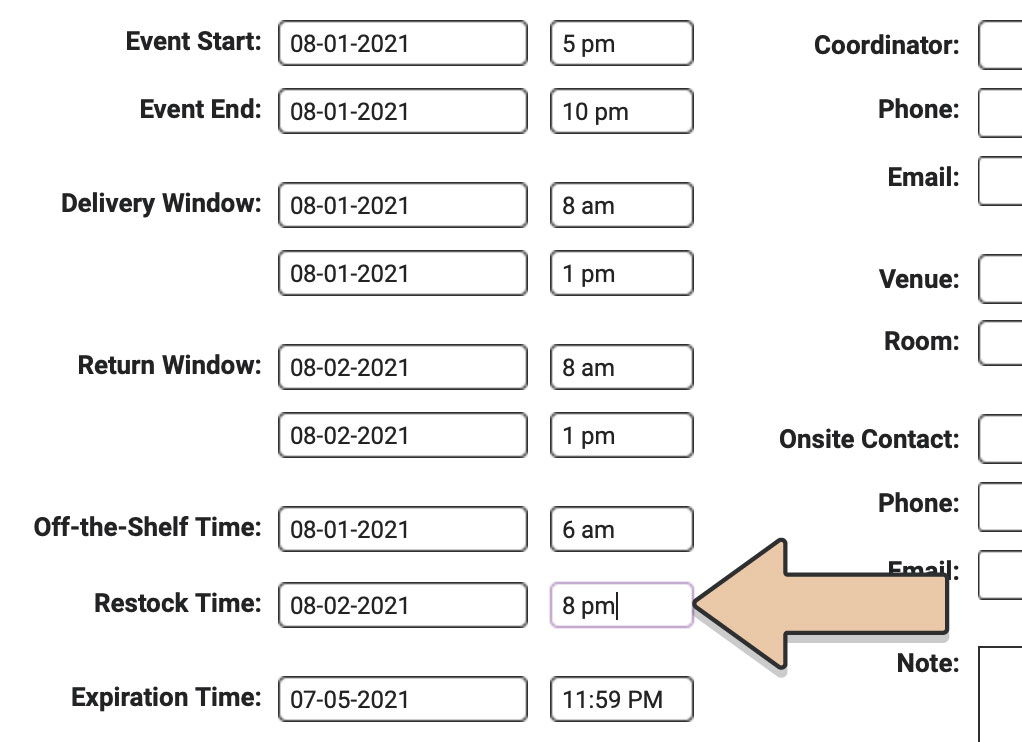
Basically, we want any Items on this Order to be reserved from 6 am on the 1st until 8 pm on the 2nd even though the event is much shorter than that.
Again, in this exercise, we’ll only enter the required fields so we’ll skip on to the Client.
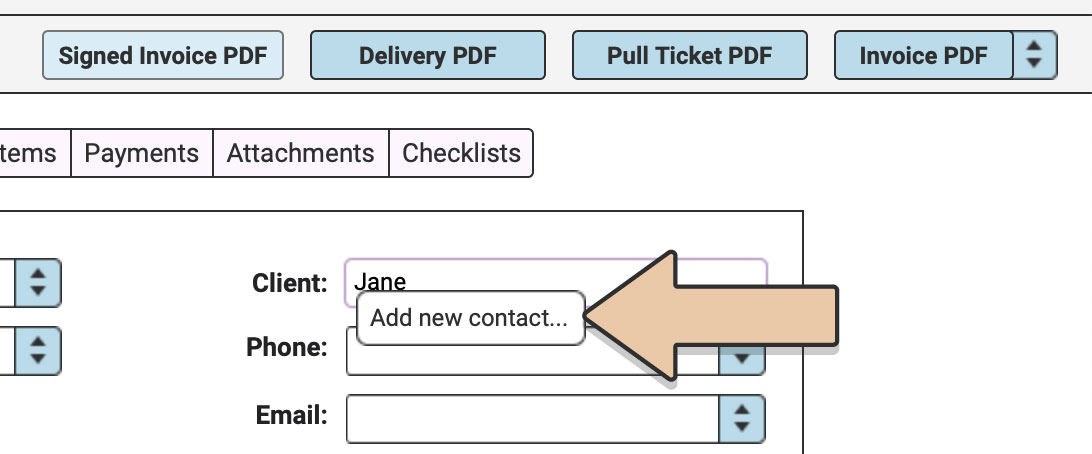
Start by typing the Client’s name. Since you don’t have any contacts in RW Elephant yet, you’ll need to choose the “Add new contact…” option that appears below the contact field.
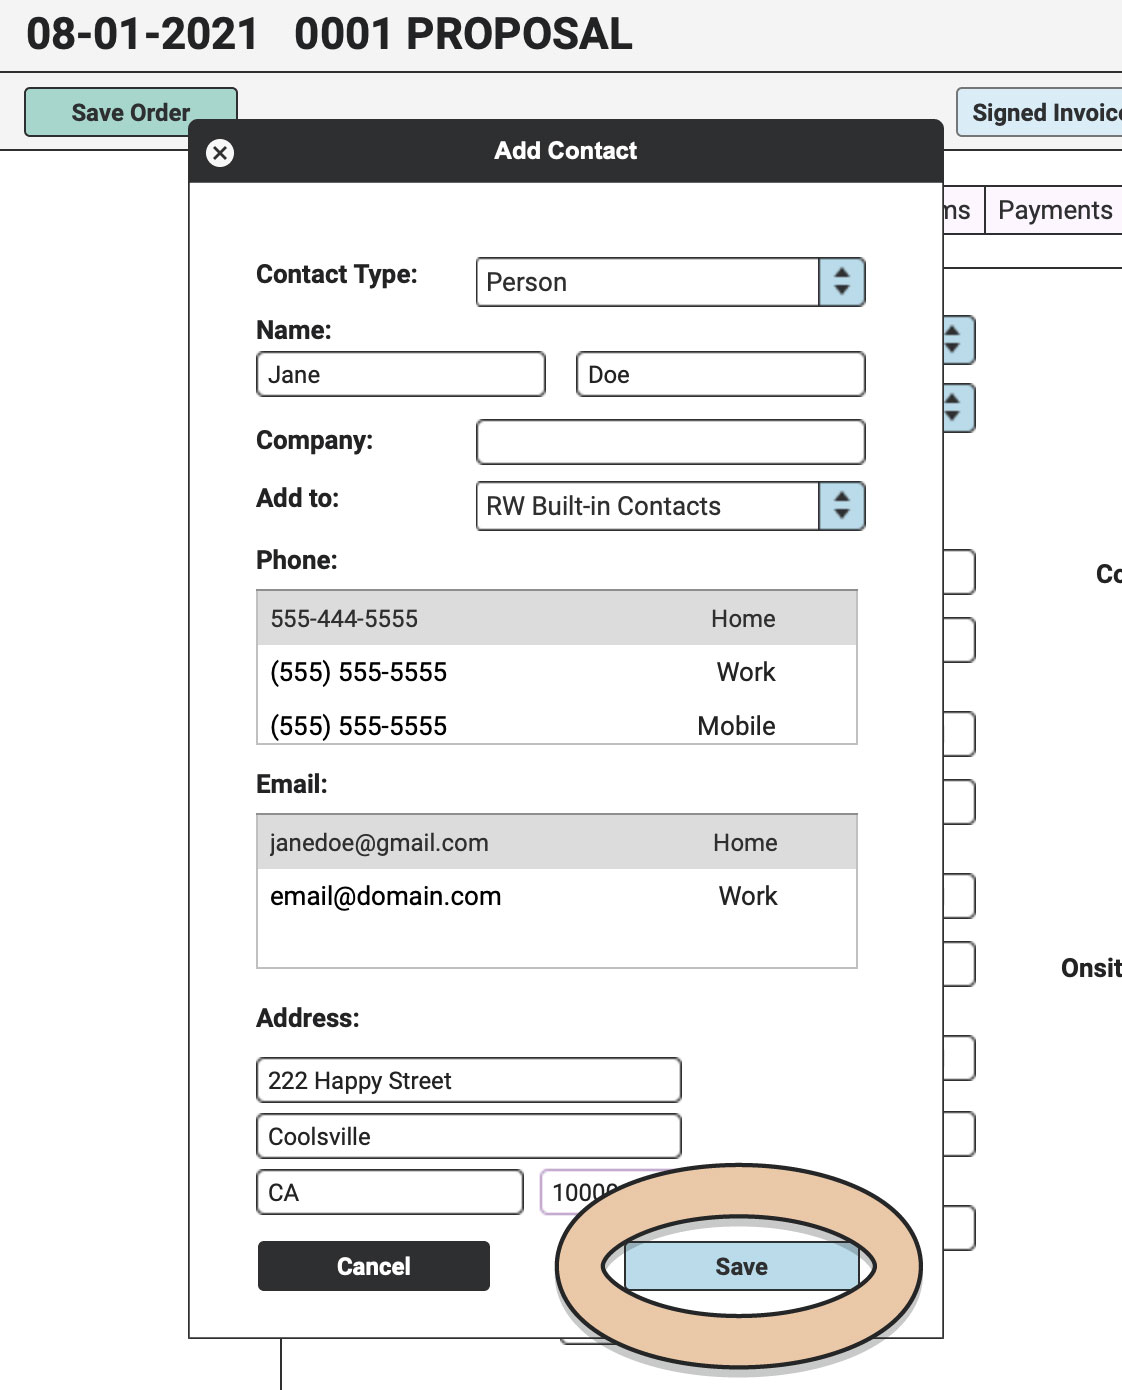
Enter the Client’s name, phone number, email address, and mailing address. Then save the contact.
Before we move on, let’s make sure RW Elephant only shows us Items that are available in the times we specified.
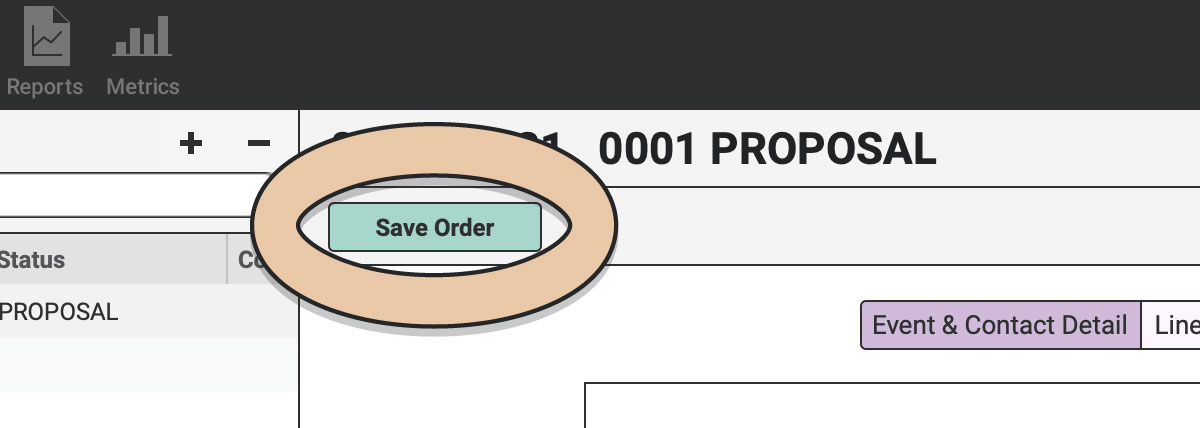
Click the green “Save Order” button.
Let’s move on to the Line Items tab.
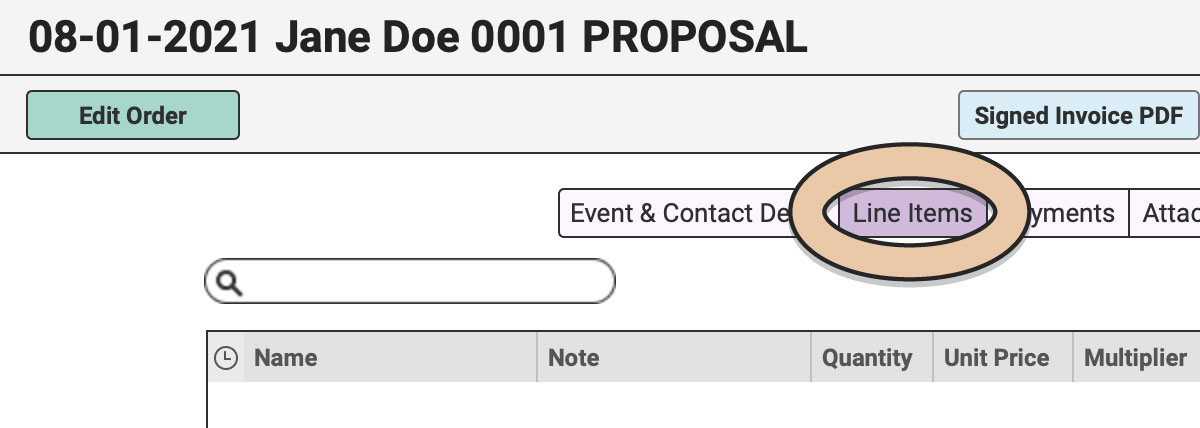
Click the green “Edit Order” button.
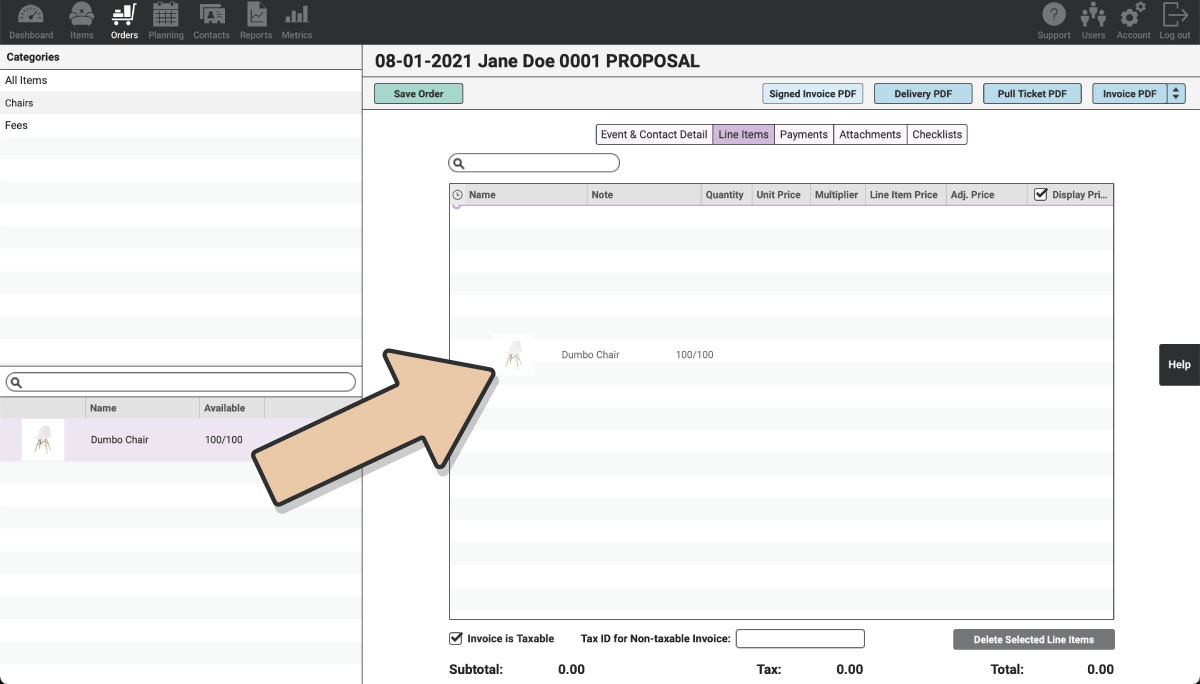
In the upper left column, select “Chairs.”
All of the chairs that are available between your Off-the-Shelf and Restock times will appear in the lower left corner of the browser window.
We’ll simply grab our Dumbo Chair and drop it onto our Line Item list.
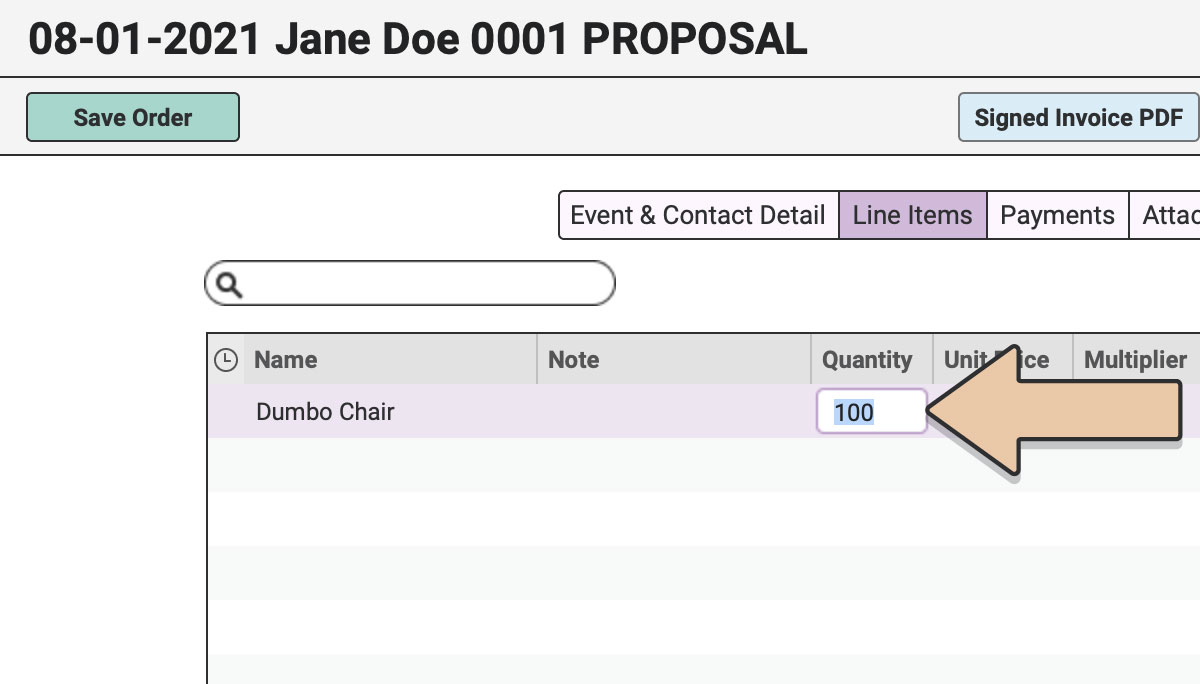
We can double-click to change the quantity or leave it as is.
From here, we can save the Order and then generate an Invoice PDF.
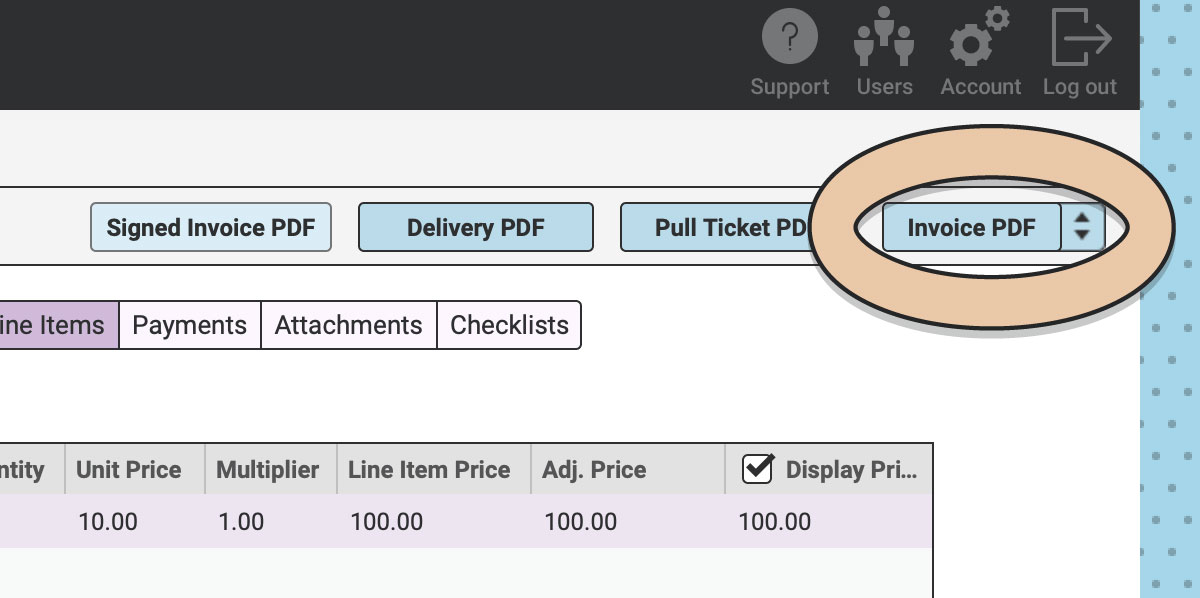
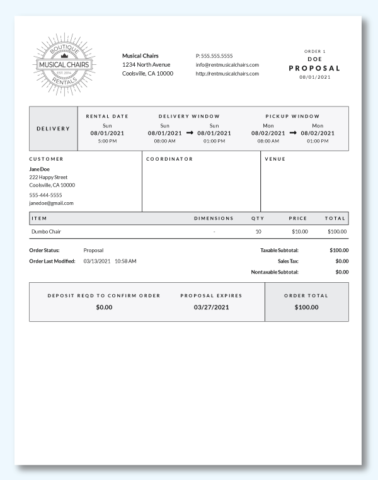
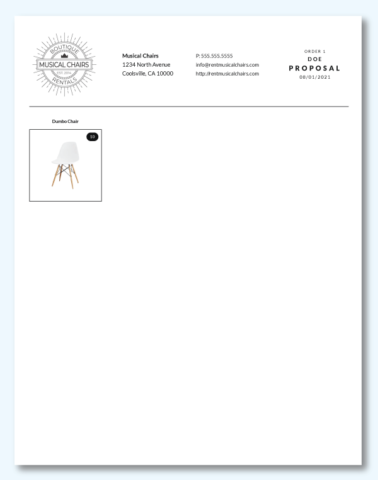
You’ll see your snazzy logo and Company Information clearly laid out. Followed by the Item, the totals, and pictures of the Items on the Order.
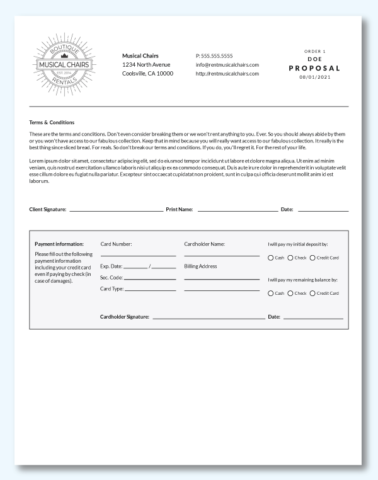
Your Terms & Conditions will show up at the end of the Invoice, so customers only have to see and sign one document.
Congratulations! You’ve now made one Item and one Order within RW Elephant.
You’ve got the gist. Now, let’s make it happen for real. Dive right into our Super Simple Step-by-Step Set-up System to officially start your RW Elephant rental adventure!
But wait! If you want to get rid of the dummy data you just entered in this exercise first, here’s how to do it:
- In the Orders Section, select the Order you just made.
- In the left column, click on the “-“ button.
- Confirm that you want to delete the Order.
- Then head over to the Items section.
- Select the Item from the second column and then click the “-“ button at the top of that column.
- Then select the “Chairs” Category from the left column and click the “-“ button at the top of that column.
Now you’re ready to start the Super Simple Step-by-Step Set-up System with a clean slate.
This video uses file0389 party horns by smokeyvw from freesound
