The Order Name feature gives you flexibility to name Orders as you naturally refer to them.
For example, let’s say the Order is for a branded event. Use the Order Name feature to enter the name of the event, such as “ABC Charity Gala.” Or maybe it’s something simple like “Jones Wedding.”
Naming an Order
To name an event, head to the “Orders” icon in the upper left corner of your browser window.
Select the Order from the list on the left.
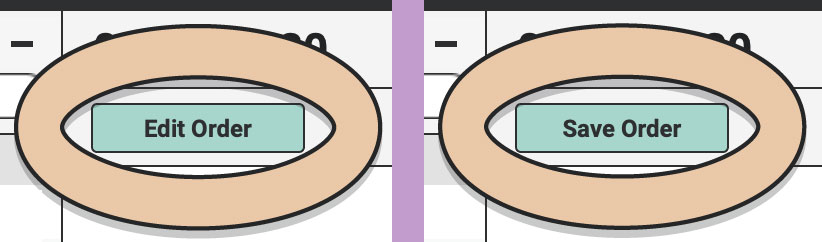
Click the green “Edit Order” button.
In the upper right corner of the window, fill in the Order Name field.
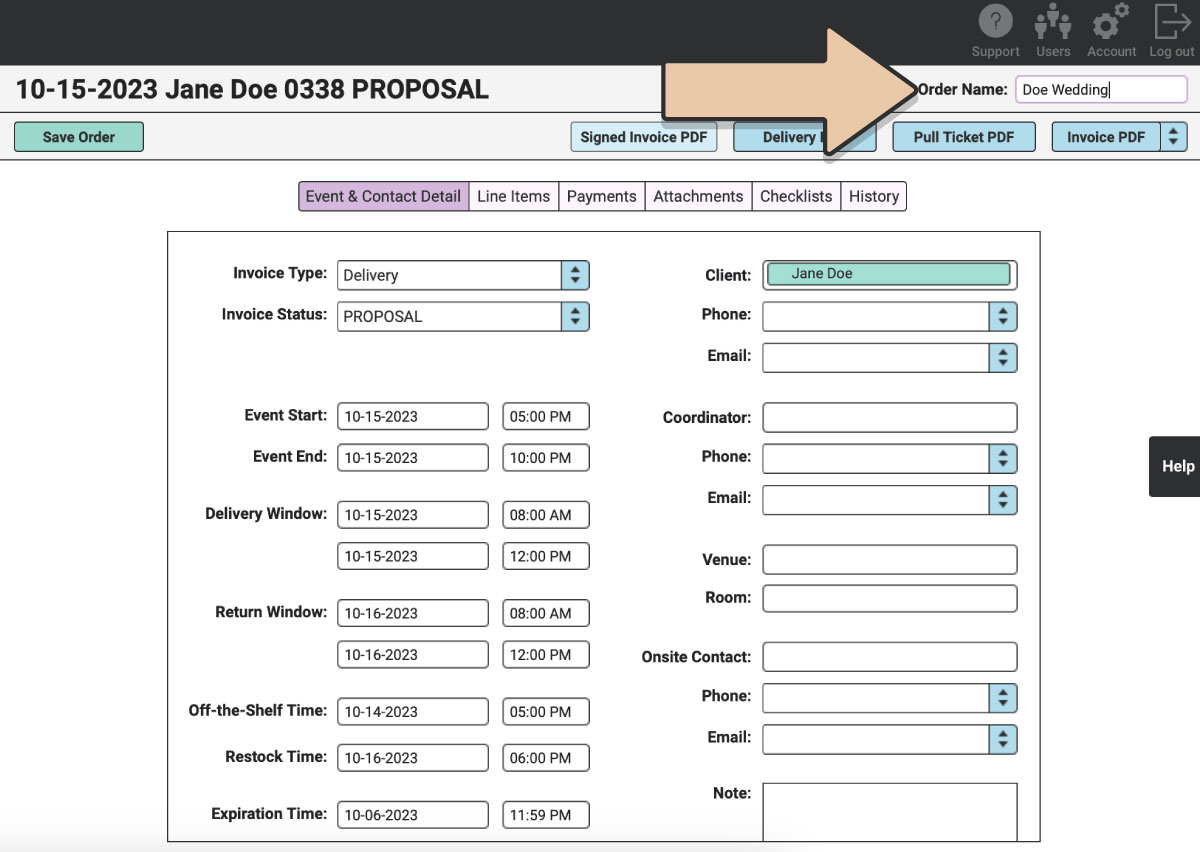
Click the green “Save Order” button.
Order Name within your RW Account
Order Names will appear in the “Order Name” column in the expandable Order list view.
PRO TIP:
To view additional columns, hover over the line on the right side of the Orders list until the cursor changes. Drag the frame to the right to see the additional column options. Drag and drop columns to your preferred arrangement. Click on a column header to organize the Order list by the column. Right-click on column headers to hide or unhide certain columns.
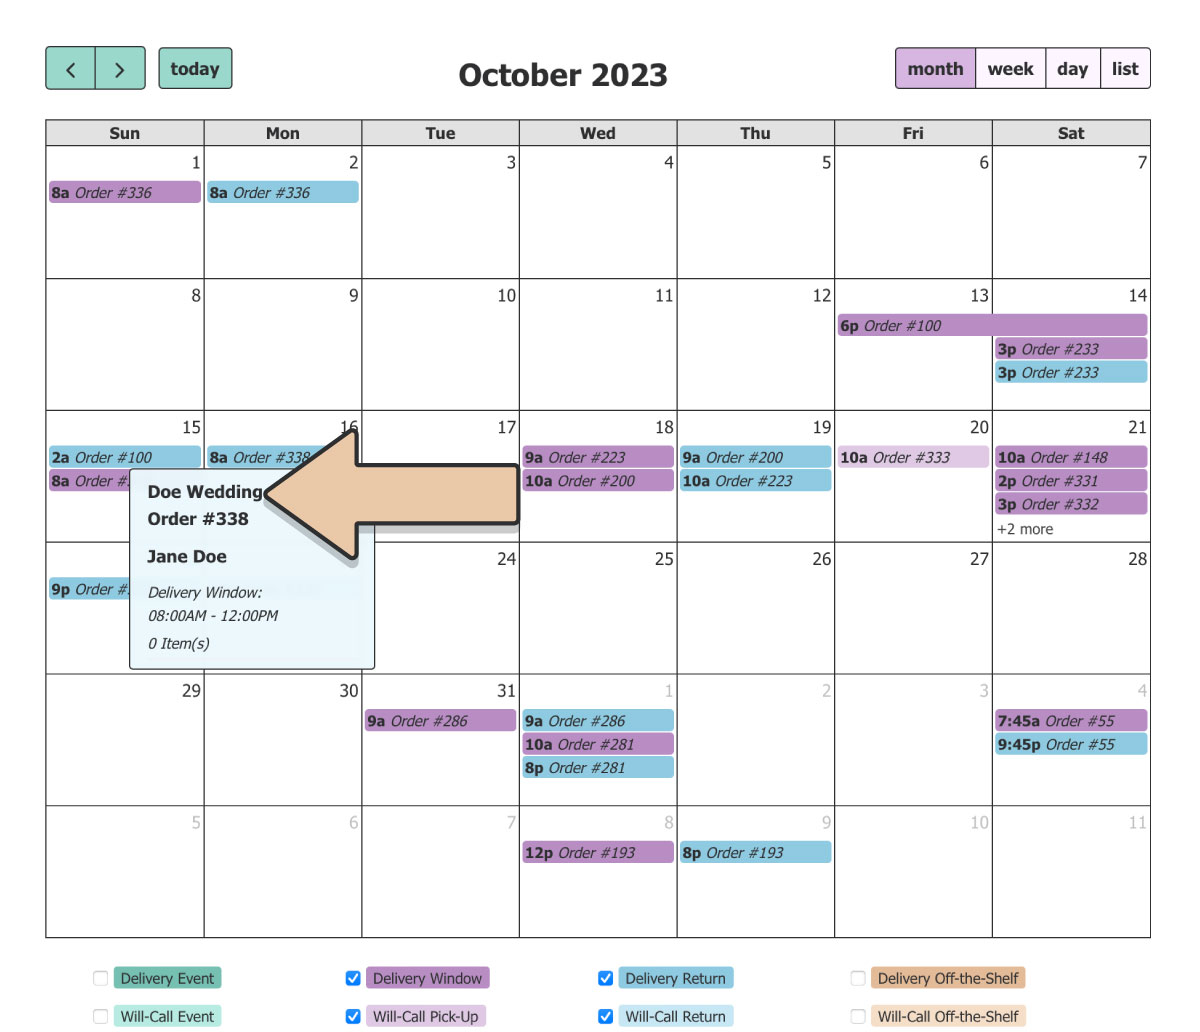
You can also reference the Order Name within the Planning Calendar and any Calendar Subscriptions you’ve connected to your personal calendar.
Additionally, the Invoices Report and Job Planning Report can be filtered and organized by Order Name.
Order Name on PDFs
You can choose to display the Order Name on your Invoice PDF, Pull Ticket PDF, and Delivery PDF.
Click on the “Account” icon in the upper right corner of your browser window.
Then click on “Invoice Settings” in the column on the left.
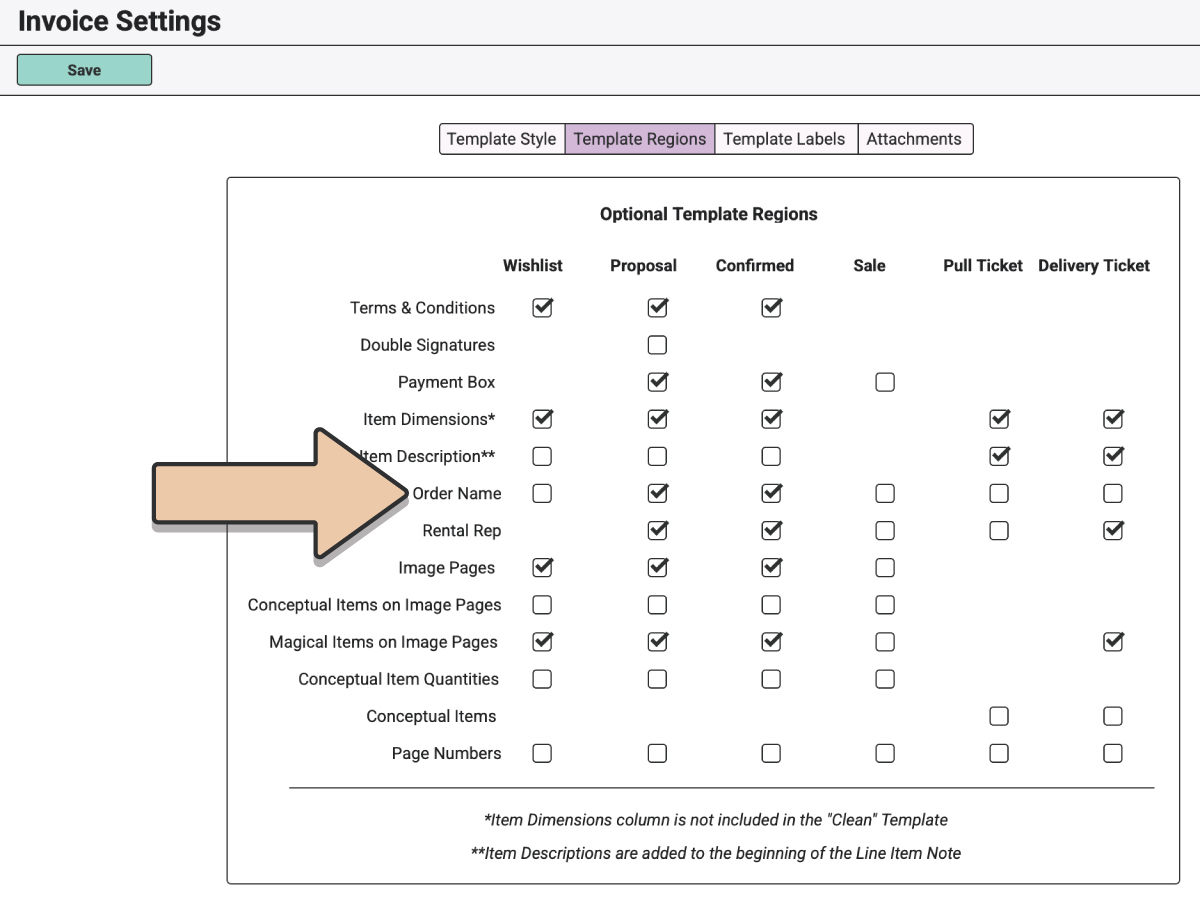
Head over to the “Template Regions” tab and click the green “Edit” button.
Tick the boxes next to “Order Name” to choose which PDFs you want to include the Order Name.
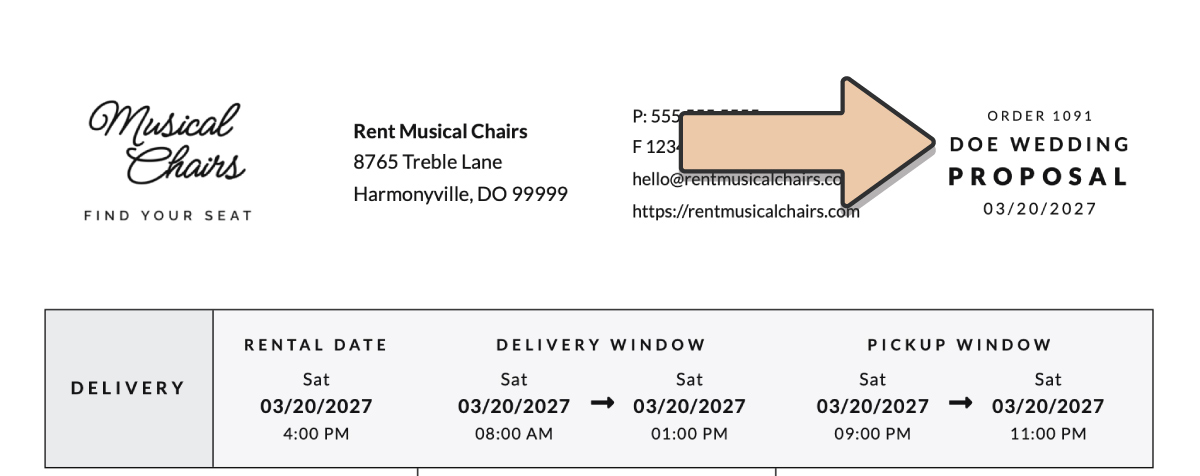
The Order Name will replace the client last name in the header of your PDFs:
When you head back to Orders, be sure to click “Edit Order” and “Save Order” on any existing Orders you wish to refresh with the PDF updates you made.