Seamlessly display your collection on your Squarespace website through this Online Gallery Snippet. Easily show your customers your Rental Items with the images, descriptions, tags, and all of the other important details you’ve included in your RW Elephant account. When you update your inventory in RW, it will automatically update on your website as well.
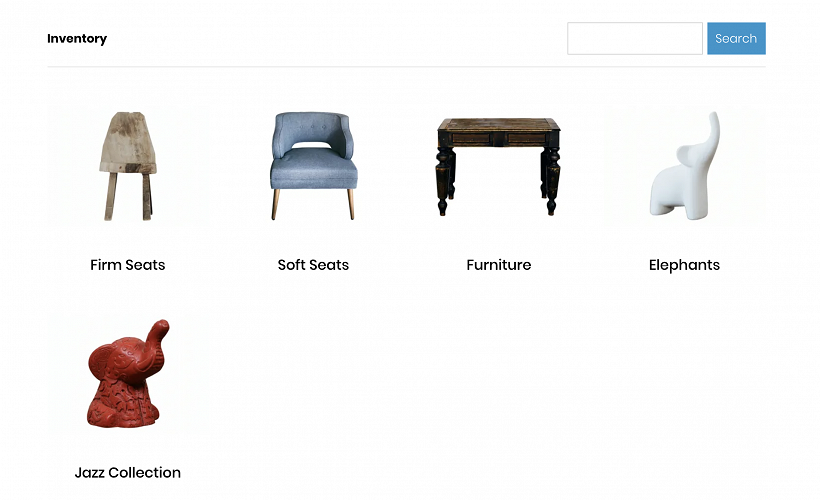
See an example of a customized Squarespace site for our fake rental company Musical Chairs here.
This Snippet allows you to display your inventory in RW as Gallery on your Squarespace website as well as the ability for various styling customizations. Enable the Wishlist feature to let your Clients pick their favorites and submit them right to your RW Elephant Account.
REQUIREMENTS
- The Online Gallery feature is only available for RW Users on the Pachyderm or Herd Leader Plans.
- You’ll need a Squarespace plan that includes “Premium Integrations & Blocks” (Included with Business, Basic Commerce, and Advance Commerce plans). This will give you access to “Code” blocks, and allow you to add blocks of code to any page on your Squarespace site.
- To use the Online Gallery Snippet you’ll need to request a Public API Key. Important Note: Do NOT use the Private API Key available from within the RW Elephant Application. Please contact us at help@rwelephant.com and we will generate and provide a Public Key for use with the Snippet.
- Currently, the Snippet is usable with, but not fully compatible with some Ajax-based Squarespace Themes. If your Theme uses Ajax loading, this will need to be disabled in order for the Snippet to work correctly. Disabling Ajax Loading.
INSTALLATION
Step 1:
Create a new page on your Squarespace website that will hold the Inventory Gallery. You can use an existing page if you’ve already planned ahead. We recommend using a page with minimal content to display the Inventory Gallery on, using a more complex page with lots of extra content could lead to slower load times.
Step 2:
Enter “Edit mode” on your page, and add a “Code” block. Move the new “Code” block into the position that you would like to display the Inventory Gallery.
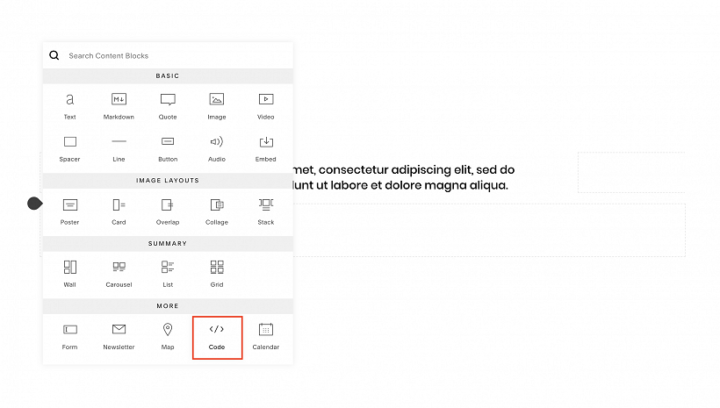
Note: You may need to add “Spacer” blocks around the new code block to adjust the design depending on the theme that you use. We found spacers useful for setting margins on either side of the Inventory Gallery for example (This does depend entirely on the chosen theme layout that you are using for your website).
Step 3:
Edit the “Code” block that you added to your new page, and enter the following HTML:
<!-- RWE Inventory Component -->
<div class="rwe-inventory"></div>
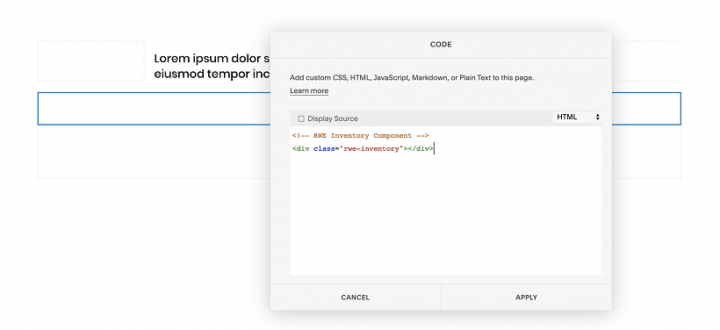
Note: Make sure that “Display Source” is unticked and “HTML” is selected as the Language.
Apply the changes and Save the page. You won’t see anything new appear on your page just yet, first we’ll need to add the script snippet that will generate the Inventory Gallery.
Step 4:
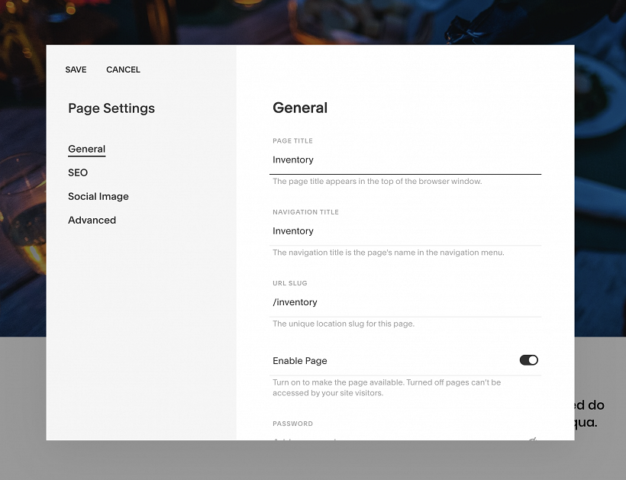
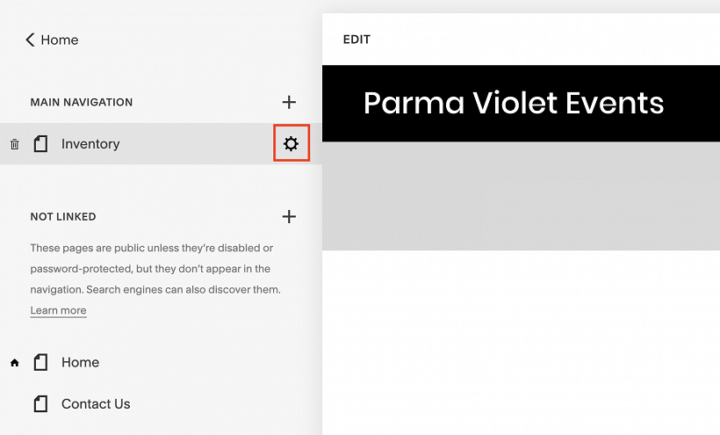
Saving the page should have exited “Edit” mode. Open the Page settings by clicking on the “Gear” icon next to the Page name.
Clicking on the “Advanced” tab inside the Page Settings modal will reveal the “Page Header Code Injection” text box. This is where we’ll enter the configuration settings for the Online Gallery Snippet.
Configuration using the Online Gallery Snippet Creator
Use our “Online Gallery Snippet Creator” tool to easily generate your custom configuration Snippet.
Once you’ve used the Creator, enter the Snippet in the “Page Header Code Injection” text box.
Important Note: Please do not use your RW Elephant Private API Key, get in touch and we can provide a Public Key!
Save the changes and get ready to complete the final step! If you don’t see the Inventory Gallery displayed on the page at the moment, check the notes section below to find out why that may be.
Configuration Notes
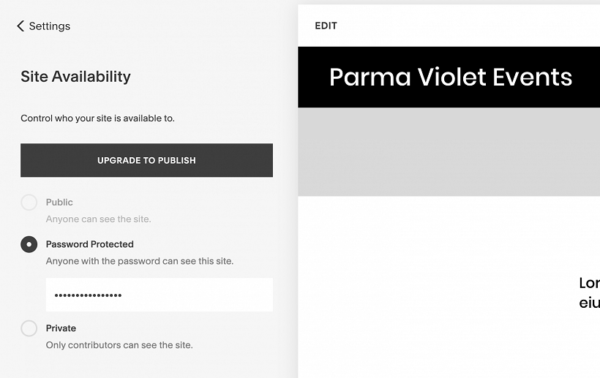
Note: Squarespace can sometimes block injected code from running inside the Editor as this can slow down the editing experience, always test on a live version of the page. This may mean that you will need to switch the page or site to “Public” ( or “Password Protected” if you don’t yet have a paid subscription with Squarespace) in the Site Settings Menu.
Note: If at this point, you aren’t able to see the Inventory Gallery displaying on your page, it may mean that you are using an Ajax enabled theme. You can Disable Ajax loading by following the advice in “Requirement (3)” at the start of this document. If after you have disabled Ajax you are still experiencing problems, contact us at help@rwelephant.com.
Step 5:
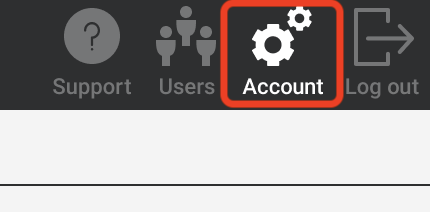
Finally, you’ll need to register the live site domain inside the RW Elephant application. Open your RW Elephant account and visit the “Account” settings:
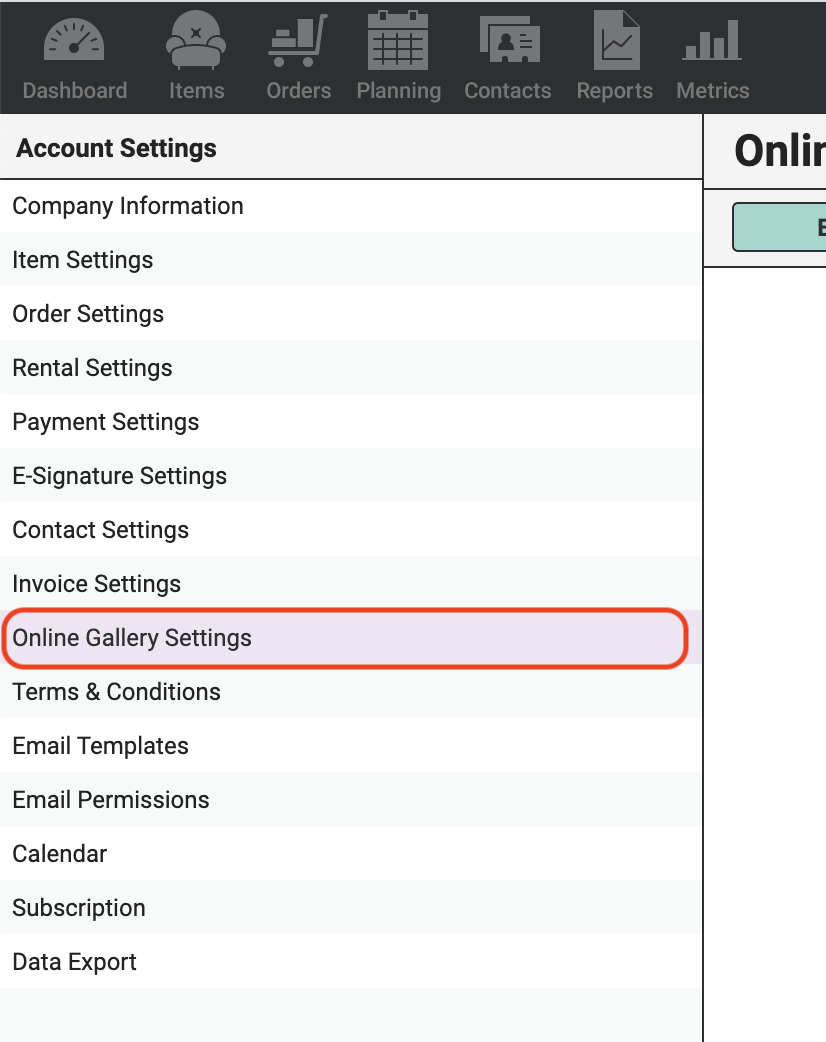
Click on the “Online Gallery Settings” option on the left menu:
Click “Edit” and then scroll to the bottom of the available options to find “Online Gallery Snippet”. Here you can enter your live domain in the space provided:
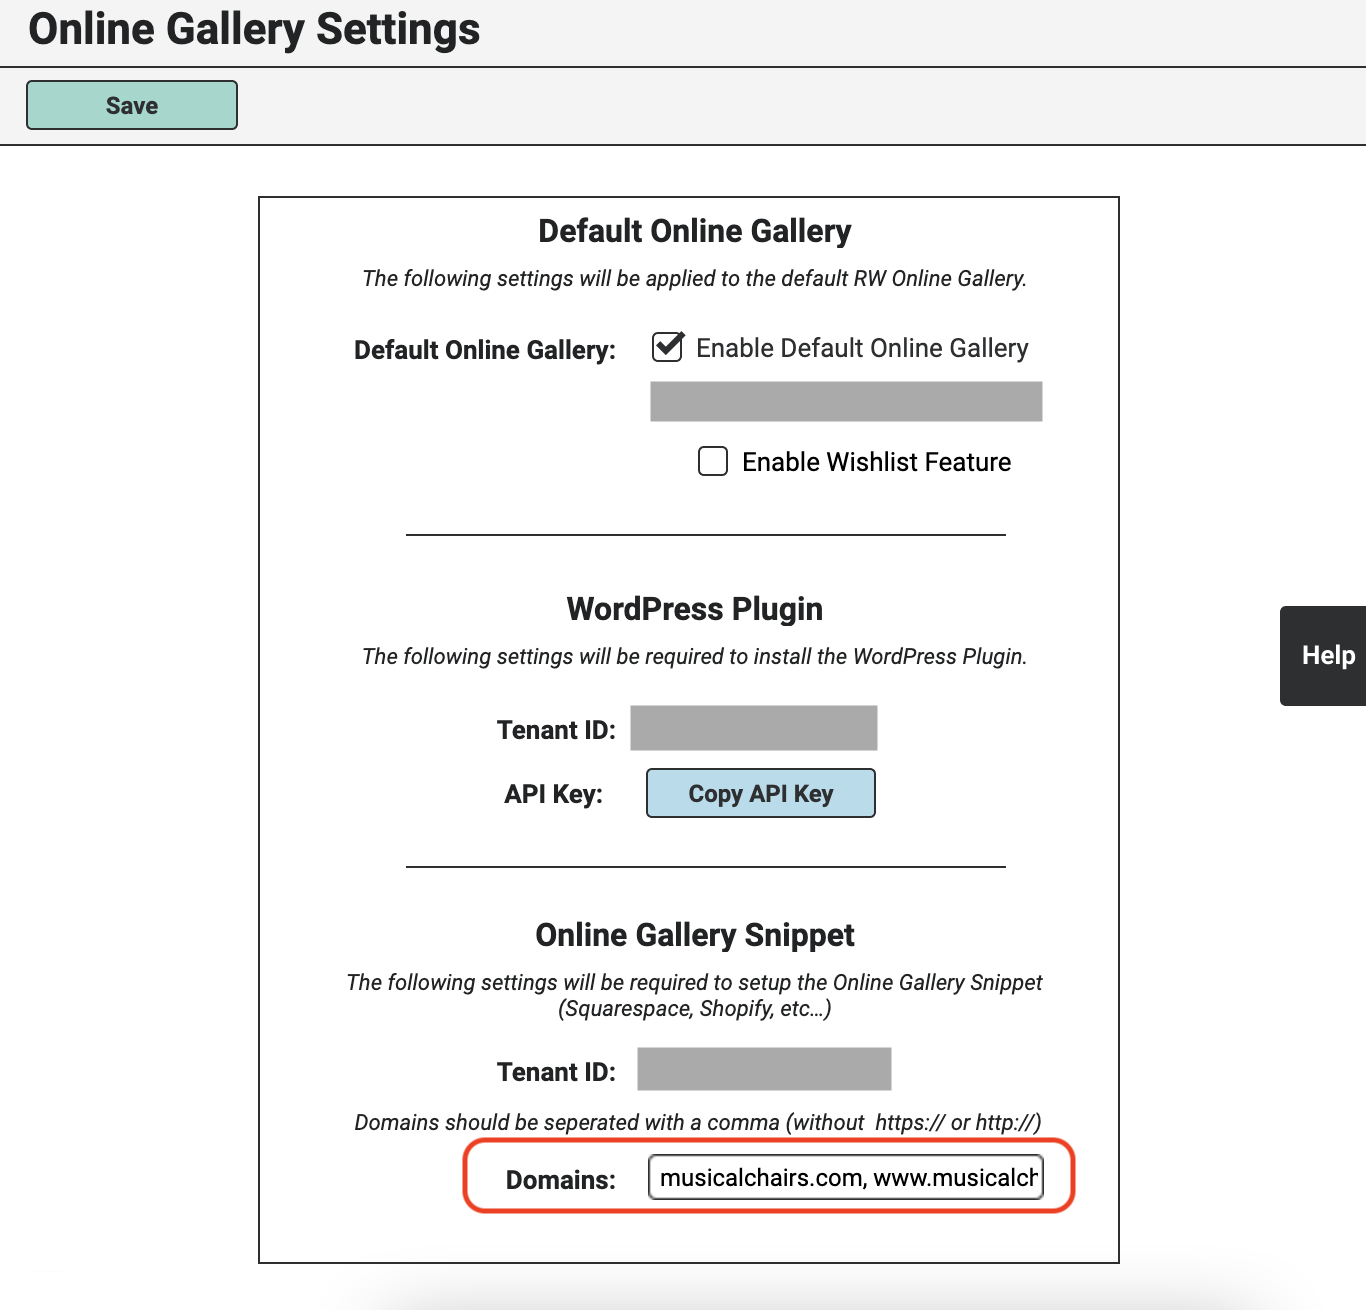
Note: If your site is available with and without the “www”, enter both domains separated by a comma “,” e.g. rentmusicalchairs.com, www.rentmusicalchairs.com. You can also add a valid test domain here if your site is still under development e.g. rentmusicalchairs.com, www.rentmusicalchairs.com, test-domain.com.
After adding the domain/s inside RW Elephant, you should now be able to view the Inventory Gallery on your new Squarespace page.
CONFIGURATION OPTIONS
Once you’re up and running with the Squarespace Online Gallery Snippet, you may want to make configuration changes to your previous selections through the Snippet Creator.
Below are the available configuration options that can be manually edited within your generated Snippet:
var rwe_config = {

    // Tenant Information
    tenant_id: 'your_tenant_ID_here',
    public_api_key: 'your_public_API_key_here',

    // Activate cropped thumbnails for listings (Default is false)
    cropped_thumbnails: true,

    // Activate Wishlist
    wishlist_active: true,

    // Add Wishlist Form Message
    wishlist_form_msg: {
        wishlist_form_heading: 'Additional Information',
        wishlist_form_text: 'Short text paragraph…',
    },

    // Add to Wishlist from Item Listing
    add_to_wishlist_item_listing: true,

    // Wishlist Additional Form Fields
    wishlist_form_custom_fields: [
        {
            input_label: 'Event Type:',
            required: true,
        },
        {
            input_label: 'Note:',
            required: true,
        }
    ],

    // Listing Thumbnail hover displays second image
    listing_item_img_hover: true,

    // Display Price on listing view
    listing_item_price: true,

    // Change Default Breadcrumb Page Label
    breadcrumb_index_label: 'Collection',

    // Remove Breadcrumb
    breadcrumb_remove: true,

    // Related Items Heading (Defaults to "You might also like:")
    related_items_heading: 'Related Items:',

    // Set a custom "no image" thumbnail and gallery
    no_img_url: 'https://some-url.com/no-image-found.png',
    no_thumbnail_img: 'https://some-url.com/no-image-found_thumb.png',

    // Set a Currency symbol (Defaults is "$")
    currency_symbol: '£',

    // Styles
    styles: {

        // Search
        search: {
            // Search Button colors
            btn_text_color: '#FDF4FA',
            btn_bg_color: '#BD4A97',
            btn_bghover_color: '#A93984',
        },

        // Other button styling is available, see Styling section below…

    },

    // Set a custom CSS file
    custom_css_url: 'https://some-url.com/styles.css',

    // Print debug info to the browser console (Default is false)
    config_debug: true,

};
Cropped or Padded Thumbnails
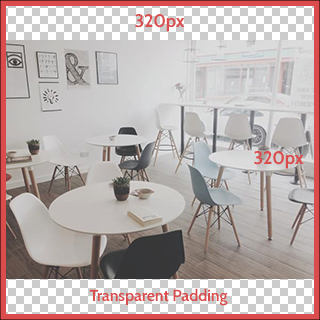
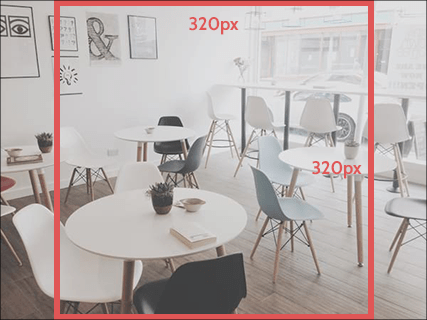
cropped_thumbnails: true,When you upload an image to the RW Elephant application we generate a 320px square cropped image that is used for Item listing views within the plugin. “Padded” thumbnails are shown by default (no need to activate this by including anything extra) or you can switch to “Cropped” thumbnails by adding cropped_thumbnails: true,
Padded Thumbnail example:
Cropped Thumbnail example:
Thumbnail Image size
thumbnail_img_size: 600,Thumbnails shown for Items displayed in listing views can be enlarged from the default value of 320px to show clearer images. Please be aware that using large images can affect page speed. (Maximum value 1200px)
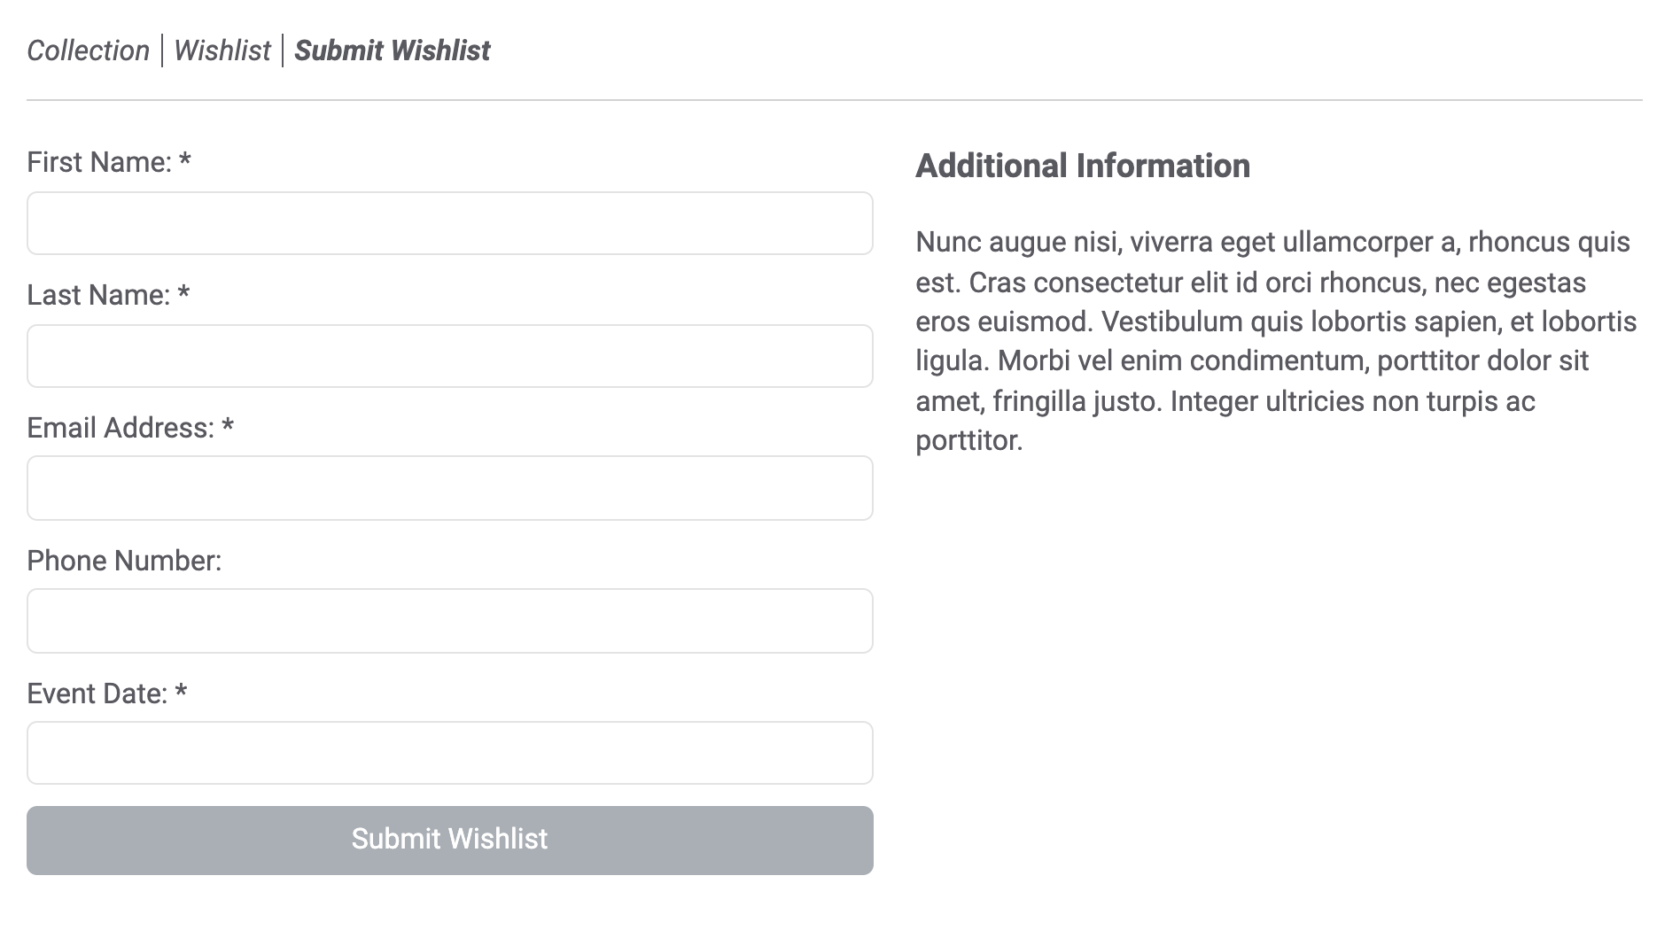
Wishlist Feature
wishlist_active: true,Activate the Wishlist feature by setting the above option. Additionally, a short Title and Paragraph can be added using the following option. This will display the text alongside the Wishlist form, right before the user submits.
wishlist_form_msg: {
    wishlist_form_heading: 'Additional Information',
    wishlist_form_text: 'Short text paragraph…',
},
Allow users to add items to the Wishlist directly from Item listings by adding the following option.
add_to_wishlist_item_listing: true,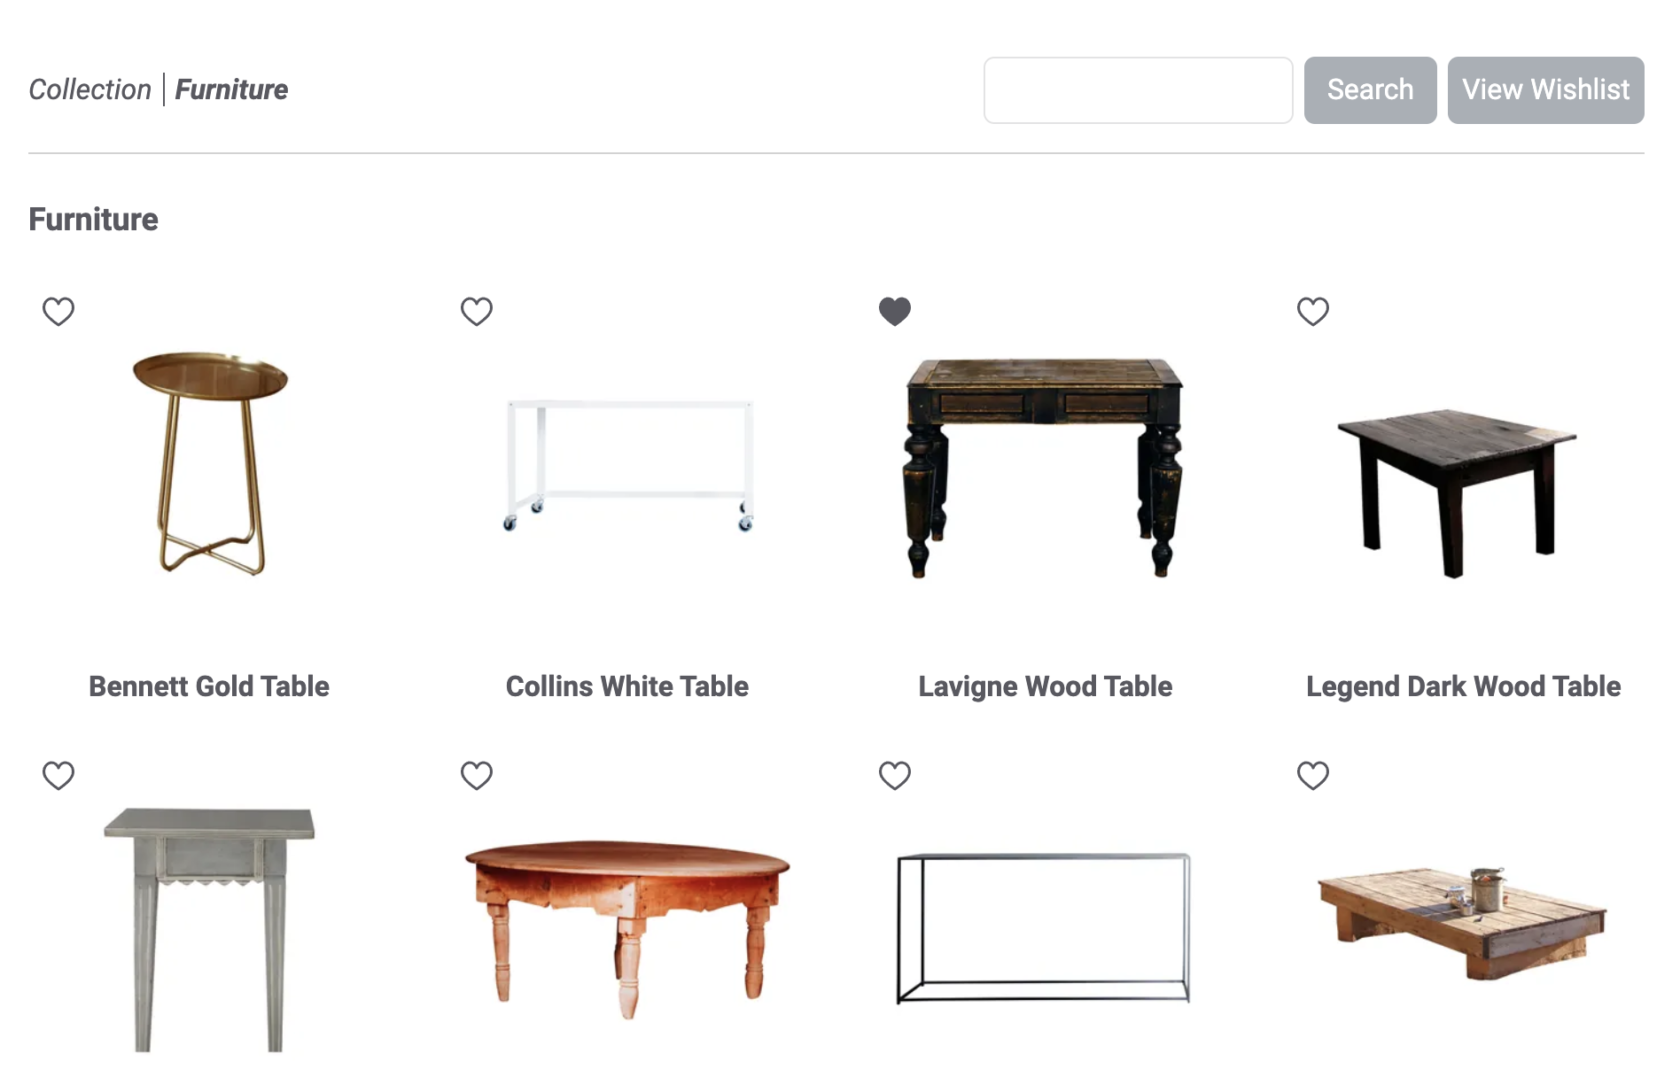
Note: Switch the Wishlist icon displayed on listing views [defaults to Heart icon] from the default to Plus/Minus icon.
wishlist_item_listing_icons: 'plus-minus',Limit the maximum quantity of items that can be added to the Wishlist, to the quantity available. (Default allows adding more than available).
add_to_wishlist_qty_limit: true,Add “all” available Items to the Wishlist when “Add to Wishlist” is clicked. (Default adds “one” item).
add_to_wishlist_qty_all: true,Customize the default “Wishlist submitted” message shown after a user submits a Wishlist:
wishlist_submitted_msg: 'Custom Wishlist submitted message…',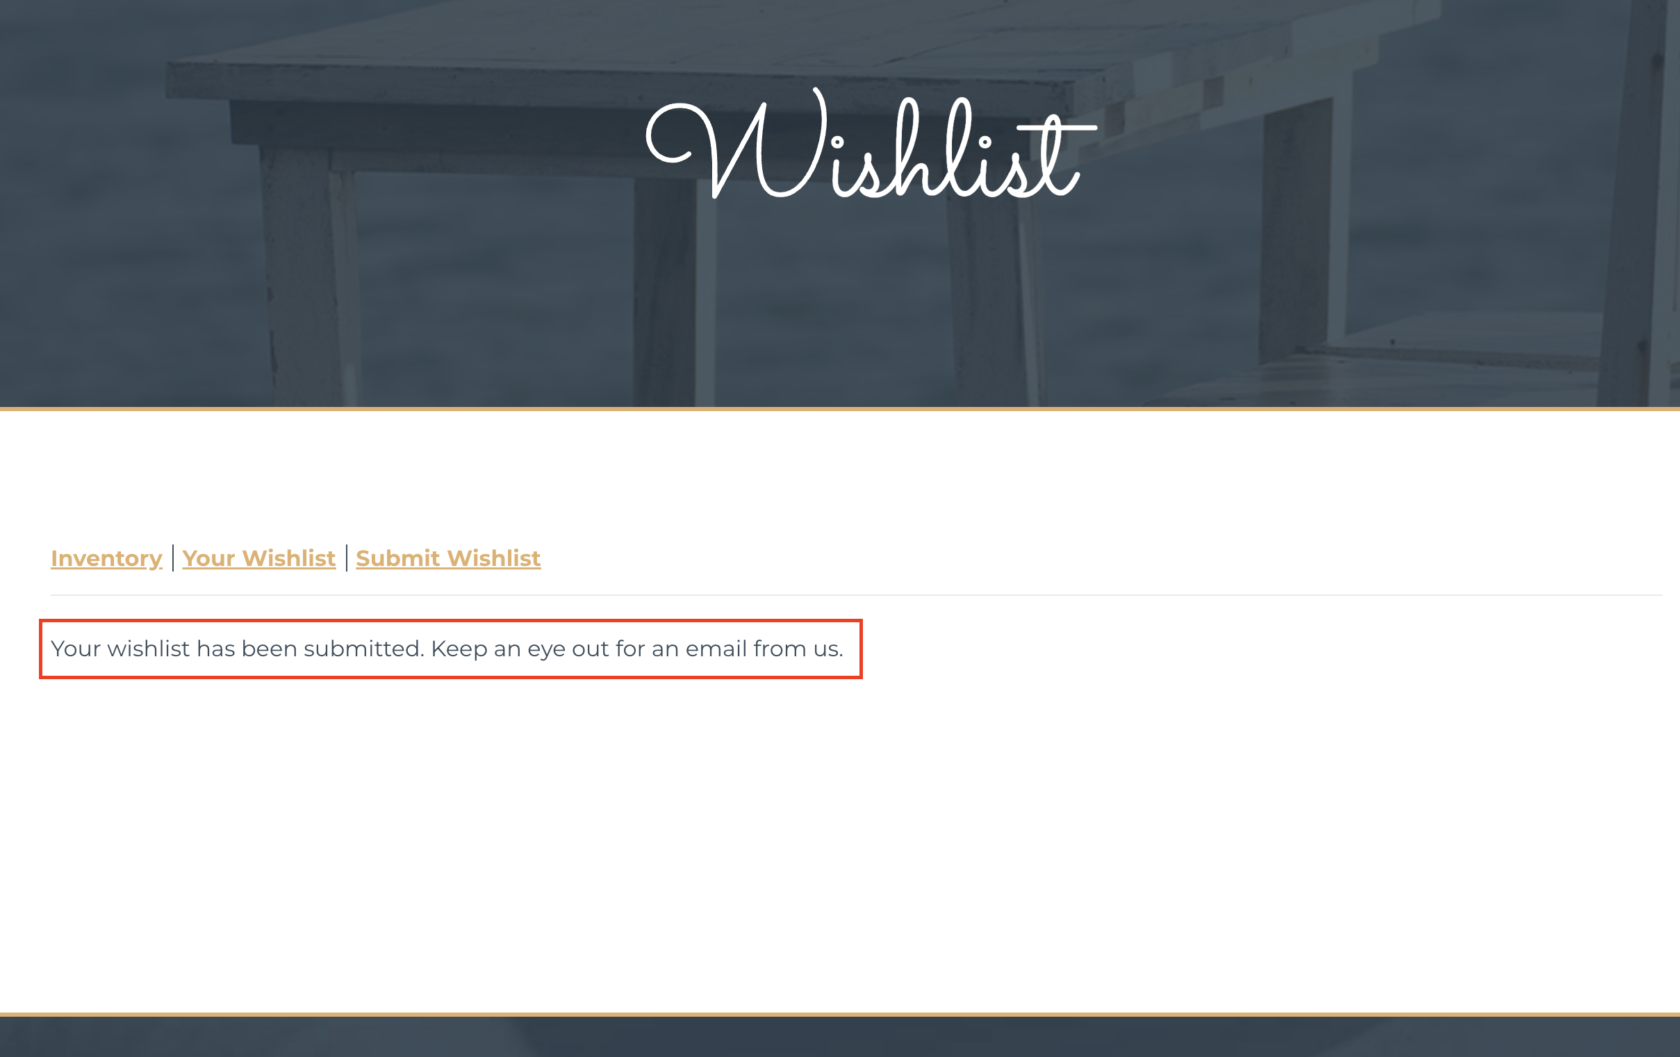
Custom form fields (basic text input) can be added to the Wishlist submission form by adding the following option. Each additional form field should have its own declaration, with options for an input label (input_label), the form field can be set to “required” by setting the required option to ‘true’. This example shows two additional form fields, both with a unique label and required is set to true (these fields will be required for the form to be submittable).
wishlist_form_custom_fields: [
    {
        input_label: 'Event Type:',
        required: true,
    },
    {
        input_label: 'Note:',
        required: true,
    }
],
Item Listings – Show second image on hover.
listing_item_img_hover: true,For listing Views, items can be set to display a second item image on hover using the above option.
Item Listings – Display price.
listing_item_price: true,Listing views can also display the Item price using the above option.
Breadcrumb Label and Removal
breadcrumb_index_label: 'Collection',Change the default index breadcrumb label (‘Inventory’), or remove the breadcrumb completely by setting the following option.
Change Gallery Root Url
custom_gallery_root_url: 'https://mysite.com/my-custom-collection-page',Change the default Gallery root url. This will switch the default links within the gallery to link to your custom category page.
Related Items Label
Change the default heading (‘You might also like:’) for related items within the Item Detail view.
related_items_heading: 'Related Items:',Hide Kit Items
Hide Kit Items within the Item Detail view.
hide_kit_items: true,Kit Items Label
Change the default heading (‘Kit contains:’) for kit items within the Item Detail view.
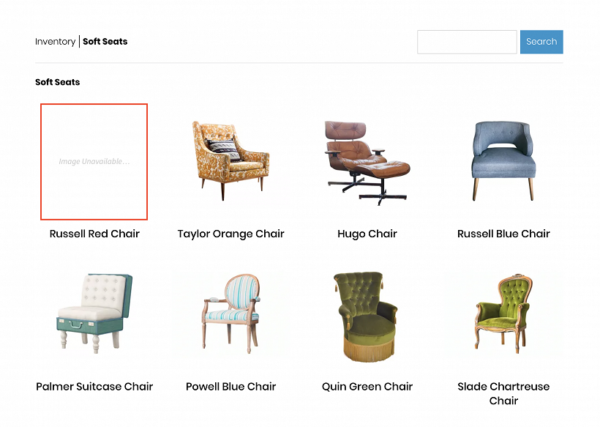
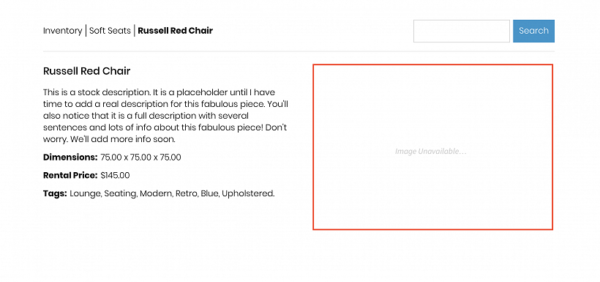
kit_items_heading: 'This kit contains:',Custom Default Images (Image Unavailable)
no_img_url: 'https://some-url.com/no-image-found.png',
no_thumbnail_img: 'https://some-url.com/no-image-found_thumb.png',
The default images for “Image Unavailable” (shown when an Item doesn’t have an image assigned in the RW Elephant application) can be replaced for both Thumbnail and Item images.
Thumbnail example (recommended size – 320px x 320px):
Item example (recommended size – 600px x 420px):
Currency Symbol
currency_symbol: '£',The currency symbol used throughout the Online Gallery Snippet can be changed to any currency symbol using the above option.
Custom Fields
display_custom_field_1: true,
display_custom_field_2: true,
Custom Item fields can be displayed using the above option.
Global Item Note
global_item_note: 'Additional information about our pricing…',
global_item_note_label: 'Pricing Info:',
A “Global” Item Note can be added to every item in the Inventory Gallery, additionally you can choose a custom label using the optional label value (the label defaults to “Item Note:”).
Button Styling
styles: {

    // Search Button
    search: {
        btn_text_color: '#FDF4FA',
        btn_bg_color: '#BD4A97',
        btn_bghover_color: '#A93984',
    },

    // Add More Items Button
    add_more_items: {
        btn_text_color: '#FDF4FA',
        btn_bg_color: '#BD4A97',
        btn_bghover_color: '#A93984',
    },

    // View Wishlist Button
    view_wishlist: {
        btn_text_color: '#FDF4FA',
        btn_bg_color: '#BD4A97',
        btn_bghover_color: '#A93984',
    },

    // Submit Wishlist Button
    submit_wishlist: {
        btn_text_color: '#FDF4FA',
        btn_bg_color: '#BD4A97',
        btn_bghover_color: '#A93984',
    },

    // Add/Remove Wishlist Button
    add_remove_wishlist: {
        btn_text_color: '#FDF4FA',
        btn_bg_color: '#BD4A97',
        btn_bghover_color: '#A93984',
    },

    // Submit Wishlist Form Button
    submit_wishlist_form: {
        btn_text_color: '#FDF4FA',
        btn_bg_color: '#BD4A97',
        btn_bghover_color: '#A93984',
    },

    // View Wishlist Button
    view_wishlist: {
        btn_text_color: '#FDF4FA',
        btn_bg_color: '#BD4A97',
        btn_bghover_color: '#A93984',
    },

},
You can change the color of all Button background and text using the above options:
btn_text_colorsets the button text color.btn_bg_colorsets the default button background color.btn_bghover_colorsets the button hover background color
We recommend using a standard hexadecimal color code, however, you can add any value that works for CSS rules.
Note: We hope to add further customization options for lighter styling, however, a skilled developer could potentially rewrite styling for the whole Gallery styling using the Custom CSS Stylesheet option below.
Custom CSS Stylesheet
custom_css_url: 'https://some-url.com/styles.css',If you are a skilled developer, you can write a custom stylesheet that replaces the Online Gallery Snippet stylesheet. Replace the default stylesheet with your custom stylesheet by adding custom_css_url: 'https://some-url.com/styles.css', (don’t forget to change the URL to match the location of your own stylesheet).
If you’d prefer not to start from scratch you could build your customizations on top of the already existing stylesheet. Download either the expanded or minified source file, and use that as a starting point. We highly recommend re-minifying your newly created stylesheet once your updates are complete to help keep file sizes to a minimum and help the snippet run as fast as possible.
Disable Scroll to Top
disable_scroll_top: true,If you’re running into issues with the default scroll behavior, you can deactivate auto scroll to top by adding the disable_scroll_top: true, option.
Debug
config_debug: true,If you’re experiencing issues with the Online Gallery Snippet or having problems during installation, we may ask you to activate debug by adding the config_debug: true, option. Activating debug can provide useful information about your setup, and may help us with a resolution.